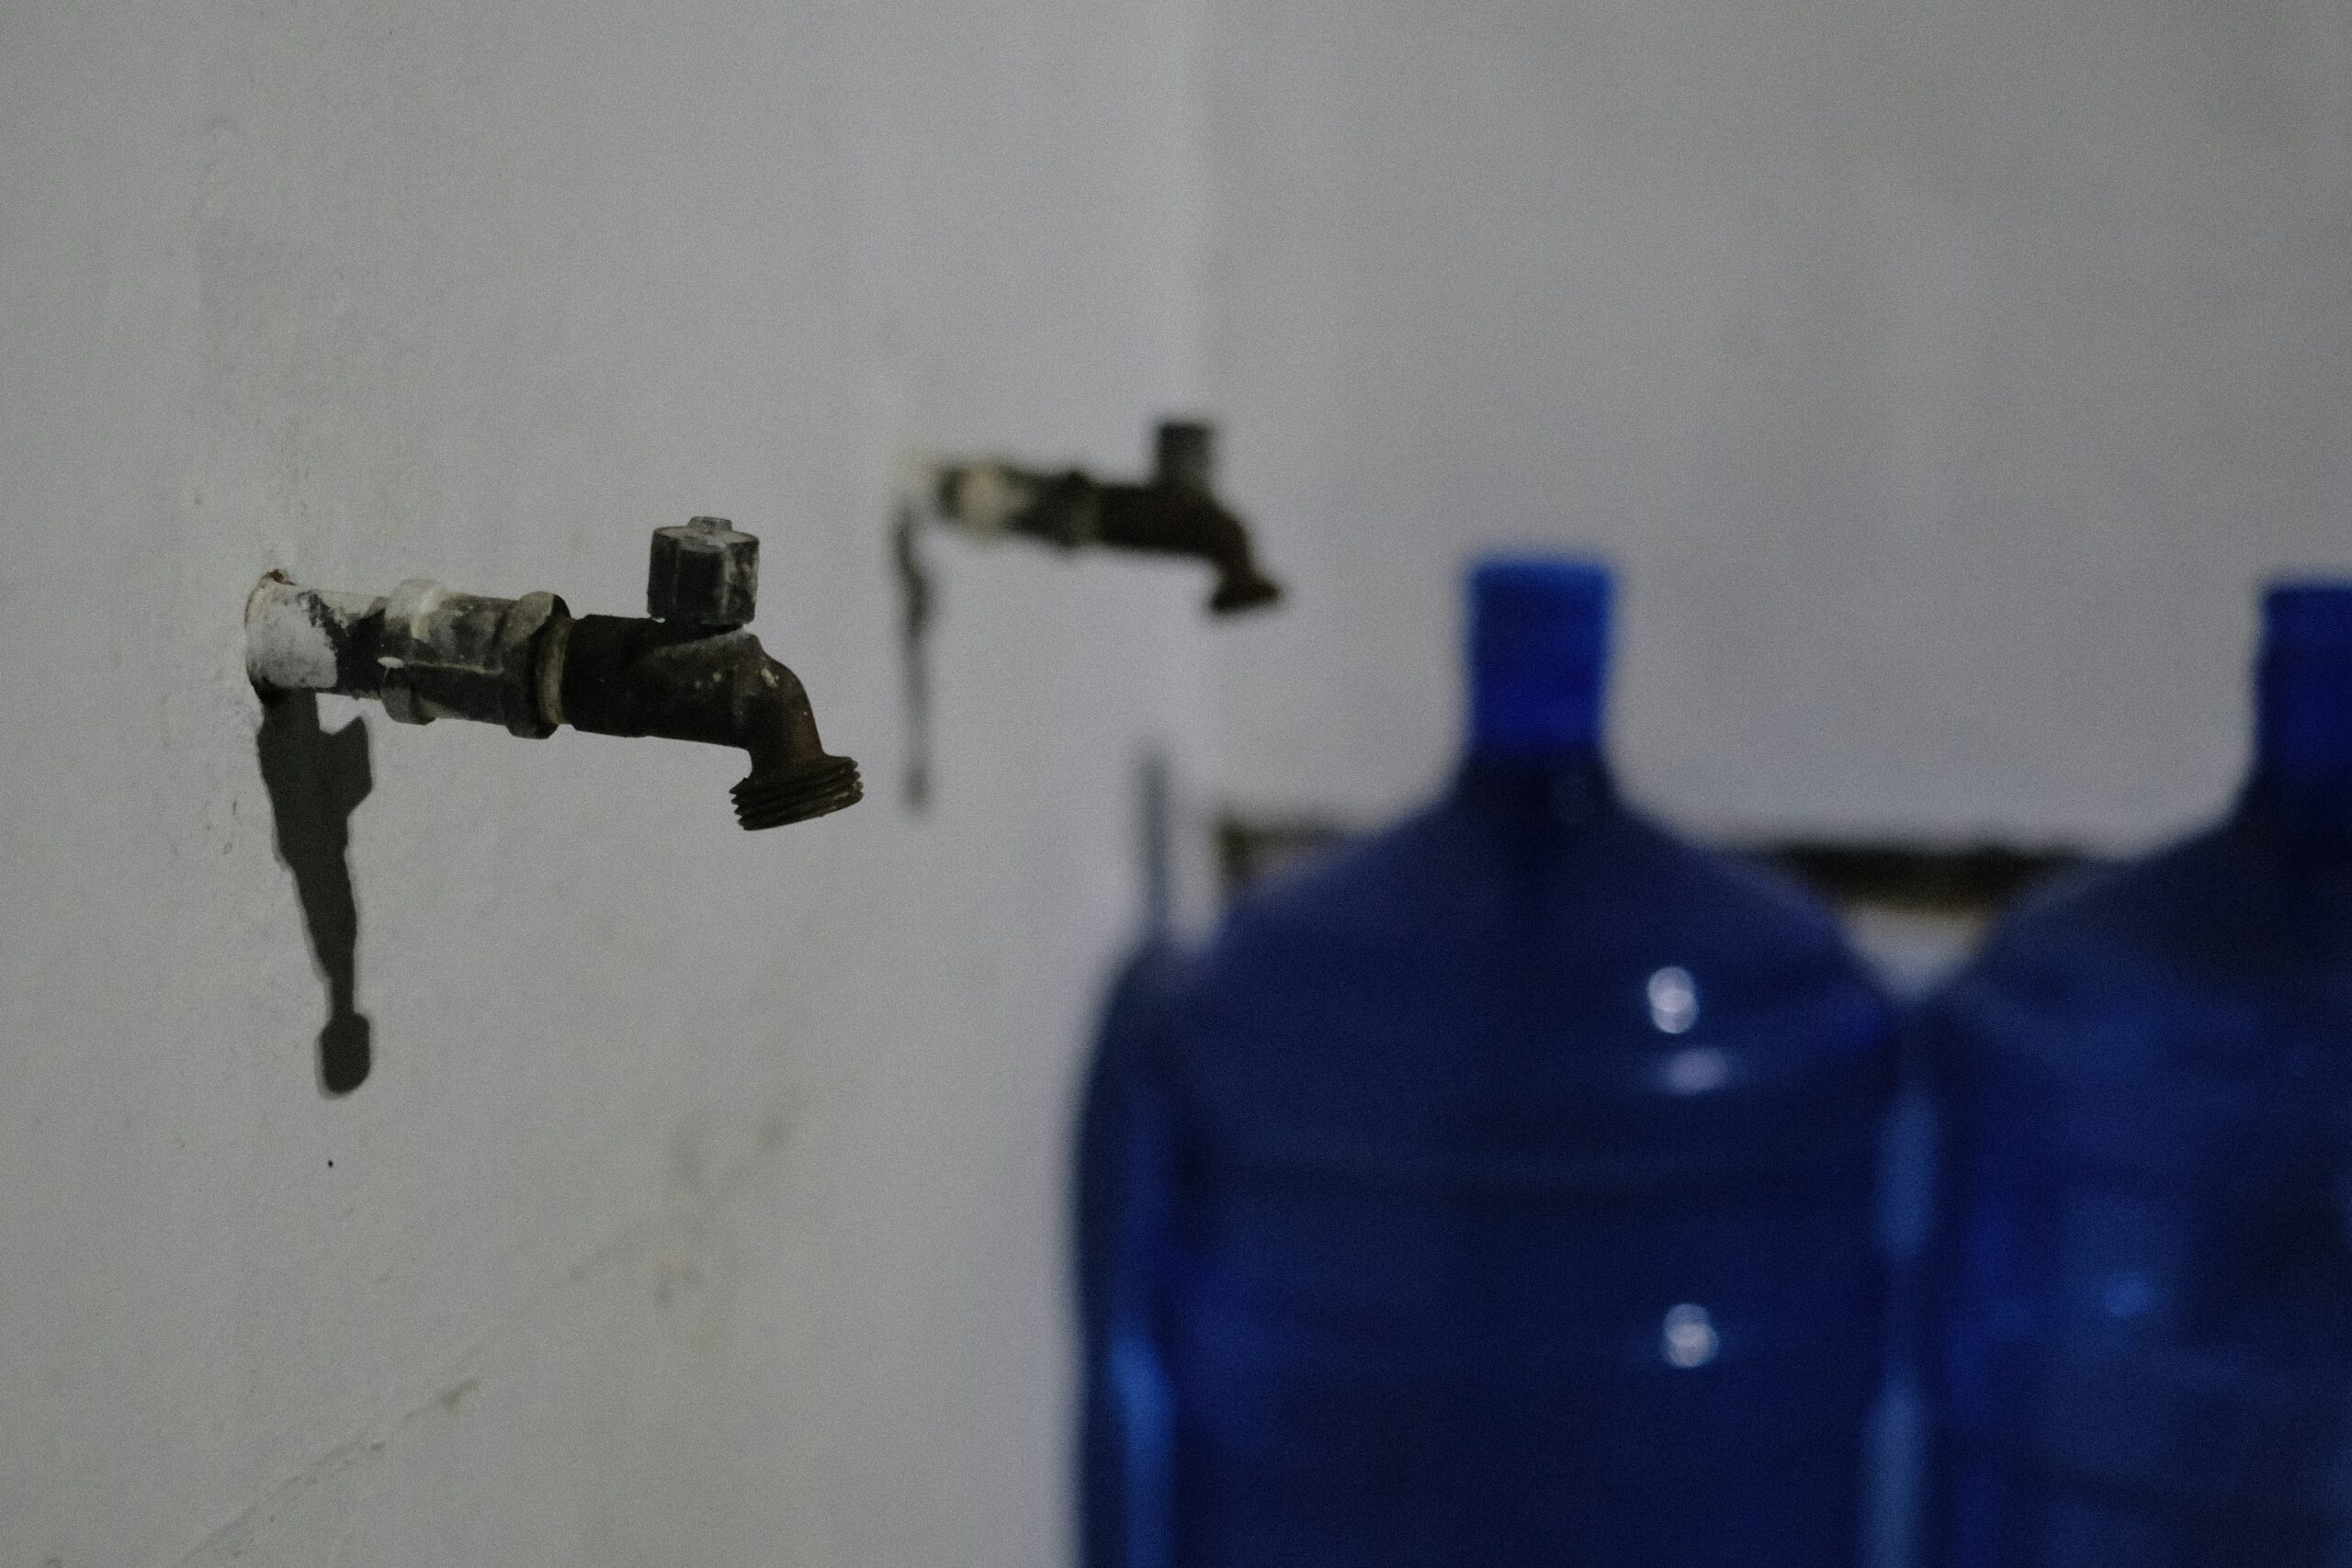
A leak that appears only with a hose attached can come from the hose washer or coupling, a protective attachment, the stem seal or a damaged faucet body. The added hose changes load and pressure conditions, so the pattern does not identify one part by itself.
Keep away from wet electrical equipment. Do not touch wet appliances, plugs or switches, or enter water to reach a breaker. When no gas leak is suspected, power may be isolated only from a safely accessible dry location; otherwise call an electrician or emergency help. Wet equipment needs qualified assessment before it is used again.
Find the actual escape point
- Use the original event: was water escaping at the hose joint, around the handle, from the breaker, or inside the building?
- Ordinary water delivered from an intentionally open bare outlet is expected. Water escaping outside that intended path is a different observation.
- Continued outlet delivery after closure differs from finite hose or frost-free barrel drain-down. Record which state actually occurred.
Safe connection care
For an owner-removable hose or splitter, close its supply and release trapped hose-side pressure through the intended outlet into a suitable receiving area. A closed nozzle, check valve or attachment can retain pressure separately. Do not loosen a coupling to vent it, twist the faucet in the wall, or remove required backflow protection. Support the fitting and follow its actual instructions; stop for a seized connection or uncertain pressure.
With the removable hose disconnected safely, examine its flat sealing washer, coupling and mating face. Replace a missing or damaged washer with the specified type; clean compatible surfaces and reconnect squarely to the maker’s snugness. Hose-thread joints commonly seal at the washer face, so extra tape or force on the threads is not a substitute for that seal. Do not lever against the wall connection.
Breaker, stem or body leakage
Identify an integral breaker versus an approved removable attachment and its service and continuous-pressure limits. Do not wiggle, cap or bypass it to improve flow. Use the exact approved kit or replacement and restore protection. External packing adjustment is appropriate only when the maker identifies that nut and method; there is no universal quarter-turn repair. Outlet leakage past a closed valve needs a different seat or cartridge assessment.
Before removing a bonnet, packing, operating rod, cartridge or pressure-retaining breaker part, identify the exact model and its approved service procedure. Close a known effective homeowner supply control for every feed, control other connected inputs, and relieve and verify pressure at the actual serviced segment. A different indoor tap may not relieve an isolated outdoor branch. Stop if flow continues, the control is uncertain or parts bind. Use compatible approved parts and fully secure all pressure-retaining and protective components before an attended restoration. Re-isolate and verify relief before further disassembly. Cosmetic handle trim and maker-permitted external packing adjustment are different operations; neither authorizes loosening an unknown retainer under pressure.
Check after a suitable correction
Use an attended normal check only after full assembly, with a sound known supply and accepting discharge area. Observe the repaired joint and protective parts without touching a jet. Stop for renewed leakage, wall wetness or abnormal resistance; do not keep changing suspected parts.
Related situations
- Outdoor Spigot Has No Water After Winter
- Outdoor Spigot Won’t Turn Off Completely
- Outdoor Spigot Leaks Under Load