Bottom Line Up Front An under-sink valve that’s frozen or won’t turn is usually caused by mineral buildup, corrosion, or debris jamming the stem — common in hard-water areas or valves unused for years. Isolate the water supply first, inspect for visible corrosion, gently clean and flush the line, and try freeing it with controlled pressure. If it still won’t move, leaks after attempts, or the stem is damaged, replace the valve. Never force it — that risks breaking the valve or pipe and causing a flood.
Common Causes Under-sink shutoff valves seize over time because they’re small, rarely used, and exposed to water chemistry. The main reasons include:
- Mineral deposits and scale building up on the valve stem, seat, and threads — especially in hard-water homes.
- Rust and corrosion fusing metal parts together or pitting the internals.
- Debris from old supply lines, sediment, or failing upstream fixtures jamming the valve.
- Long periods of non-use allowing seals to dry out and parts to bind.
- Age/wear — older compression or multi-turn valves are more prone to sticking than modern quarter-turn ball valves.
If the handle won’t budge at all, it’s typically corrosion or scale. If it turns but leaks or doesn’t fully close, internal damage is likely.
Tools & Materials You’ll Need
- Adjustable wrench or pliers (for supply line or valve access)
- Bucket and towels (to catch water/drips)
- Penetrating oil (PB Blaster or Kroil — for light corrosion)
- Small brush or old toothbrush (for cleaning)
- Replacement shutoff valve (quarter-turn ball valve recommended)
- Pipe thread tape or pipe dope (for new valve install)
- Safety gloves and eye protection
Step-by-Step Troubleshooting & Fixes
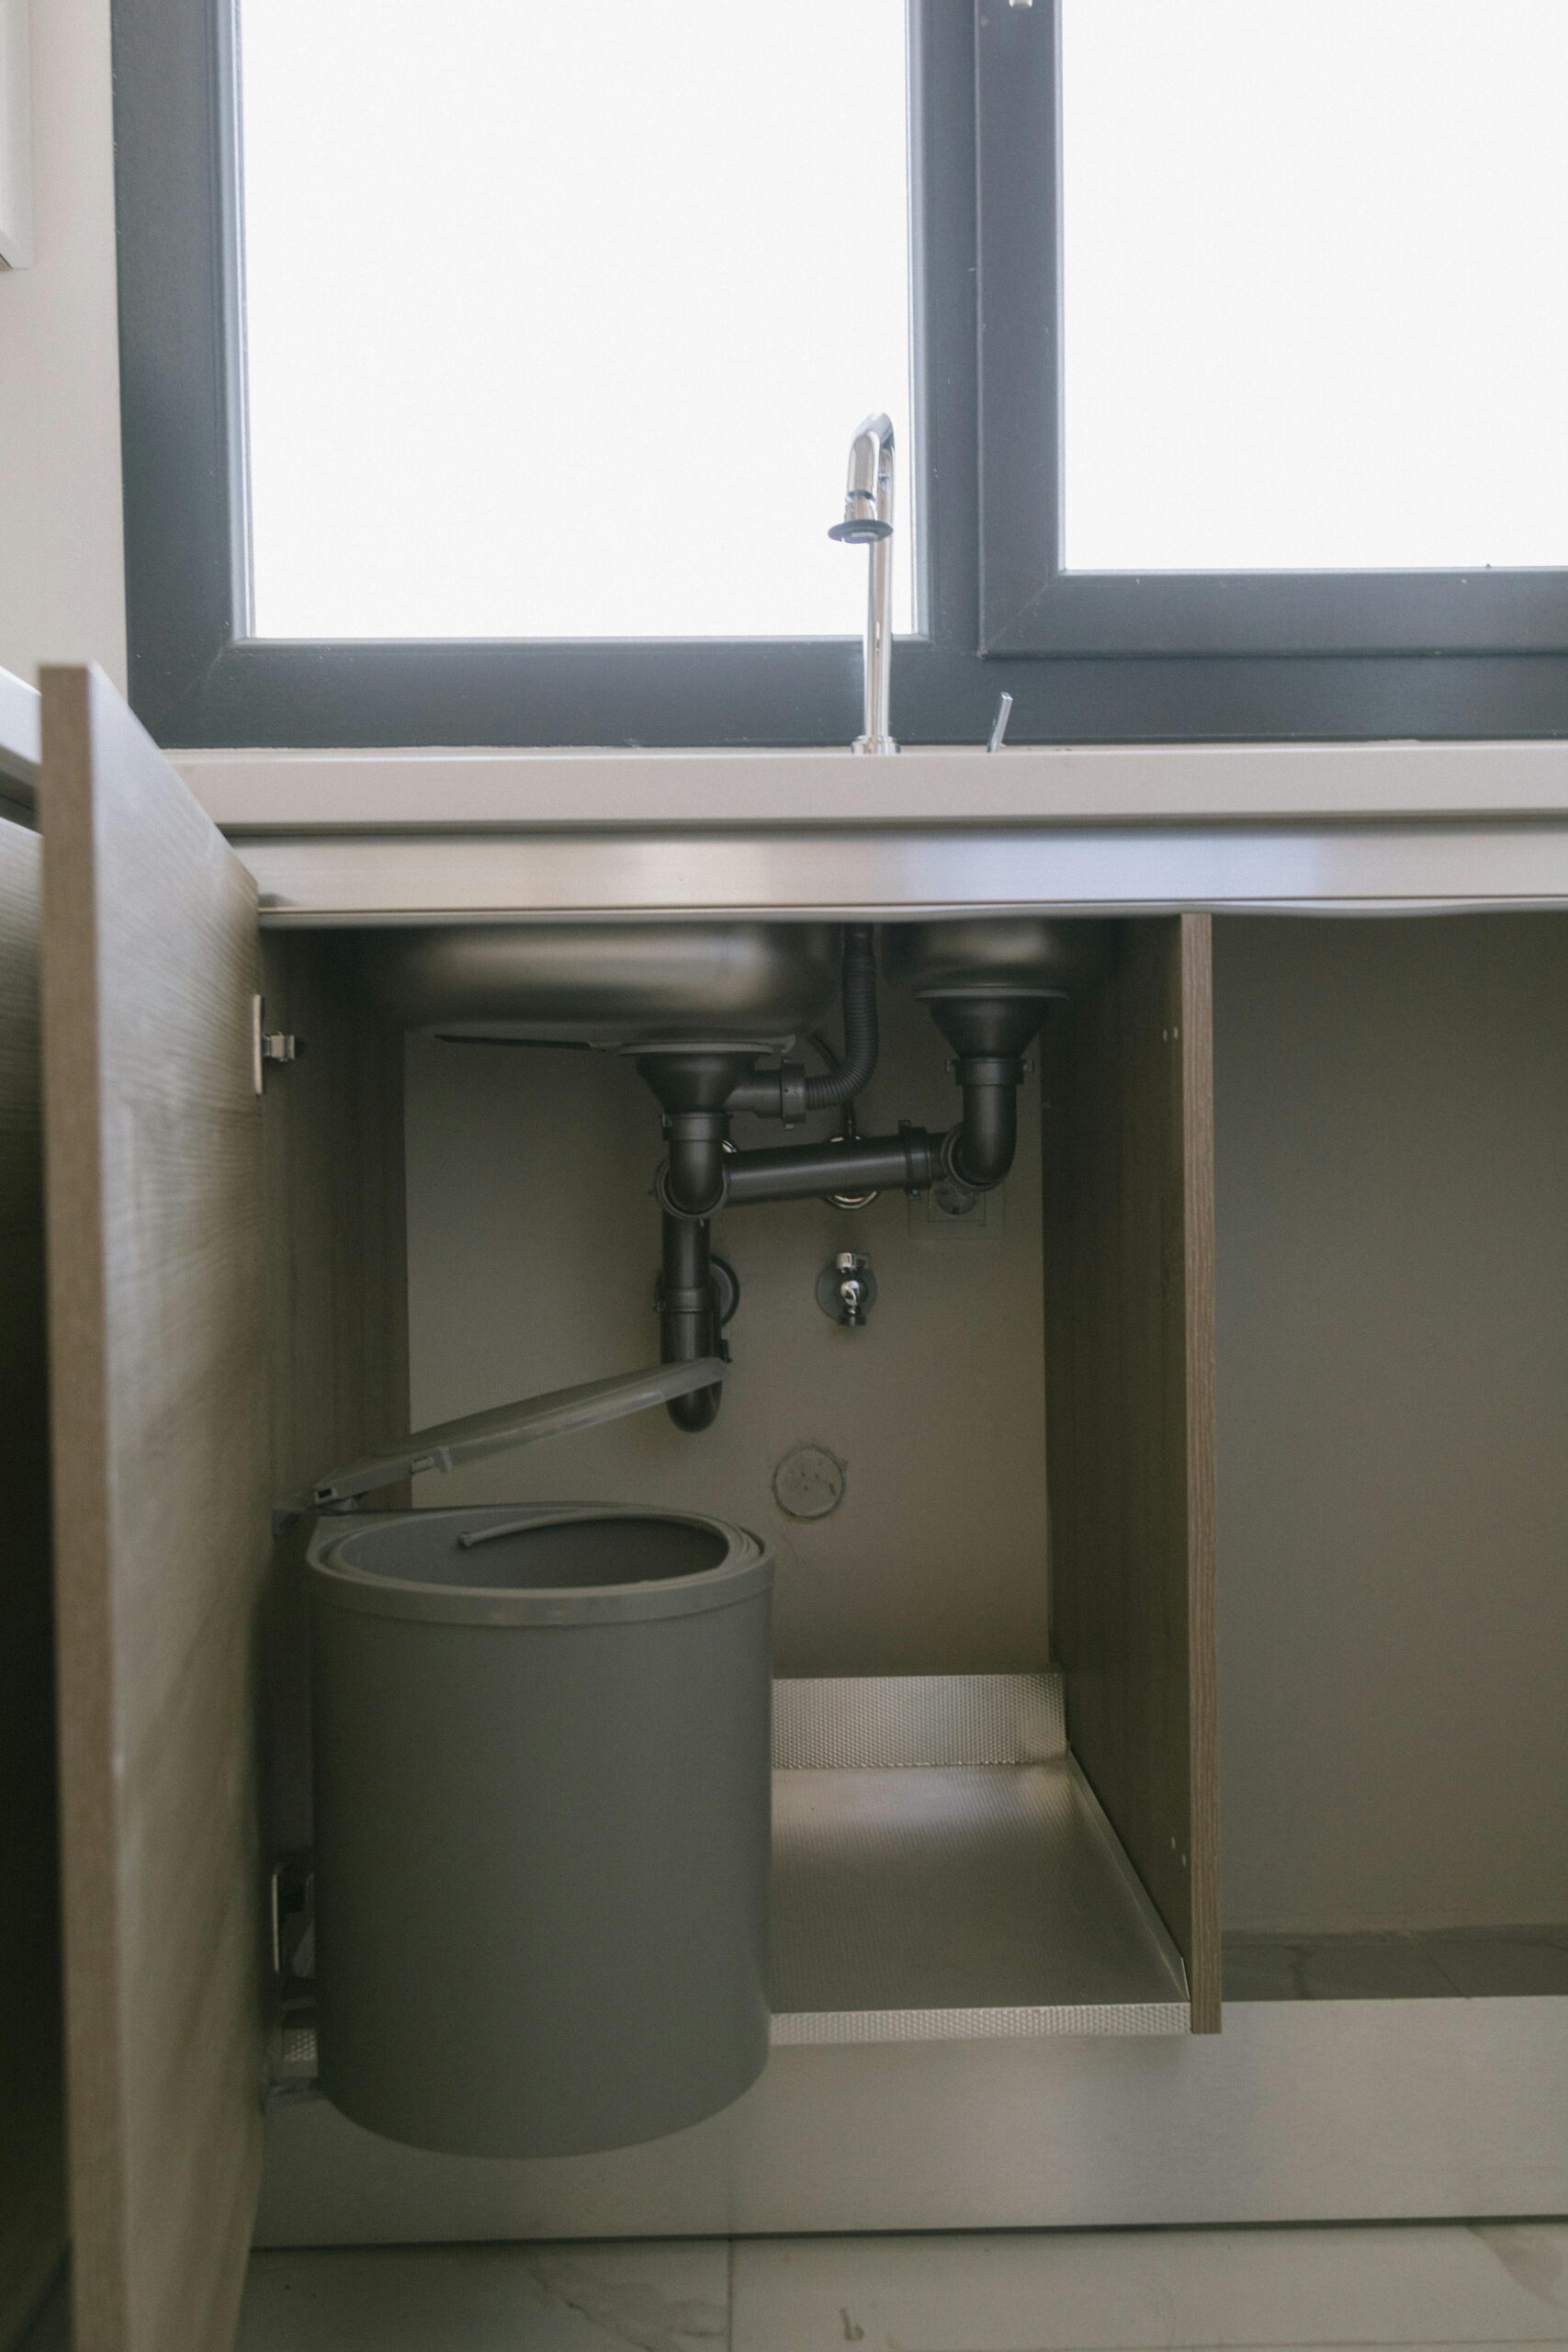
Step 1: Inspect the Valve & Surroundings
- Open the cabinet and examine the valve body, handle, stem, and supply lines.
- Look for corrosion, white/green mineral crust, rust, cracks, or active drips.
- Check if the handle turns at all, spins freely without closing, or is completely seized.
- Note packing nut and stem condition — rust or buildup here is a common culprit.
Step 2: Isolate the Water Supply
- Shut off the house main valve if the under-sink valve is the only access to that fixture.
- Place a bucket and towels under the valve to catch drips.
- Open the faucet to relieve residual pressure and drain the line.
Step 3: Flush & Clear Debris
- With water isolated, disconnect the supply line at the valve outlet (use wrench carefully).
- Look for sediment, rust particles, or debris inside the line or valve outlet.
- Flush the supply line into the bucket to clear buildup.
- Use a small brush or cloth to gently clean around the stem and packing nut — avoid forcing anything.
Step 4: Gently Try to Free the Valve
- Apply a small amount of penetrating oil to the stem/packing nut area if light corrosion is visible.
- Let it sit 10–20 minutes (cover with plastic to prevent evaporation).
- Use steady, controlled pressure on the handle — small back-and-forth motions to break the seal.
- If it starts moving but leaks or feels gritty, stop — the valve is damaged internally.
Step 5: Replace the Valve if Needed
- If stuck, leaking, or damaged: Shut water completely, remove old valve (cut pipe if soldered), install new quarter-turn ball valve.
- Use pipe thread tape or dope on threads.
- Reconnect supply line, restore water slowly, and check for leaks at all joints.
Mistakes to Avoid
- Don’t apply brute force or use cheater bars — can shear stem, crack valve body, or burst pipe.
- Don’t ignore leaks/drips — small leaks become major water damage fast.
- Don’t use open flame/heat near plastic fittings or cabinets — fire/scald risk.
When to Call a Professional
- Valve corroded into pipe or breaks during attempts.
- Leaks continue after freeing or replacement attempts.
- Supply lines old/damaged, or you’re unsure how to shut off house main safely.
- Related failures like Valve handle spins but won’t close or Shutoff valve breaks during emergency.
Safety First
- Isolate water before loosening fittings — bucket/towels ready for drips.
- Wear gloves/eye protection when handling rust, debris, or chemicals.
- Avoid excessive force that could shear valve/pipe — flood risk.
- General DIY guidance — plumbing varies; consult licensed pro when in doubt.
Readers Also Ask Why did the valve get stuck? Mineral buildup, corrosion, debris, or long non-use are the usual culprits.
Can I lubricate it to fix? Light penetrating oil can help free a stuck stem, but replace if it leaks afterward.
How long does replacement take? 30–60 minutes for a single under-sink valve if DIY; plumber may be faster.
Related Articles If you’re troubleshooting similar symptoms, these guides may help:
- Valve handle spins but won’t close
- Shutoff valve breaks during emergency
For more related articles, see the Shutoff Valves That Will Not Fully Close hub.
Disclaimer: This content is for informational purposes only and not a substitute for professional plumbing advice. Attempting repairs can cause damage or injury—proceed at your own risk and call a licensed plumber when in doubt.