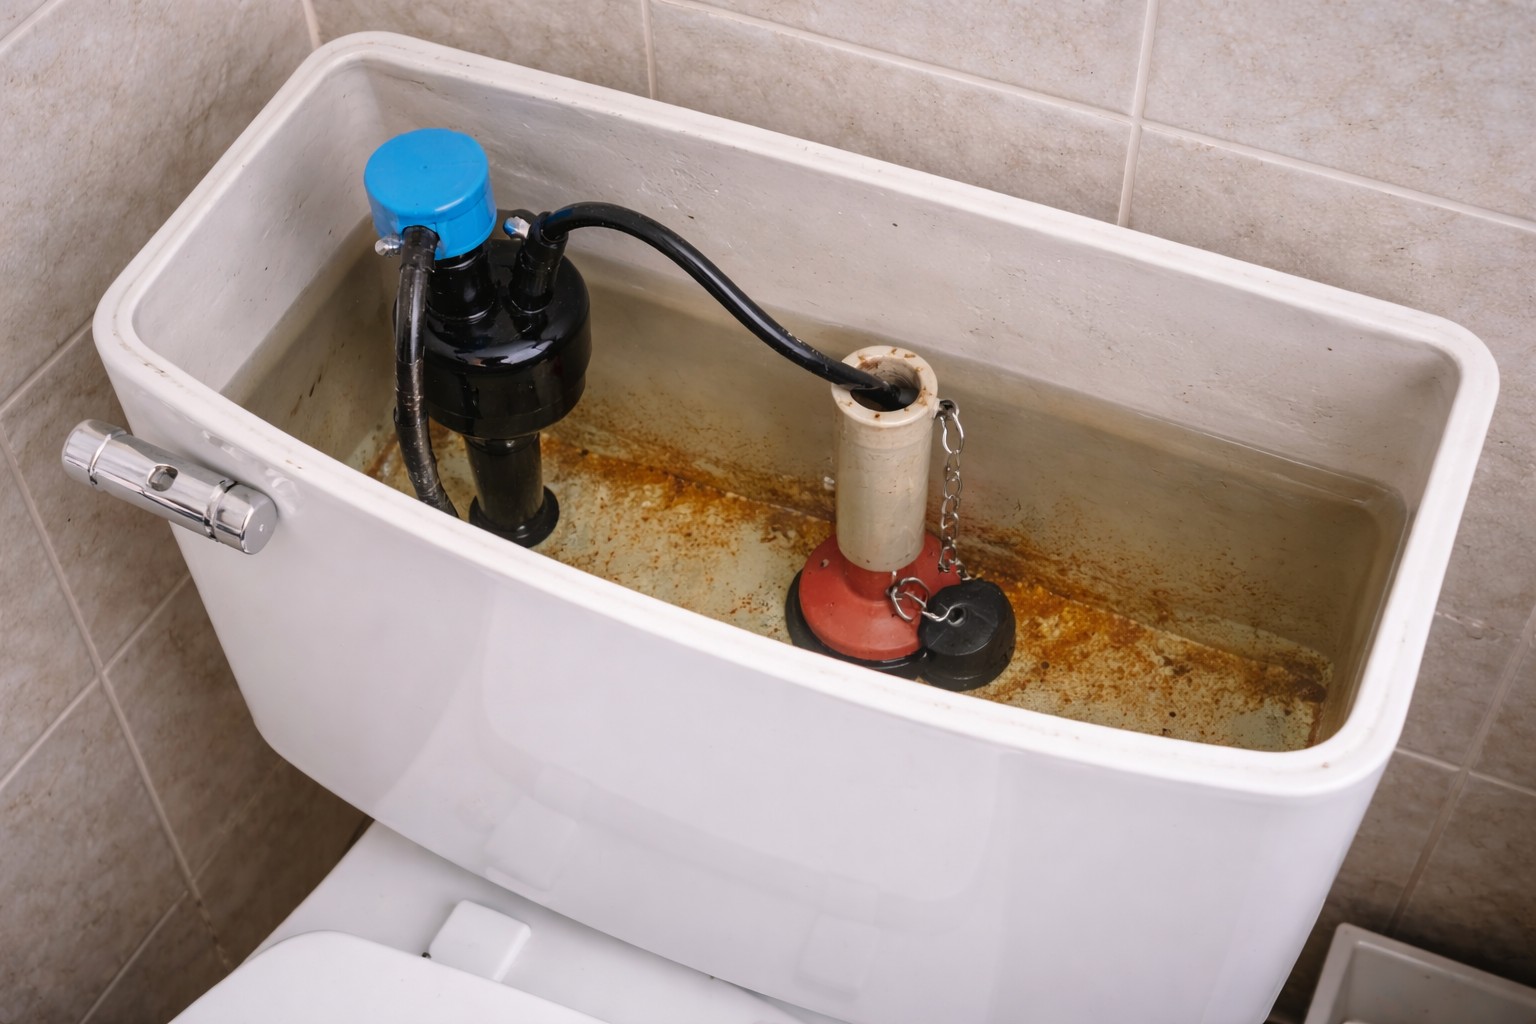
Slow or failed toilet fill after restoration needs the actual fill-valve model and effective stop control identified. A specified captured in-tank cleaning method differs from opening a bare stop or hose into a bucket.
Use and safety first
Keep away from wet electrical equipment. Do not touch wet appliances, plugs or switches, or enter water to reach a breaker. When no gas leak is suspected, power may be isolated only from a safely accessible dry location; otherwise call an electrician or emergency help. Wet equipment needs qualified assessment before it is used again.
For leakage or immediate danger, use only a separate known safely accessible permitted owner control without force or obtain prompt supplier/plumber help. Keep out of potentially energized water and do not touch wet appliances or enter water to reach a valve or breaker. Do not operate unknown shared, fire, meter or curb controls.
For a new unexplained water-quality change, use bottled water or another known-safe consumption source and contact the supplier; a private well needs the appropriate well/health response. Do not taste it or boil suspected chemical contamination as a general remedy. Actual notices and hazard-specific permitted uses govern. Clear appearance, clean screens or a specified number of minutes do not certify water safe.
Keep the original observation
- Actual toilet/fill-valve model, original refill symptom and work/notice.
- Whether the wall stop is sound, safely accessible and effective without force.
- Existing debris or damage, actual tank condition and accepting discharge.
What it can and cannot identify
The American Standard example describes supply-off cap inspection and an inverted cup directing a short prescribed flush inside the tank, followed by supply-off refitting. This is a bounded maker method, not permission to open a free supply line. A damaged seal does not identify the repair for every fill-valve design.
What to do next
- Check actual supplier permitted use and the installed valve’s instructions before adding water or opening parts.
- Do not force or repeatedly cycle a suspect stop. Establish effective safe control first; obtain help if it cannot stop the feed.
- For an actual matching owner-serviceable model, use only its complete cap/support/captured-discharge procedure. Do not substitute a disconnected stop/hose or uncontrolled jet.
- Keep the source off while removing/refitting parts, except the specifically prescribed brief captured in-tank flush when the complete model conditions are met. Turn it off again before refitting.
- Use compatible actual supported seals/parts and verify leak, fill, shutoff and intended water level under that model. Do not replace every fill valve merely because grit followed work.
Actual service and discharge conditions
For retained supply connections, filter housings, regulator covers or valve parts, establish every-feed isolation, controlled pressure release and verification under the actual model. A main cannot isolate its own inlet and a mixer can have both hot and cold feeds. Unless the actual maker specifies a controlled captured service arrangement, keep the source isolated until compatible parts are fully secured; never substitute an exposed pipe, removed assembly or loose hose aimed at a bucket.
Is a covered in-tank fill-valve flush always forbidden because the cap is off?
No. A specifically prescribed captured maker procedure is different from an improvised open-pipe test. Identify the actual model and effective supply control, follow all conditions and source-off refitting, and obtain help when uncertain.
Related guides
- Sediment clogging tankless heaters
- Debris in aerators suddenly
- PRV causing toilet refill problems
- Sediment & Debris at Water Entry