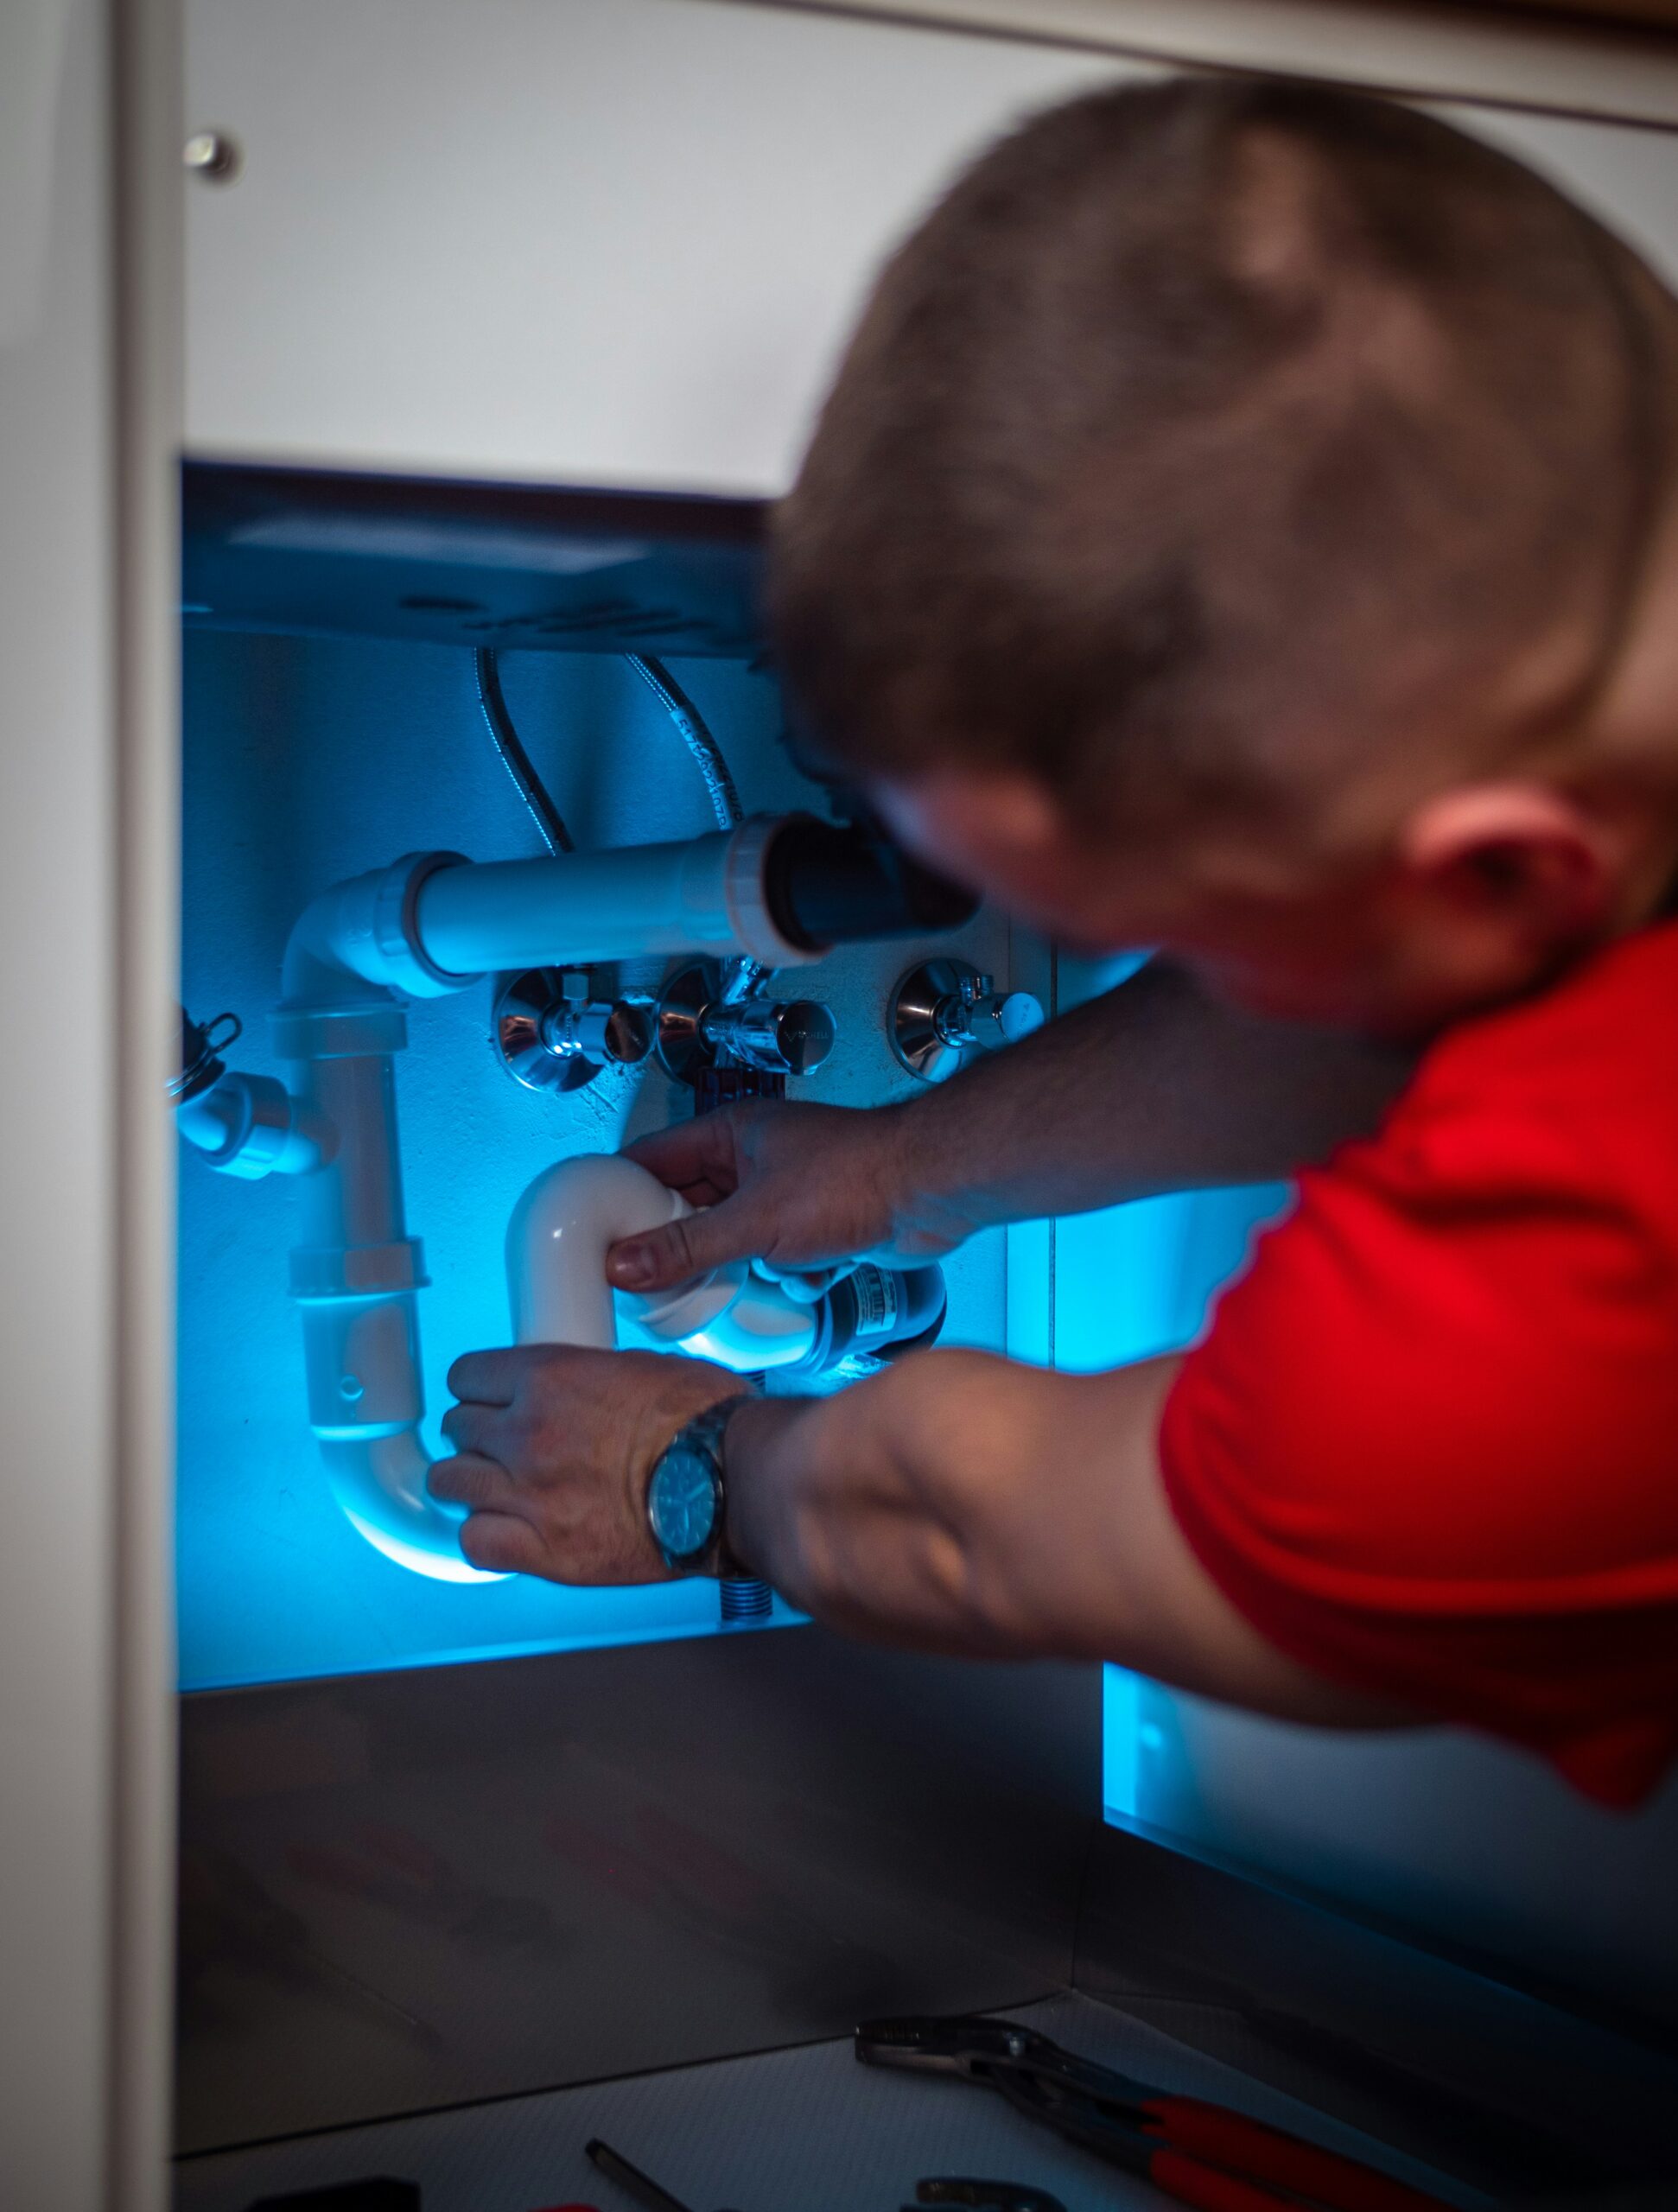
Start with the problem actually observed after installation. These guides separate drainage, leakage, motor operation, dishwasher discharge and faucet delivery while preserving each existing scenario. Timing can guide the questions, but it does not prove the installation caused every symptom.
Kitchen Sink & Food Waste Plumbing
Make the area safe before inspection
Stop affected use for overflow, active leakage, burning, harsh grinding or repeated trips. Stop added water and connected appliance discharge during backup. Do not touch wet electrical equipment or enter water to reach a plug or breaker; isolate only from safe dry access or get qualified help. Wet equipment needs assessment before reuse.
Before permitted manual work, set operating controls OFF and safely disconnect the actual affected power sources. Dishwasher hose work involves the dishwasher as well as the disposal. Never put hands or fingers inside the disposal, even when disconnected. Silence at a switch is not proof that wiring is dead. Keep electrical covers closed; altered or damaged wiring needs a qualified electrician. Re-isolate before further manual work after a powered step.
Faucet delivery
Potable supply, valve and faucet observations. Weak flow is not a pressure measurement.
Wastewater movement or leaks
Record the actual bowl, hose, joint and receiving route. Stop contributing discharge during backup.
Motor or electrical response
Keep the unit inactive for faults. A silent motor does not verify safe wiring.
Conceptual routing guide, not an installed piping diagram or a diagnosis from timing.
Drain performance got worse after install
Reduced drainage, backup and overflow need different immediate responses. Keep the original input and level observations rather than reproducing a large discharge.
- Sink drains worse after disposal install
If the sink drains worse immediately after a disposal installation, record what changed and how drainage behaved before the work. A changed outlet or connector deserves inspection, but a slower full basin than a running faucet does not locate a fault or rule out an appliance problem. Do not fill the sink to compare drain times.
- Slow drain after disposal added
If ordinary faucet flow seemed acceptable but a larger release drained slowly after a disposal was added, preserve that earlier observation. It describes performance under a different load, not a proven gasket fault or drain geometry defect. Do not warm grease with hot water and repeat a full-sink dump to confirm it.
- Sink backs up after disposal install
When water backs into the sink after a disposal install, stop additional inputs and keep the motor off. Identify where the water actually appeared: the sink bowl, dishwasher tub, air gap or an external connection. These are different paths. Do not run the disposal or dishwasher to push through the backup.
- Sink overflows after install
If the sink overflows after a disposal install, stop the faucet and affected appliance discharge immediately. Keep the disposal off and avoid other inputs to a shared backed-up drain. Do not refill the sink to discover where the water stops; the overflow is already evidence that the original operating condition was not being accepted.
Leaks after installation
Separate leakage found at initial commissioning from leakage first noticed days later. Neither the date nor the lowest drop identifies a failed seal.
- Leaks after installing new disposal
For a leak first seen while commissioning a new disposal, stop the water or appliance input that was occurring and leave the disposal inactive. Record the first safely visible wet location. Do not start with hot water, tighten every nut or run a dishwasher cycle just to make the leak recur.
- Disposal leaks days after install
A disposal leak first noticed days after installation needs a new leak assessment even if the first check was dry. Keep the date and use history, but do not assume seals settled, a hose stretched or a part failed because several days passed. Stop the affected input and keep the disposal inactive until the source is addressed.
Noise and gurgling after install
Motor noise and drain gurgling are different observations. Do not use repeated operation or simultaneous fixture discharge to prove one cause.
- Noise started after install
New harsh grinding, metal contact or strong vibration after installation calls for stopping the disposal, not repeated listening runs. Keep the original sound, load and timing. Some models have normal startup or moving-lug sounds, but the description alone cannot establish normal operation or prove that a utensil is trapped.
- Gurgling after disposal install
A gurgle noticed after disposal work is an observation about air and water movement, not a confirmed vent failure. Keep the original event, bowl level and any actual effect at another fixture. Do not run a toilet or washing machine alongside the sink to reproduce the sound.
Odor and cross-flow after install
Assess actual odor hazards or visible bowl-to-bowl rise. Neither establishes a vent, trap or piping defect by itself.
- Odor after disposal replacement
Start with gas, symptom, wet-electrical and backup concerns. This guide uses the actual replacement and maintenance history without close-sniff tests, repeated powered flushing or a diagnosis from odor alone.
- Cross-flow after disposal install
For water rising from one bowl into the other after disposal installation, stop the input and keep the motor off. Record the direction, original source and level reached. Bowl-to-bowl rise is different from a dishwasher retaining water or a faucet delivering less water; it does not uniquely prove a clog or failed vent.
Electrical and jam issues after install
Changed wiring, protective-device trips and a mechanical jam need their own assessment. A reset is not a wiring check or a cure for every trip.
- Disposal fails after wiring change
If the disposal stopped working after wiring was changed, leave it inactive and have the altered circuit assessed by a qualified electrician. Preserve what was changed and the original response. A reset, a silent motor or a negative non-contact tester reading does not verify correct wiring or absence of voltage at every affected conductor.
- Disposal trips breaker after install
A breaker or protective device tripping after installation needs the actual device identified. Stop for burning, damaged insulation, wet equipment or repeated trips and arrange qualified assessment. Do not begin by pressing the disposal reset: the appliance button and the branch protective devices perform different jobs.
- Disposal jams after install
A jam soon after installation may involve an object, installation material or unsuitable loading, but timing does not identify the obstruction. Stop a humming or stalled unit promptly. Keep the original load history and identify the exact model before using a wrench, removing a guard or pressing reset.
Dishwasher and pressure changes after install
Keep independent dishwasher discharge, potable-supply delivery and waste-pipe fit separate. Installation timing does not establish a cross-connection or one shared cause.
- Dishwasher backs up after disposal install
After disposal installation, distinguish a dishwasher tub that retains water, water rising in the sink, an air gap spilling and a leaking hose. Record the original location and program stage. Do not run another drain cycle or add a hot faucet flush to locate a backup.
- Water pressure changed after disposal install
If faucet delivery changed after disposal work, keep the potable supply separate from the waste drain. A weak stream is a flow observation, not a measured pressure reading. Routine work on the disposal drain does not send pipe debris into a faucet aerator without an actual route or separate supply work.
- Drain alignment issues after install
If the new disposal and drain fittings do not meet naturally, stop before forcing them together. The relevant dimensions include the actual outlet, available drop, trap and wall connection. The disposal outlet does not have to share one universal centerline with the trap inlet, and the sink mount is not an adjustment screw for drain height.
All Articles in This Cluster
- Sink drains worse after disposal install
- Slow drain after disposal added
- Sink backs up after disposal install
- Sink overflows after install
- Leaks after installing new disposal
- Disposal leaks days after install
- Noise started after install
- Gurgling after disposal install
- Odor after disposal replacement
- Cross-flow after disposal install
- Disposal fails after wiring change
- Disposal trips breaker after install
- Disposal jams after install
- Dishwasher backs up after disposal install
- Water pressure changed after disposal install
- Drain alignment issues after install
Give the installer evidence, not another fault reproduction
Keep the actual old and new model, work record, original event, source input and safely obtained photographs. Distinguish a supported dry fit from secure assembly and an appropriate commissioning check. Do not loosen a loaded mount, reroute an unknown vent arrangement, swap wires or reproduce an overflow to identify a part. Uncertain geometry, wet equipment, recurring leakage or repeated trips need suitable qualified assessment.
Sources and limits
- InSinkErator Complete example: mounting, outlet, leak checks and jam recovery
- Moen INS10477C example: isolation, tools and installation components
- Oatey example: a shared center-outlet waste assembly
- CDC: electrical hazards near water
- Fluke: detector limitations and appropriate absence-of-voltage verification
- ESFI: different protective devices and frequent breaker trips
- Whirlpool: dishwasher air gaps and installation requirements
- Portland Water Bureau: flow rate is different from pressure
Manufacturer examples do not identify your installed model. This guidance has not had independent professional review or household field testing.