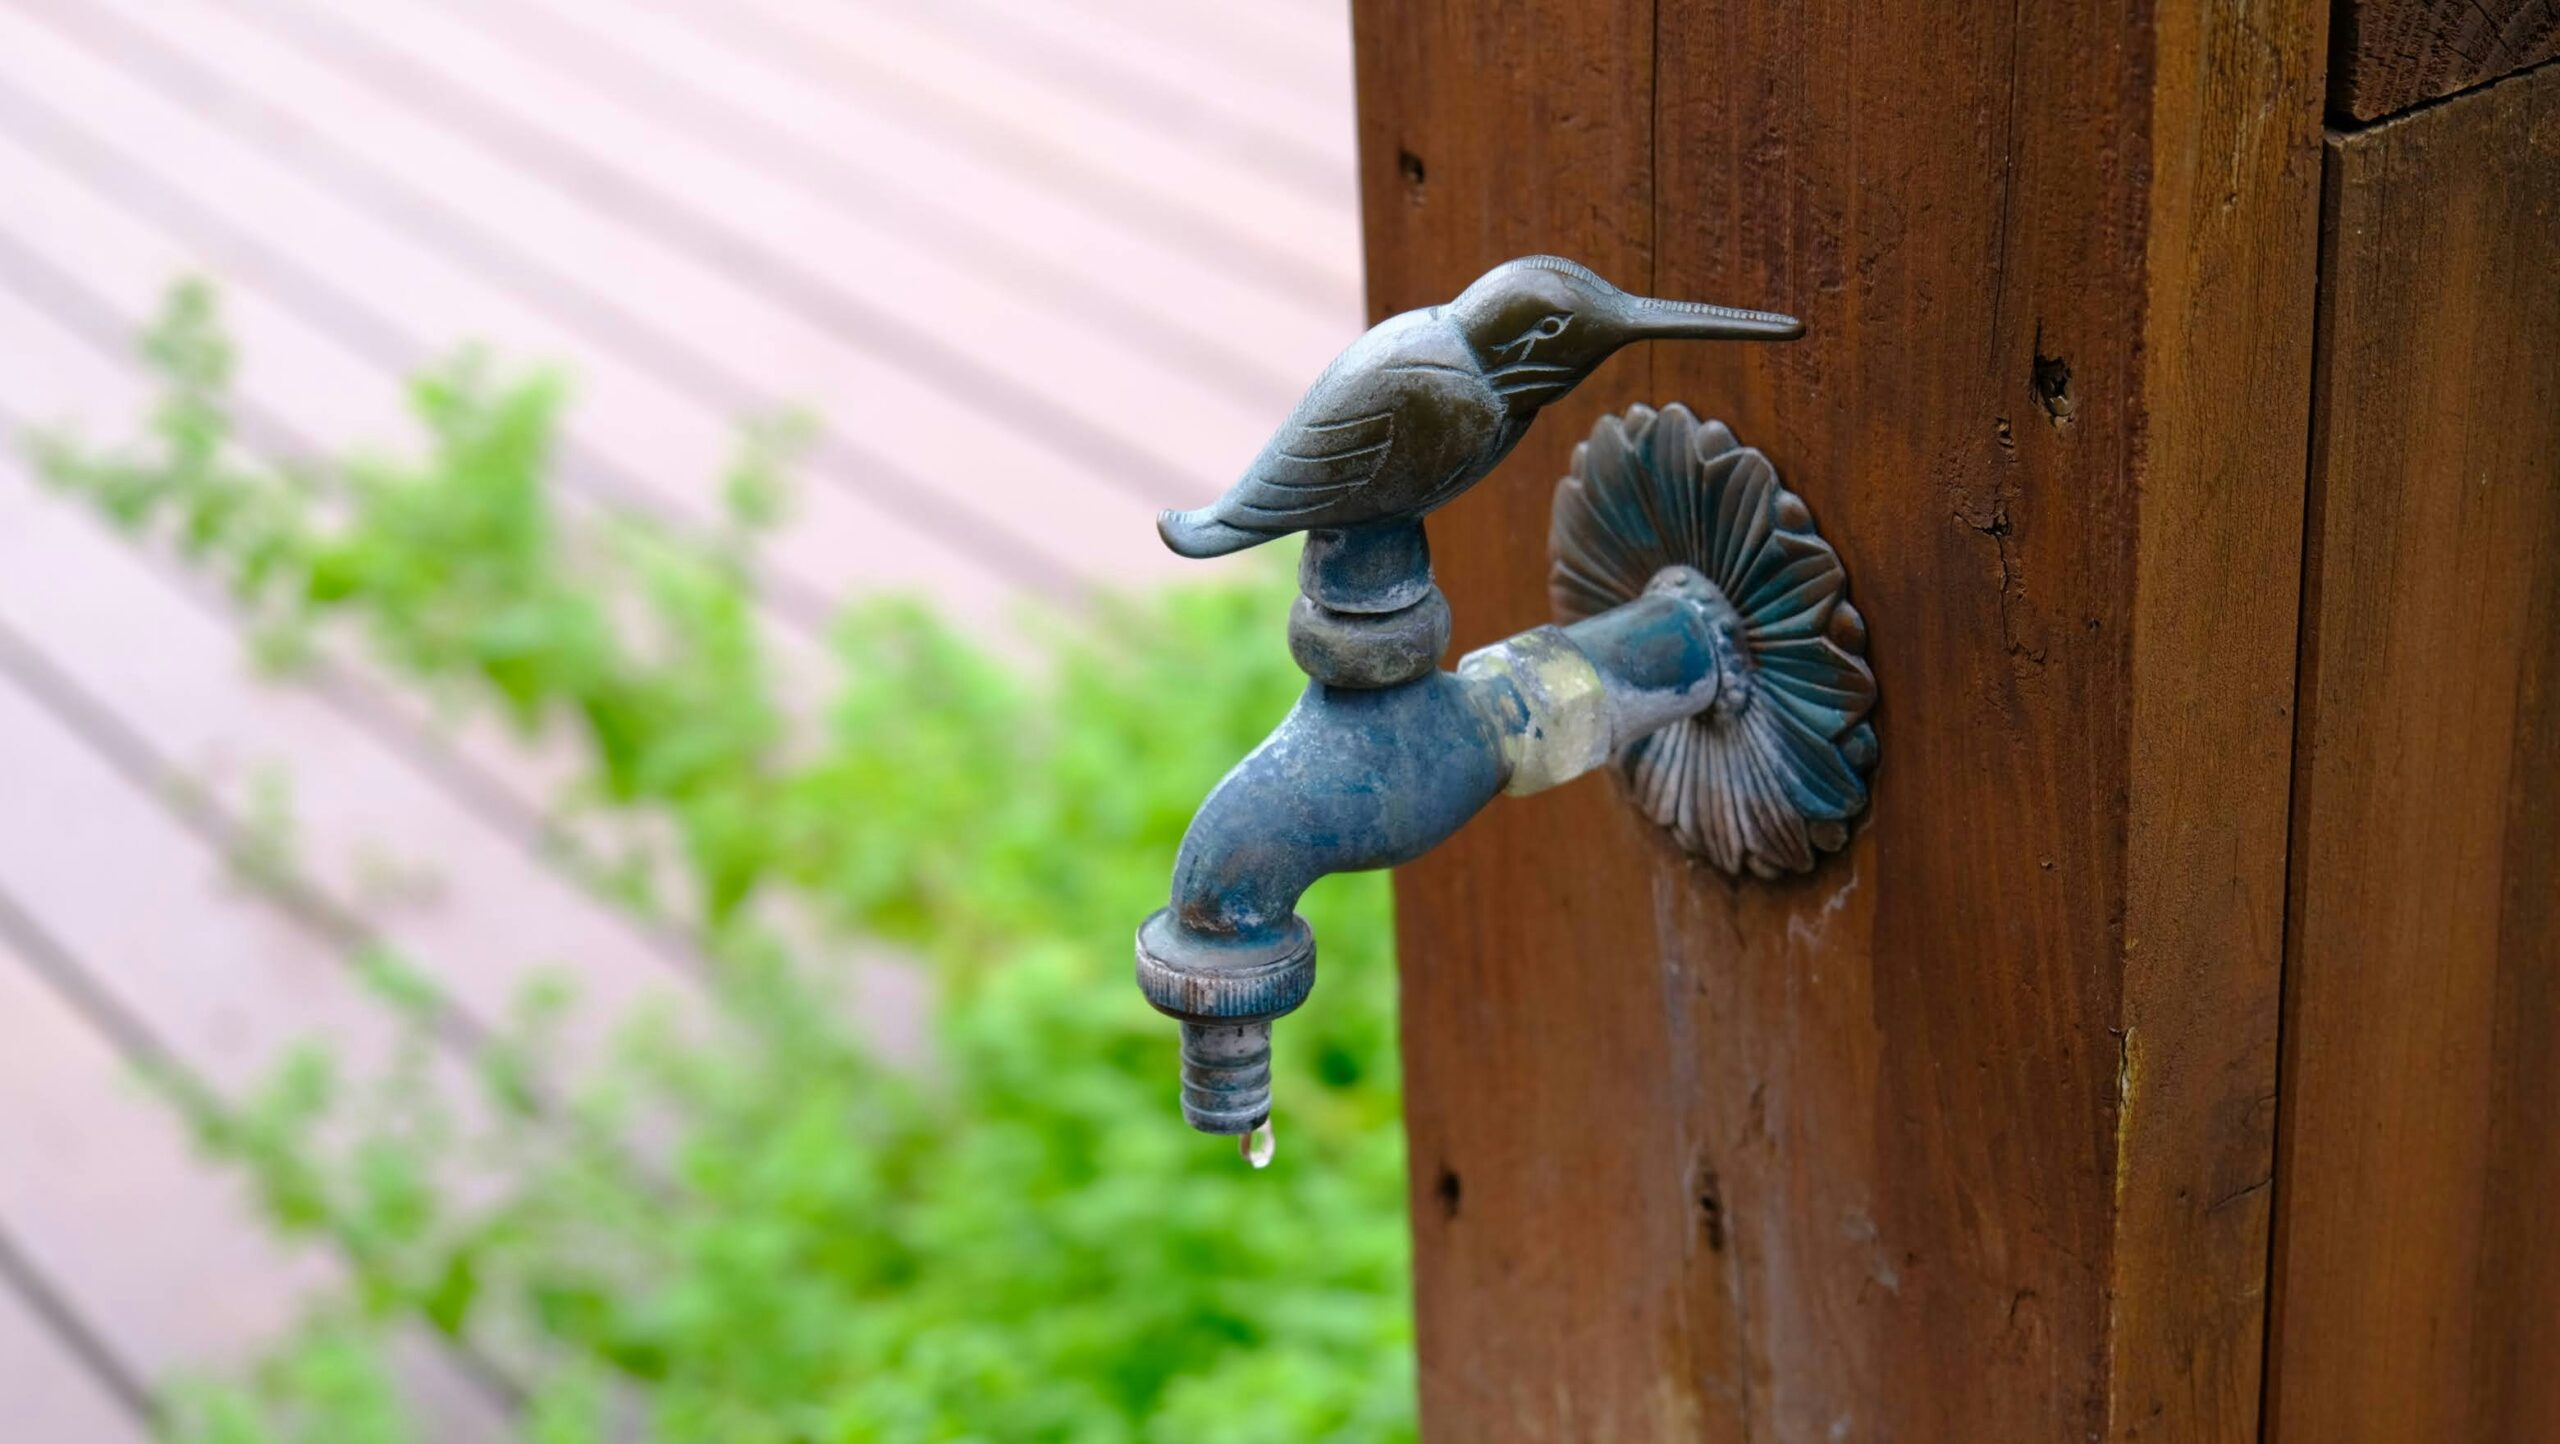
An outdoor faucet leak after restoration should be described by its location and timing. A handle packing leak, a nozzle drip, a vacuum-breaker leak and water inside a wall are different problems. Restoration timing alone does not prove a loose washer or a harmless minor leak.
Stop use for hidden leakage
Keep away from wet electrical equipment. Do not touch wet appliances, plugs or switches, or enter water to reach a breaker. When no gas leak is suspected, power may be isolated only from a safely accessible dry location; otherwise call an electrician or emergency help. Wet equipment needs qualified assessment before it is used again.
If water appears inside a wall, behind siding or around a damaged faucet body, stop using the spigot. Isolate its known supply if safely accessible and arrange repair. A frost-free faucet can have concealed damage that leaks only while the faucet is open; do not reopen it to reproduce the leak.
Identify the installed faucet
Use a visible model marking or existing paperwork. An ordinary hose bib and a frost-free wall faucet can place the actual shutoff seat in different locations. A cap on top may contain a vacuum breaker, not a packing nut. Leave protective backflow parts intact.
What the leak location changes
- Around the operating stem: some identified models permit a small external packing-nut adjustment without removing parts. Woodford’s Model 17 is one example. Use that exact product’s method; there is no universal quarter-turn tightening rule and no permission to dismantle it under pressure.
- At the nozzle after closing: distinguish finite model-specific drain-down from continuing supplied leakage. The seat, washer or other installed assembly needs the actual parts diagnosis; do not assume every model has the same rubber washer.
- At a vacuum breaker or other protective assembly: use the actual manufacturer’s service instructions or a suitable plumber. Do not cap, bypass or remove protection to stop a symptom.
- Inside the wall during prior use: report the freeze and hose-attachment history. The Model 17 instructions document this as a possible concealed burst pattern; the location does not prove the same failure on every faucet.
For any permitted stem or washer repair
- Close the actual upstream supply and control the affected segment’s residual pressure and hot-water risk if present. A closed nozzle handle is not upstream isolation for opening its stem.
- Follow the installed model’s pressure-relief and verification procedure before removing retained parts. If the supply cannot be identified or shut off, obtain service.
- Use the correct parts and specified assembly method. Do not substitute caulk, tape or extra torque for a failed pressure component.
- Complete reassembly before controlled restoration. Use only a safe, attended receiving point and inspect for leaks. If the original symptom involved hidden water, let the repairer plan verification instead of performing a deliberate full-flow challenge.
Keep routine winter preparation separate from emergency repair. Hose removal, drainage and freeze protection must follow the actual faucet instructions; a frost-free label does not guarantee every installation drains correctly.
Related guides
- How to Shut Off Water to Your House (With and Without a Main Valve)
- How to Turn Water Back On After Shutting It Off (Safely)
- Why Your Water Pressure Is Low After Turning the Water Back On
- Air in Pipes After Shutoff
For the wider sequence and device-specific directories, browse Water Entry, Shutoffs & Flow Control Systems.