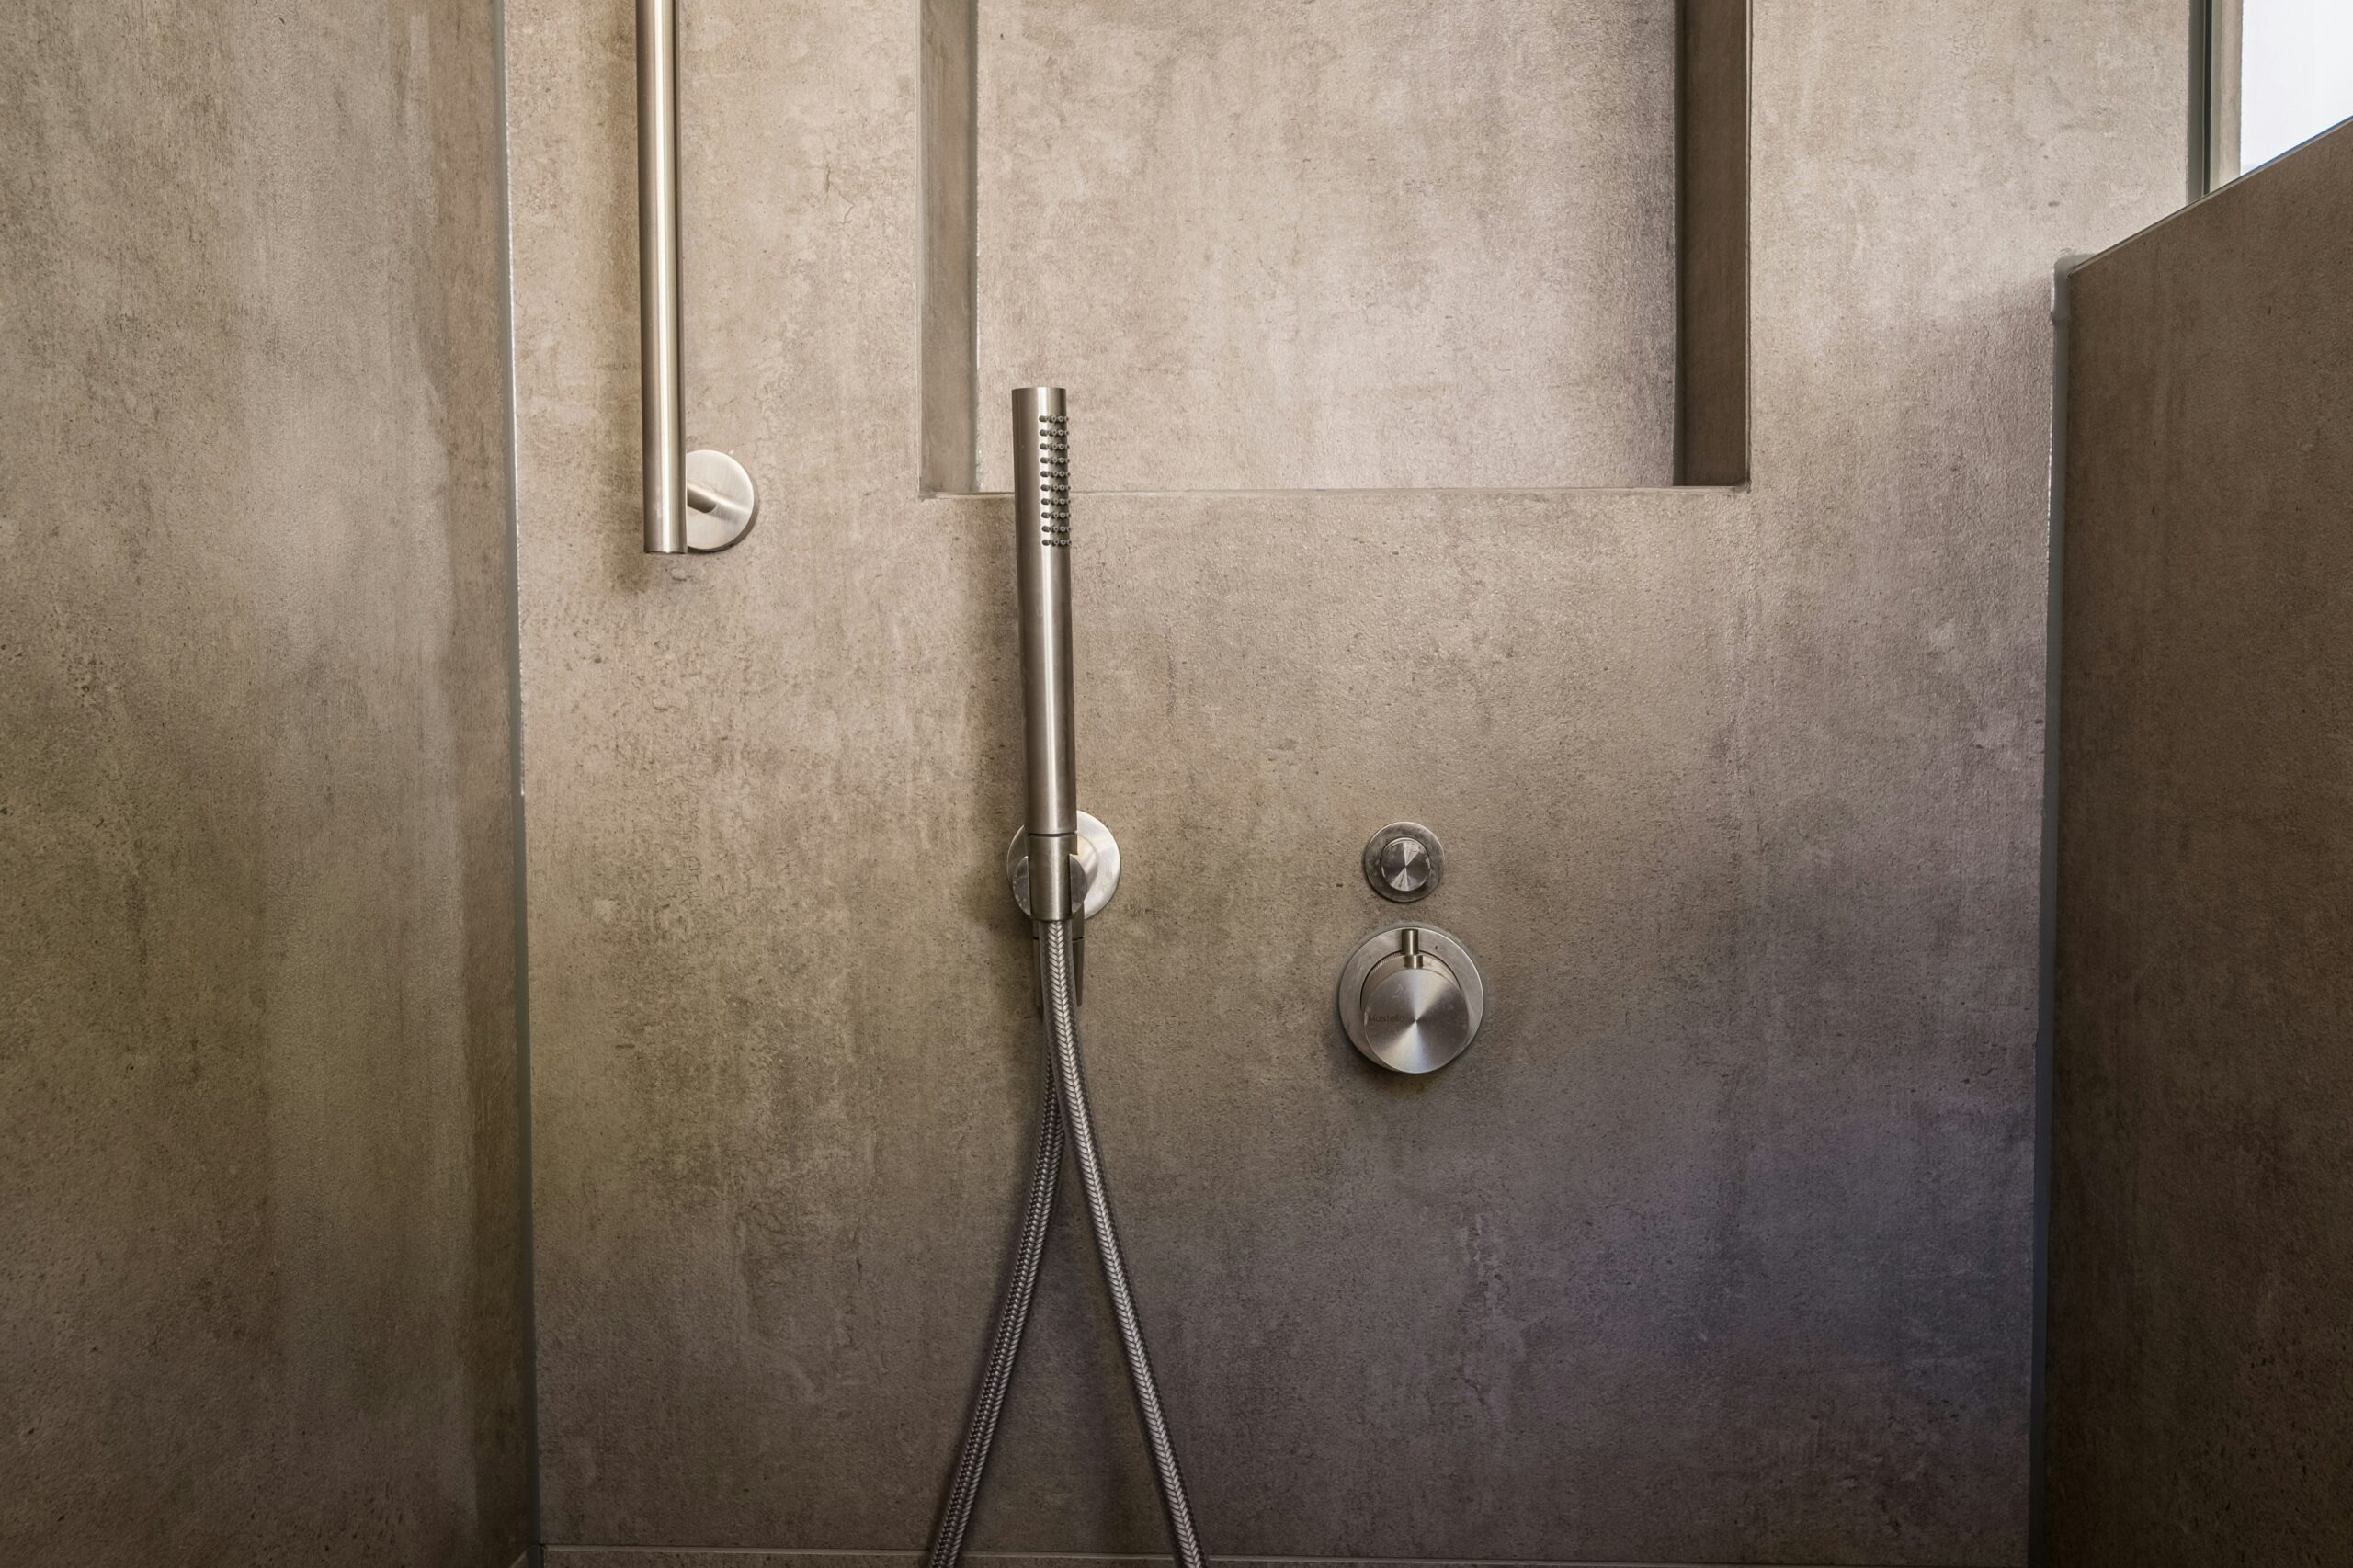
A whistle or squeal during shower flow is different from a knock at opening, a bang at closure or a drain gurgle. Record the original timing, setting and any change in delivery or temperature. Sound can travel through connected piping, and changing a head or handle also changes the operating conditions.
Stop for dangerous accompanying behavior
Stop use for leakage, unsafe temperature, severe movement or sudden loss of control. You do not need to remove a head or repeat a full-hot test first. A noise alone neither certifies immediate danger nor proves that continued use is harmless.
Useful observations
- The showerhead and valve/trim models, spray setting and whether the noise began after a head or parts change.
- Whether it was continuous during flow or appeared only at a particular ordinary setting; do not recreate it at temperature extremes.
- Other symptoms already observed, supply/work history and any actual gauge readings with their locations and demand state.
Why a head-off result is not conclusive
Removing a head changes resistance, flow and resonance in the connected system. A quieter open arm does not uniquely prove a defective restrictor or cartridge, and a remaining sound does not measure supply pressure. Do not use unrestricted hot/cold arm flow or close listening to a potentially hot jet as a default diagnosis.
Next steps
- Read the actual head spray/owner-care and valve operating instructions. Keep flow controls and protective functions intact.
- Inspect only intended safely accessible owner-care parts. If cleaning is appropriate, use the exact finish, product and retention method rather than a universal vinegar soak or forced removal.
- For persistent changed noise, give the installer the original conditions and actual model. Valve behavior, local restrictions, source/demand and transmitted noise can overlap; handle-position response is not proof of a particular failed component.
- Ask what measured pressure/flow and model-specific findings justify adjustment or replacement. Do not turn a PRV, open an unfamiliar stop or increase pressure to blow the sound away.
Before parts or pressure work
Identify the installed valve/trim and the actual owner-serviceable outlet. A volume control, temperature stop and supply-isolating service stop are different controls. Use only safely accessible known controls by their instructions and without force. For a removable head, screen or spout, establish its retention, cool/off state and residual-water handling, then use the specified finish/material care. Vinegar, a screen pull or a penetrating lubricant is not universally compatible. Refit fully before an attended check with safe temperature and a drain or receiver that can accept the flow.
Before opening a cartridge retainer, bonnet, supply joint or other pressure boundary, identify and isolate every feed that can pressurize the work, control temperature, relieve the actual segment through the appropriate controlled outlet and verify depressurization. A distant faucet may not relieve a chamber beyond closed local stops or checks. Keep the work isolated while open and use correct seals, retainers and complete reassembly before restoration. A specifically approved service flush needs its own secured capture and source-off steps before extraction or refitting.
After reassembly, follow the actual leak and protective-temperature checks before use. Do not overtighten fittings or replace a cartridge solely because a cleaning attempt or one head-off comparison did not help.
Related guides
- low water pressure
- stuck or failing valve
- Whistling or Screeching Noises in Pipes
- Why Your Bathtub Faucet Is Whistling or Making a High-Pitched Noise
- Why Your Shower Makes Banging or Knocking Noises When You Turn It On
- Why Your Shower Has Low Water Pressure but Other Faucets Are Fine
- Why Your Shower Spray Is Uneven or Pulsing
Safety sources
- Kohler Rite-Temp example: actual valve identification and model-dependent flow/noise conditions
- Moen: actual finish and product cleaning requirements
- Moen: appropriate supply isolation before service
- Watts 25AUB example: regulator service, pressure measurement and limitations
- Moen PosiTemp example: model-specific protective calibration and measured verification
- BrassCraft: water supply stop instructions