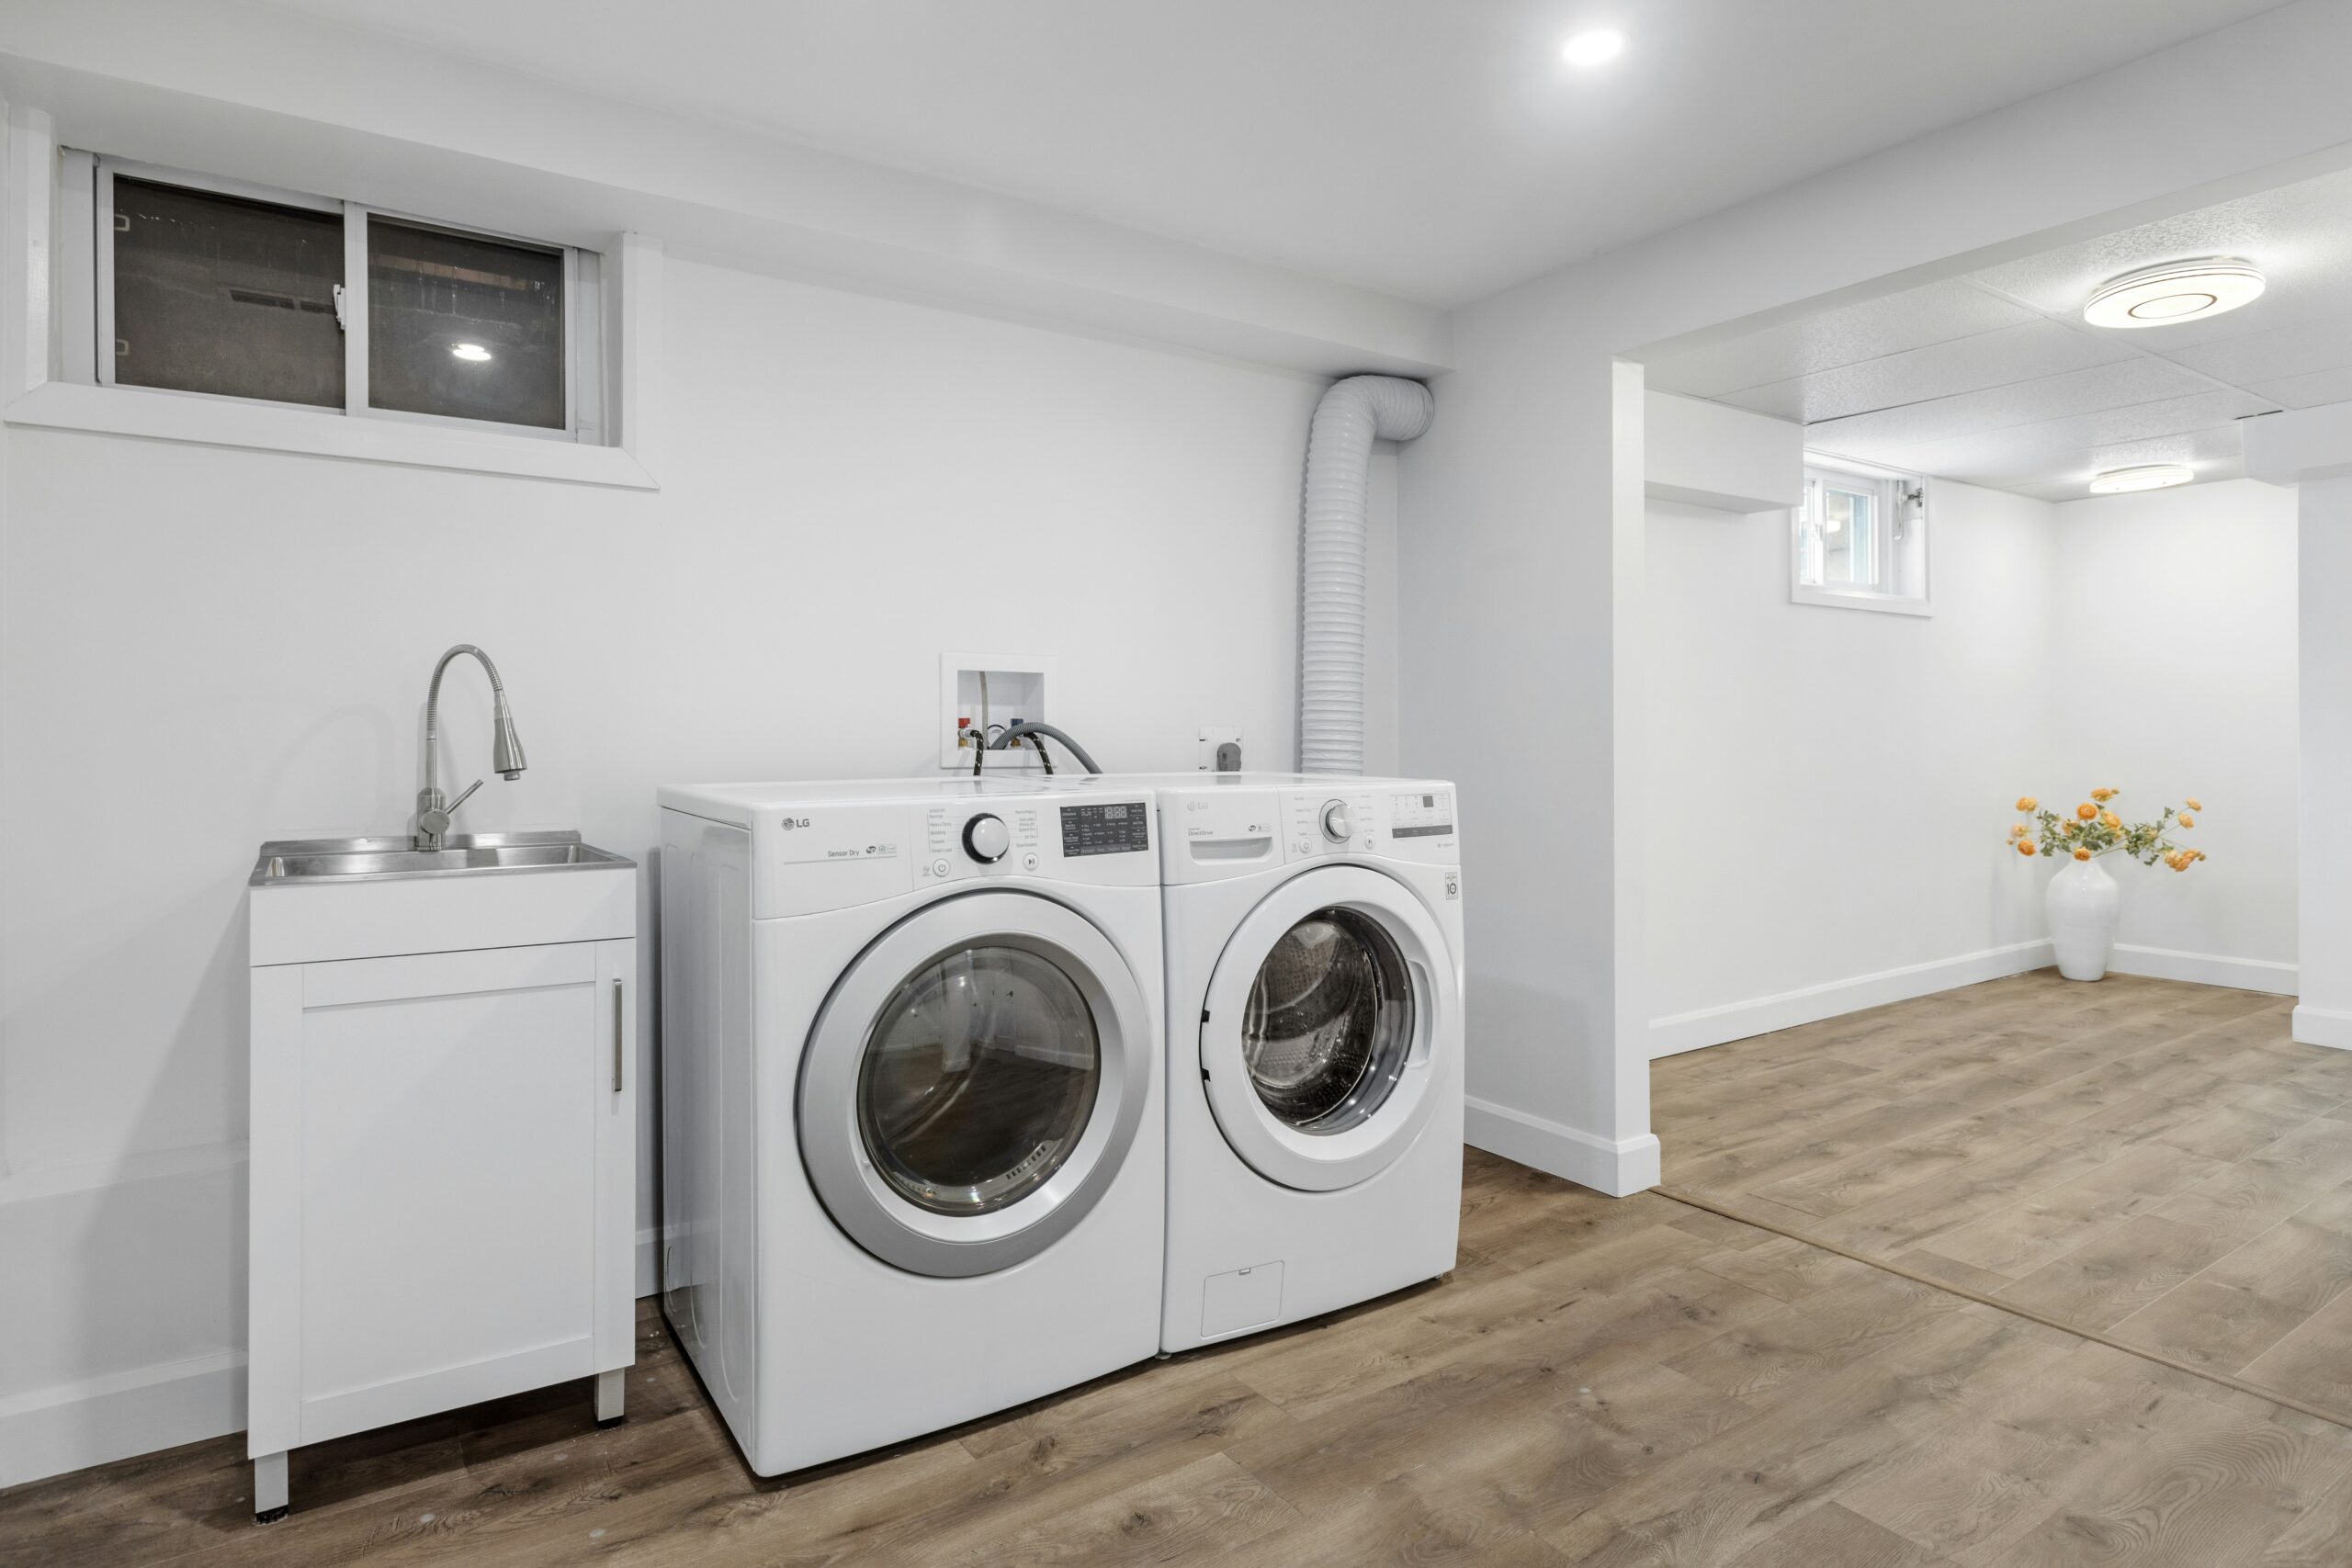
A washer that does not fill after a shutoff can have a supply-path issue, a restricted inlet, a cycle or door condition, or an appliance fault. Nearby sinks working does not prove the washer’s required feeds and pressure are available. Read the actual model’s no-fill instructions before disconnecting anything.
First keep electricity and water separate
Keep away from wet electrical equipment. Do not touch wet appliances, plugs or switches, or enter water to reach a breaker. When no gas leak is suspected, power may be isolated only from a safely accessible dry location; otherwise call an electrician or emergency help. Wet equipment needs qualified assessment before it is used again.
Checks that do not open a water connection
- Record the model, error display and whether it will not start, starts but does not fill, or fills and then loses water. Note the selected cycle and door or lid condition.
- From safe access, look for an obvious kink, visible leakage or a known supply control left closed after work. Do not pull a heavy washer against its hoses or power lead.
- Confirm the required feeds from the model instructions. Some washers require both hot and cold supplies even for a cold cycle; other designs differ. Do not add a splitter or improvise a feed conversion.
- A machine that fills and immediately drains may need its drain-hose installation assessed. Do not tape the hose airtight into a standpipe or assume every no-fill complaint is trapped air.
Before any approved hose or screen service
- Stop the machine and isolate appliance power as its instructions require, using only dry, safely accessible controls. Power off does not shut off the water.
- Close the actual water sources feeding the hoses. Identify their design; a quarter-turn control is not opened by repeated counterclockwise turns. If a control leaks, will not close or is inaccessible, obtain service.
- Control residual hose pressure and temperature by the actual product procedure. Prepare a suitable container to capture remaining water before loosening a connection. Never disconnect a hose while its source remains open.
- Identify whether the screen is a retained inlet-valve screen or a removable hose part. Whirlpool’s cited example cleans retained inlet screens in place. Visibility alone is not permission to pull a screen out.
- Follow the actual cleaning and hose reassembly instructions, using the specified seals and tightening method. Do not use generic tools or torque on every fitting. Restore supplies only after complete reassembly, then inspect for leaks before the permitted cycle check.
If the model specifically calls for a hose-flow test
Use that documented test only after the sources are closed and residual pressure controlled for disconnection. Secure the approved outlet and a receiver that can safely contain the expected flow and temperature; keep water away from electrical equipment. Open only the required source under attendance, stop for unsafe conditions, then close it again and control residual pressure before manipulating or refitting the hose. A strong-looking stream is not a calibrated pressure reading. Skip the test and obtain service if the capture or access is uncertain.
When to stop troubleshooting
For a leaking valve, damaged hose, persistent code, uncertain isolation or continued no-fill after the model’s basic checks, contact the installer, plumber or appliance technician as appropriate. Repeated cycle attempts or waiting for air to clear do not establish a repair. Follow supplier water-quality restrictions before returning the appliance to use.
Related guides
- How to Turn Water Back On After Shutting It Off (Safely)
- Why Your Water Pressure Is Low After Turning the Water Back On
- What to Do If Water Smells or Looks Dirty After a Shutoff
- Air in Pipes After Shutoff
For the wider sequence and device-specific directories, browse Water Entry, Shutoffs & Flow Control Systems.