First locate the escape path: water leaving the spout with the handle off, water around the handle, or a wet supply connection under the sink. A leak noticed after restoration is real evidence of timing; it does not prove pressure loosened a nut or that the faucet is undamaged.
Control damage before examining parts
Keep away from wet electrical equipment. Do not touch wet appliances, plugs or switches, or enter water to reach a breaker. When no gas leak is suspected, power may be isolated only from a safely accessible dry location; otherwise call an electrician or emergency help. Wet equipment needs qualified assessment before it is used again.
Use only a known, permitted, safely accessible supply control. Follow its actual type and instructions; do not force it or add a wrench to an unfamiliar handle. If it leaks, will not close or serves a shared system you cannot identify, stop and contact the utility, building manager or plumber as appropriate.
Match the observed leak
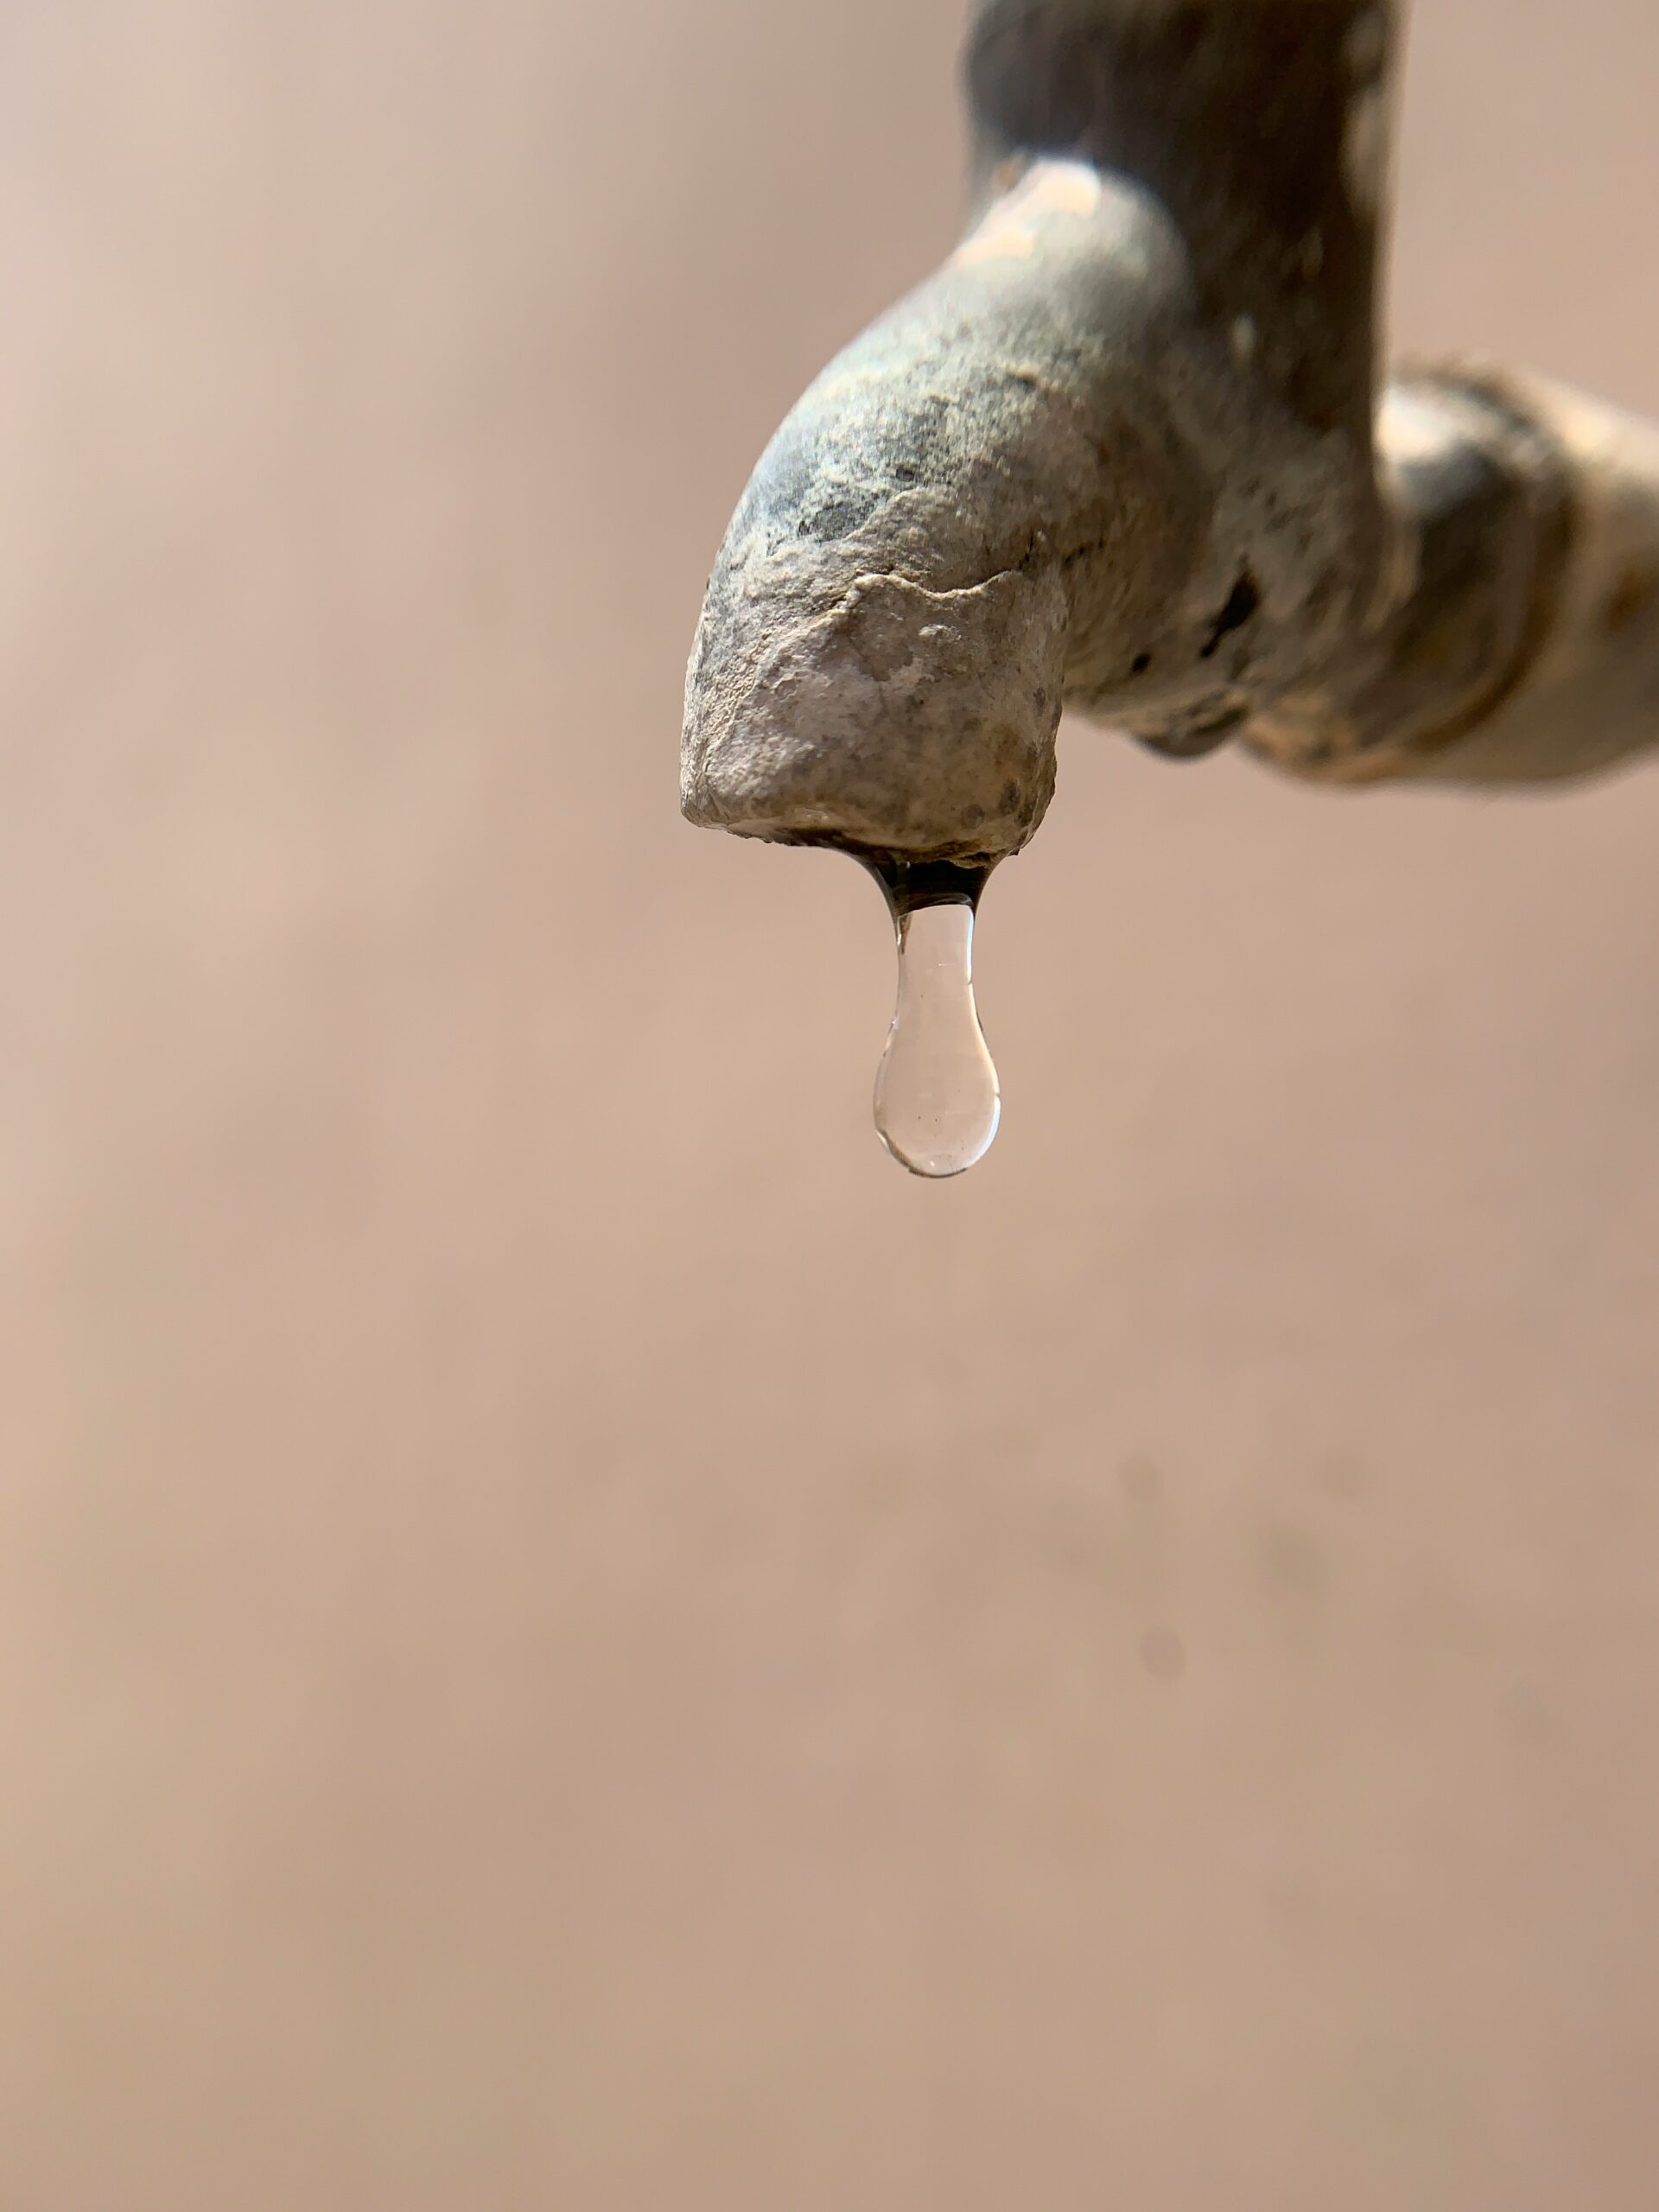
- Spout only, shortly after closure: a finite amount of retained spout water can drain after use on some models. Continued supplied dripping is a different condition. Record whether it stops, returns without use or continues.
- Around a handle: the actual packing, seal or cartridge design matters. Do not remove a cap and tighten an unspecified retaining nut under pressure.
- Under the sink: identify where water first appears without touching wet electrical equipment or tightening a live joint. Water can travel along a hose, so the lowest drop is not always the origin.
- Several fixtures: report the shared timing and any reliable pressure record. Do not diagnose a regulator or adjust house pressure solely because several leaks appeared.
Before repair
- Find the faucet’s make, model and parts instructions from paperwork or a safely visible label. Single-handle and two-handle models use different components; cartridges are not universally interchangeable.
- For internal faucet, cartridge, retaining or supply-connection work, isolate the actual required feeds and relieve the affected segment by the product procedure. Verify isolation before loosening anything. A small leak does not make pressure-boundary work safe with water on.
- An external packing adjustment specifically allowed by an identified product is a separate procedure. It does not authorize tightening every visible nut; the faucet manufacturer may require the water off for all repairs.
- Use the specified compatible part and assembly method. Do not apply extra handle force, generic sealant or an arbitrary tightening increment to stop an unidentified leak.
- After complete reassembly, restore the known supply as directed and perform an attended, temperature-controlled check with a safe receiver. Inspect the repaired path. Stop and obtain service if the leak remains or isolation is unreliable.
Should I flush it at full flow?
Do not use a full-open 30–60 second flush as a generic leak repair. Supplier or manufacturer-directed flushing may be appropriate for a known condition, but it needs a suitable outlet and receiver. Active leakage or water-quality concerns change that decision.
Related guides
- Why Your Faucet Drips After You Turn It Off
- How to Turn Water Back On After Shutting It Off (Safely)
- Why Your Water Pressure Is Low After Turning the Water Back On
- Air in Pipes After Shutoff
For the wider sequence and device-specific directories, browse Water Entry, Shutoffs & Flow Control Systems.