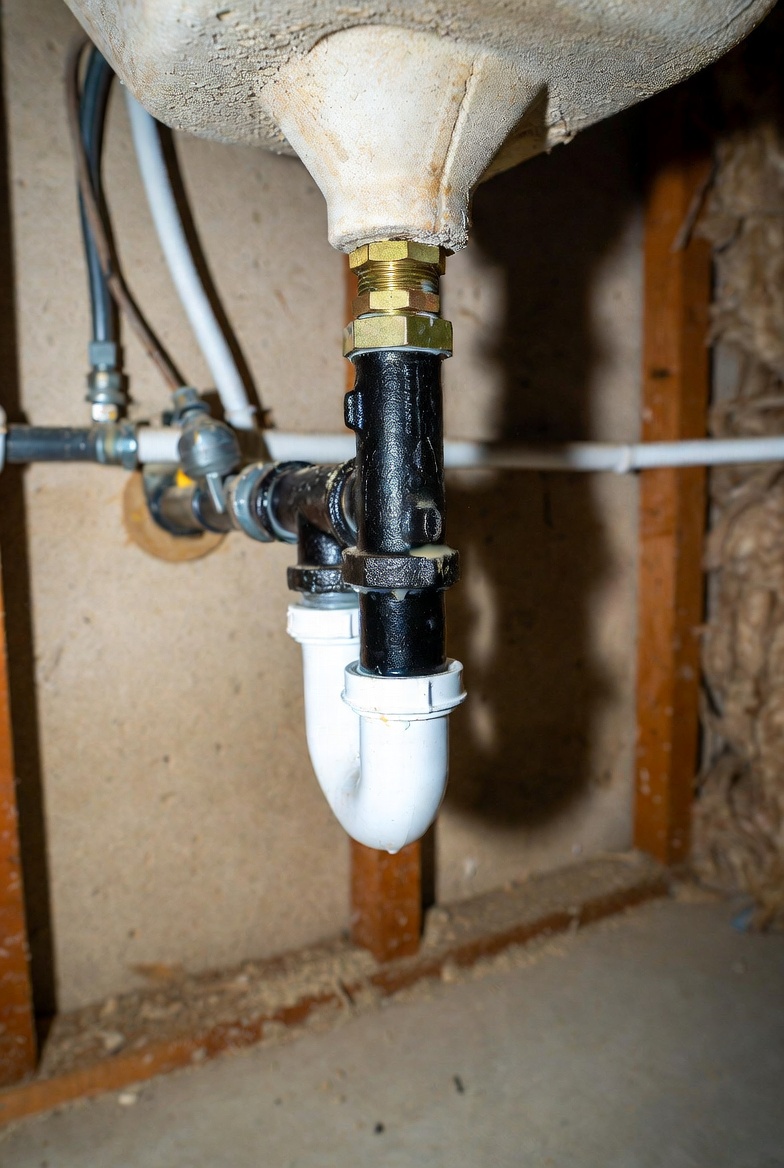
For water under a sink after drain work, stop use and connected discharge before adjustment. Identify whether the source is the sanitary drain, pressurized supply or water tracking from above.
For strong, widespread or unexplained gas-like fumes, exposure symptoms, or suspected high sewer-gas concentrations in an enclosed space, leave the building immediately and call the fire department or emergency services from outside. Avoid flames, switches and other ignition sources; do not remain to ventilate, sniff drains or investigate. Smell intensity does not measure the concentration. A faint localized drain odor without those warning signs calls for a different plumbing investigation; it does not automatically establish a fuel-gas leak.
If fuel gas is suspected, leave the building or affected area immediately. Do not operate valves, switches, plugs, appliances or phones there. Call the gas emergency service from a safe location well away, and wait for responders’ clearance.
Keep away from wet electrical equipment. Do not touch wet appliances, plugs or switches, or enter water to reach a breaker. When no gas leak is suspected, power may be isolated only from a safely accessible dry location; otherwise call an electrician or emergency help. Wet equipment needs qualified assessment before it is used again.
For wastewater rising from a drain or affecting several fixtures, stop adding water and keep affected appliances from discharging using only safely accessible dry controls when no gas emergency is suspected. Avoid sewage contact, keep children and pets away and arrange prompt drainage help. Notify building management or the sewer agency as appropriate. Do not run fixtures to locate a shared blockage.
Record the actual work and original event
- Original first wet location and whether the faucet, stopper or appliance was in use.
- Actual new joint/seal, upper drain-body moisture and installer instructions.
- Water damage, residue, electrical wetting and any leak continuing with local use stopped.
What this evidence establishes
The first drip below a joint may have travelled from a higher source. A supply leak can continue with the faucet off; a drain joint has a different source and sealing method. Repair timing does not justify reseating every nut or using tape on a washer seal.
Before service or another test
If a cleaner may be present, identify the exact product and follow its label. Do not add another cleaner, acid, bleach, ammonia, vinegar or an improvised neutralizer. Do not plunge, snake or open the trap while hazardous residue may remain; tell the provider what was used. A rinse or elapsed time is not proof all residue is gone.
What to do next
- Keep away from wet electrical equipment and use only safe dry controls when no gas emergency is suspected. Do not enter water to shut power or move wet plugs.
- Do not run hot/cold or fill the basin to stress a known leak, or sniff damp cabinet corners to assess damage. Dry accessible exteriors only where safe after input stops.
- Stop all input before any nut is touched or loosened. For suitable service, identify actual washer, thread, flange seal and curing instructions instead of generic hand-tight-plus-pliers or added caulk.
- Fully assemble before a small attended check and stop at leakage. Do not keep a small drip in use while monitoring; persistent or hidden leakage needs actual repair.
Appropriate ordinary service
Ordinary drain care applies only to an otherwise sound isolated sink with known cool contents, no chemical, sewage, gas or electrical hazard and identified owner-serviceable parts. Keep the faucet and every connected discharge inactive before loosening a joint. Account for retained water in the basin, tailpiece and trap and provide adequate containment. Use the actual compatible washer/nut, insertion, support and tightening method; some compression is intended. Do not force a corroded or glued joint or select an extra quarter turn for every fitting. Fully refit all connections before a small attended cool-water leak check. Never run water into a disconnected drain or during adjustment. Stop for leakage, rise, movement or uncertainty. A bucket does not replace a connected accepting drain.
Supply work is separate from keeping the faucet off for drain care. Before opening a cartridge, hose, valve or other pressurized assembly, identify and isolate every feed, release trapped pressure through an appropriate controlled outlet and verify depressurization. Account for hot water and alternate feeds. Do not force a suspect stop valve, disconnect a hose to test flow or assume a reduced setting makes an assembly safe to open. If safe isolation cannot be established, leave it assembled and obtain appropriate help.
Can I tighten the first nut that drips while water is running?
Stop input first and establish the actual source and connection. More force at a lower wet joint may not address the higher leak and can damage parts.
Contact the original provider promptly with the actual work and observations; timing does not establish fault, a warranty entitlement or a one-visit cure. Persistent/shared failure, hidden damage, inaccessible parts or an uncertain installed arrangement need appropriate assessment. Keep cleanout caps closed and roof/vent changes out of owner experiments.
Related guides
- Drain noisy after repair
- Overflow problem after repair
- Post-Repair Sink Drain Problems
- Bounded ordinary bathroom-sink care
Safety sources
- Wisconsin DHS: sewer-gas exposure and emergencies
- Con Edison: suspected gas leaks
- CDC: electrical hazards near water
- Madison Metropolitan Sewerage District: stop discharge and report sewer backup
- Example drain-opener label: restrictions on plunging, disposal operation and mixing
- Delta example: identifying and removing a retained sink stopper
- Oatey HDC9682 example: actual trap parts and completed assembly
- BrassCraft: water supply stop instructions