Quick Answer:
New shutoff valves can fail early because of trapped debris, installation stress, or mismatched parts. Inspect the valve for visible damage, isolate the water supply before working, flush any debris from the line, and replace the valve if it is damaged or leaking beyond a simple repair.
Why This Happens
There are a few common reasons a brand-new shutoff valve stops working quickly:
- Debris left in the pipe (solder slag, scale, pipe shavings) gets pushed into the valve and prevents proper sealing.
- Corrosion or old pipe deposits in the line damage new seals as soon as water flows.
- Improper installation—overtightening, using the wrong size or type of valve, or poor alignment—causes early failure.
- Thermal or mechanical shock from nearby work, for example during appliance installs, can affect valve seating; a common example is Valve failure after water heater install.
Step-by-Step What to Do
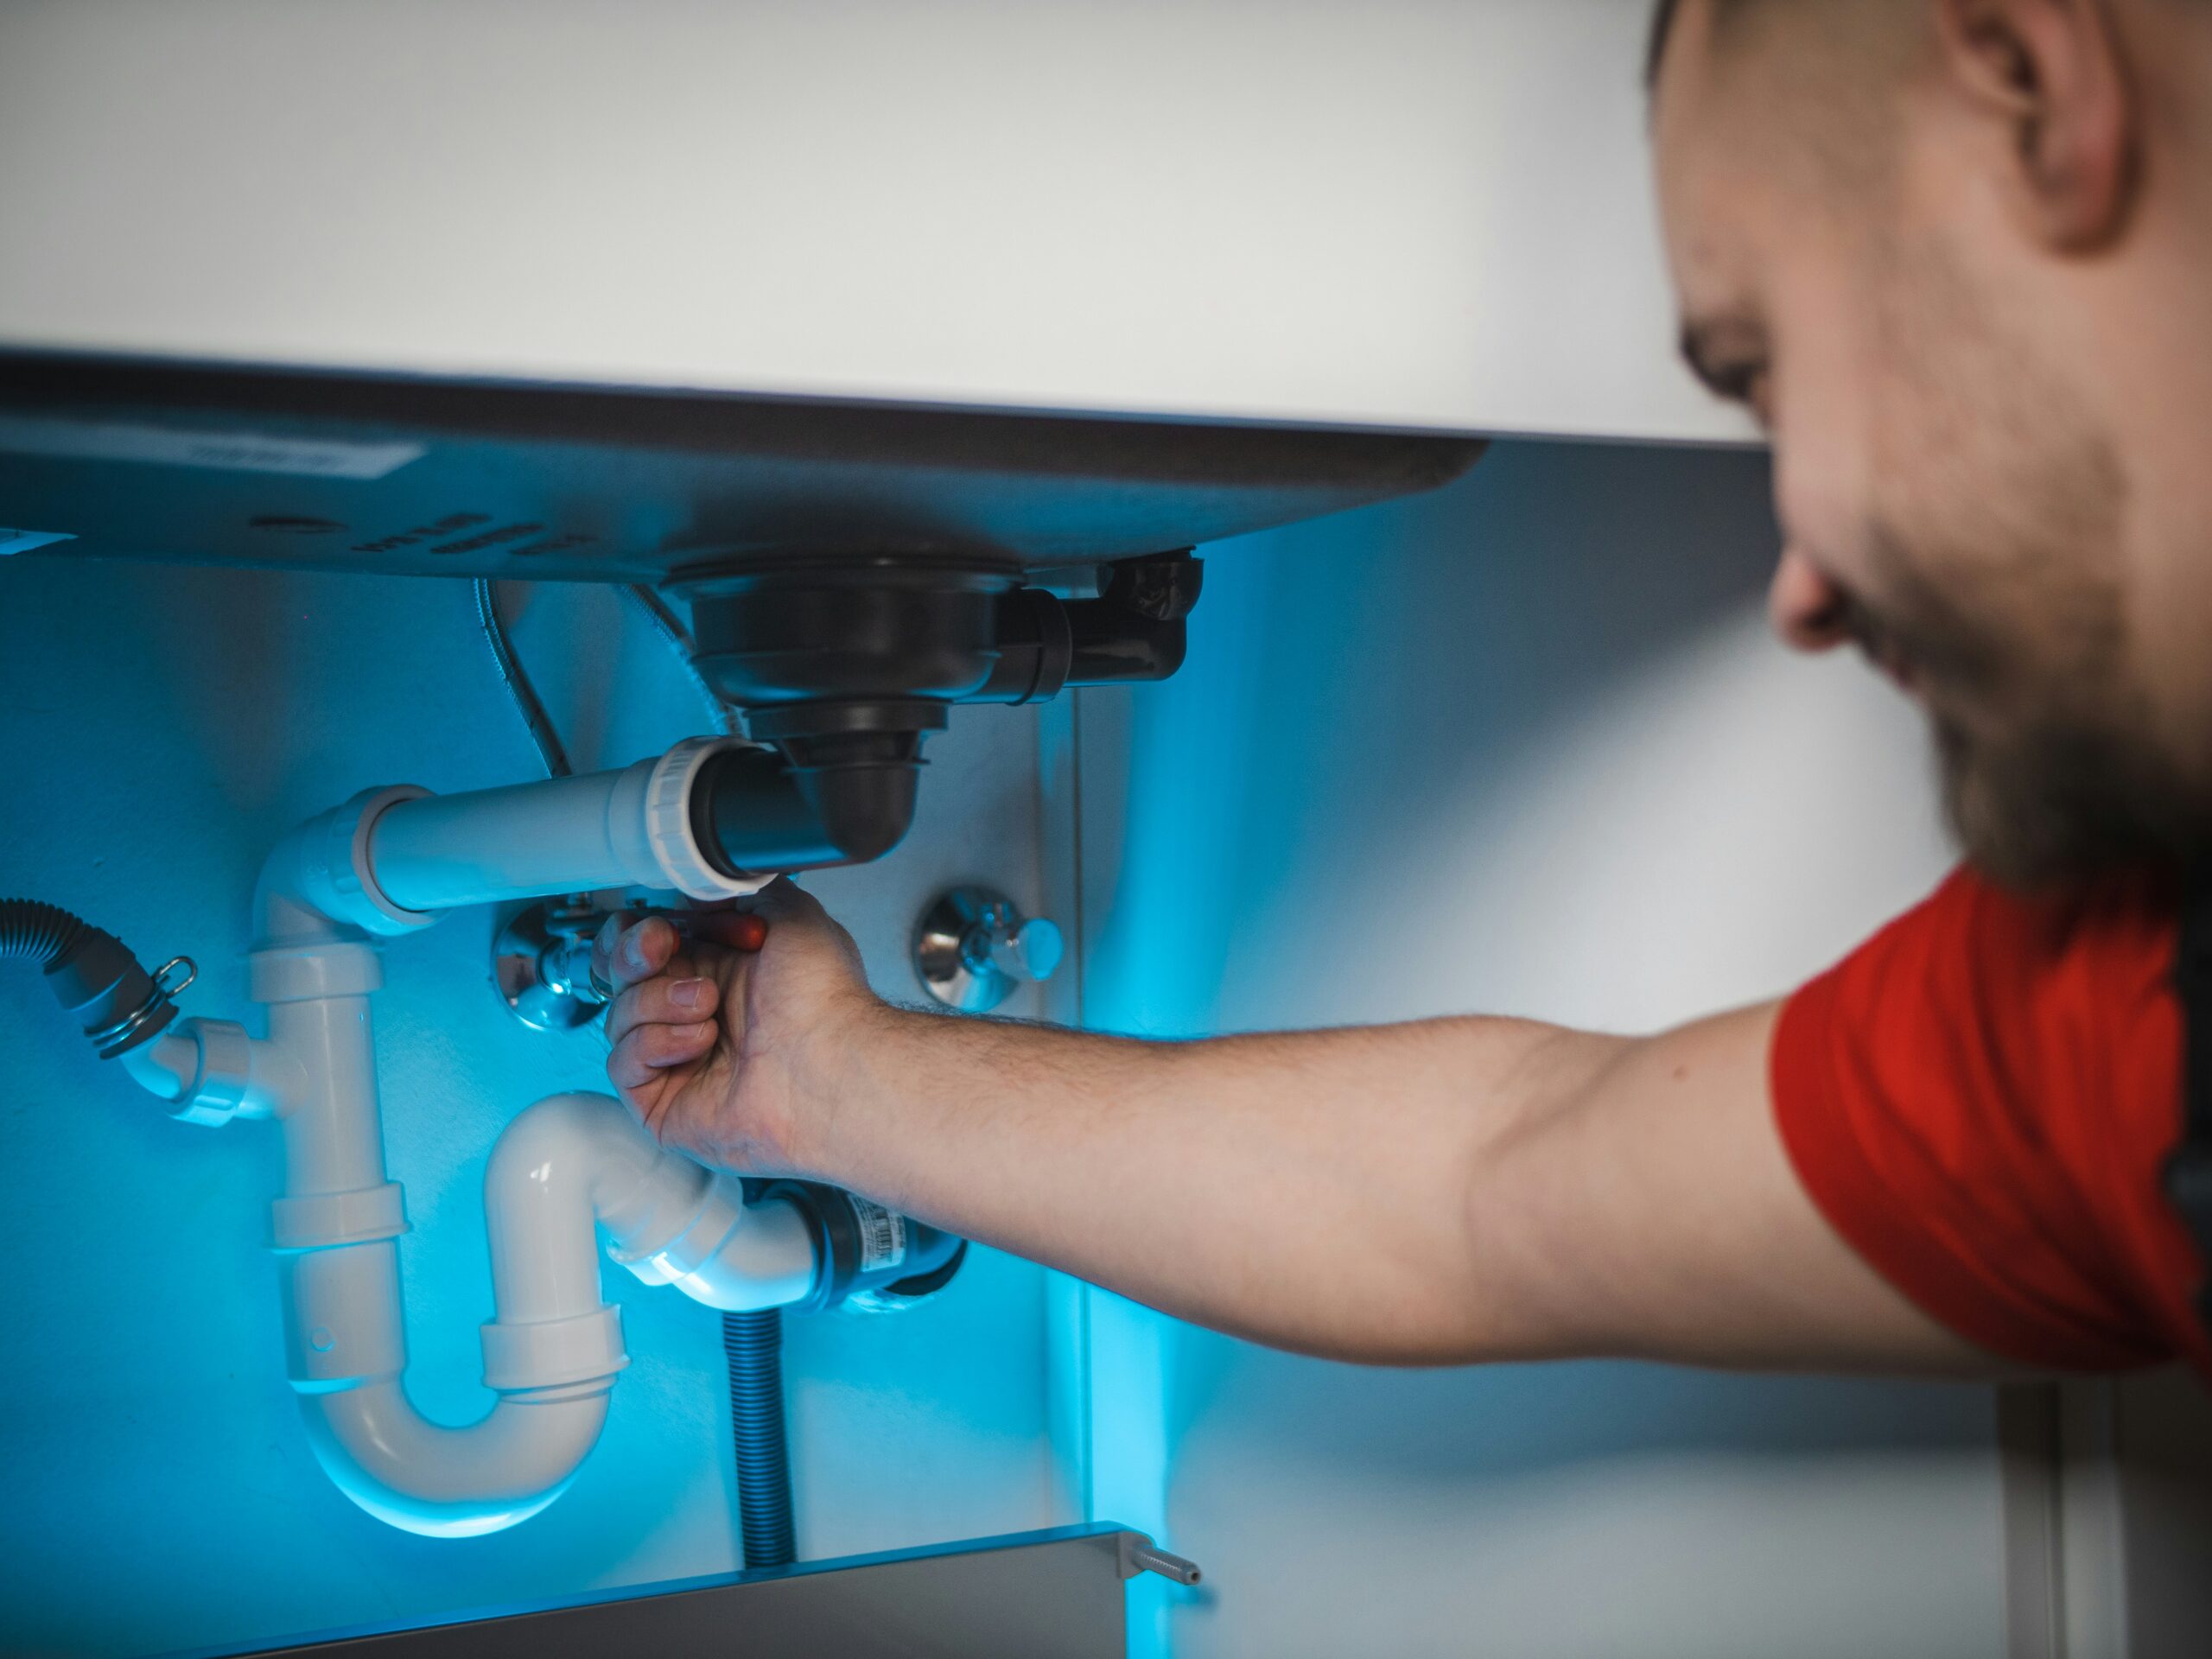
1. Inspect the valve
- Look for obvious signs: leaks at the stem or body, loose handle, corrosion, or missing components.
- Try to operate the handle gently. If it feels gritty, stiff, or slips, make note—this helps decide whether to repair or replace.
2. Isolate the supply
- Shut off the nearest upstream valve or the main water supply before you touch the valve.
- Open a downstream faucet to relieve pressure and drain the section of pipe you’ll work on.
- Keep towels and a bucket handy for residual water.
3. Flush debris
- With the valve removed or before final installation of a new valve, briefly open the upstream supply while directing the flow into a sink or bucket to wash out loose material.
- Run the downstream fixtures for a minute or two to clear any remaining grit from the line.
- Be cautious: control the flow so it does not spray, and use protective eyewear and gloves.
4. Replace if needed
- If the valve body is cracked, the stem leaks, or the internal seals are ruined, swap in a correctly sized replacement valve.
- Follow the valve manufacturer’s instructions for installation; hand-tighten first, then use a wrench as directed—avoid overtightening.
- After installation, turn the supply back on slowly, check for leaks, and operate the valve a few times to confirm smooth action.
What Not to Do
- Do not force the valve or ignore leaks. Forcing a stuck valve can break it or tear packing, and ignoring a leak allows damage and corrosion to worsen.
- Don’t skip isolating the supply before disassembly.
- Don’t use mismatched parts—size and connection type must match the pipe (compression vs. sweat vs. threaded).
When to Call a Professional
Call a plumber if you encounter any of the following:
- Extensive corrosion or brittle piping where removing a valve may damage the surrounding pipe.
- Steps that require soldering or cutting pipe that you’re not comfortable doing safely.
- Complicated jobs such as multiple valves, hidden supply lines inside walls, or if the water won’t shut off at the main.
- If the valve is part of a larger appliance connection problem, or you suspect an issue like Under-sink valve frozen in place that could involve trapped ice or hidden damage.
Safety Notes
- Always shut off water before removing or replacing a valve. Relieve system pressure by opening a faucet first.
- Wear eye protection and gloves when flushing debris or working with tools around pressurized pipe.
- If electrical appliances or outlets are nearby, turn off power at the breaker to avoid hazards from spilled water.
- Know where your main shutoff is and how to operate it quickly in an emergency.
Common Homeowner Questions
-
How long should a shutoff valve last?
Many valves last decades, but early failure usually means debris, poor installation, or corrosion. -
Can I replace a valve myself?
Yes for simple compression or threaded valves if you’re comfortable with basic plumbing; call a pro for soldered joints or corroded pipes. -
What prevents this from happening again?
Flush the line after any work, use the correct valve type and size, and don’t overtighten during installation.