Quick Answer:
If an under-sink valve is stuck and won’t move, stop and isolate the water supply first. Inspect the valve for visible corrosion or debris, try to clear and flush the line, and if the valve still won’t operate or leaks after freeing attempts, replace it. Do not force the valve or ignore any leaks.
Why This Happens
- Mineral deposits and corrosion build up on the valve stem and seats over time, especially in hard-water areas.
- Debris from old supply lines or a failing faucet can jam the valve internals.
- Lack of use allows parts to seize. Age and worn seals make the valve harder to move and more likely to leak when forced.
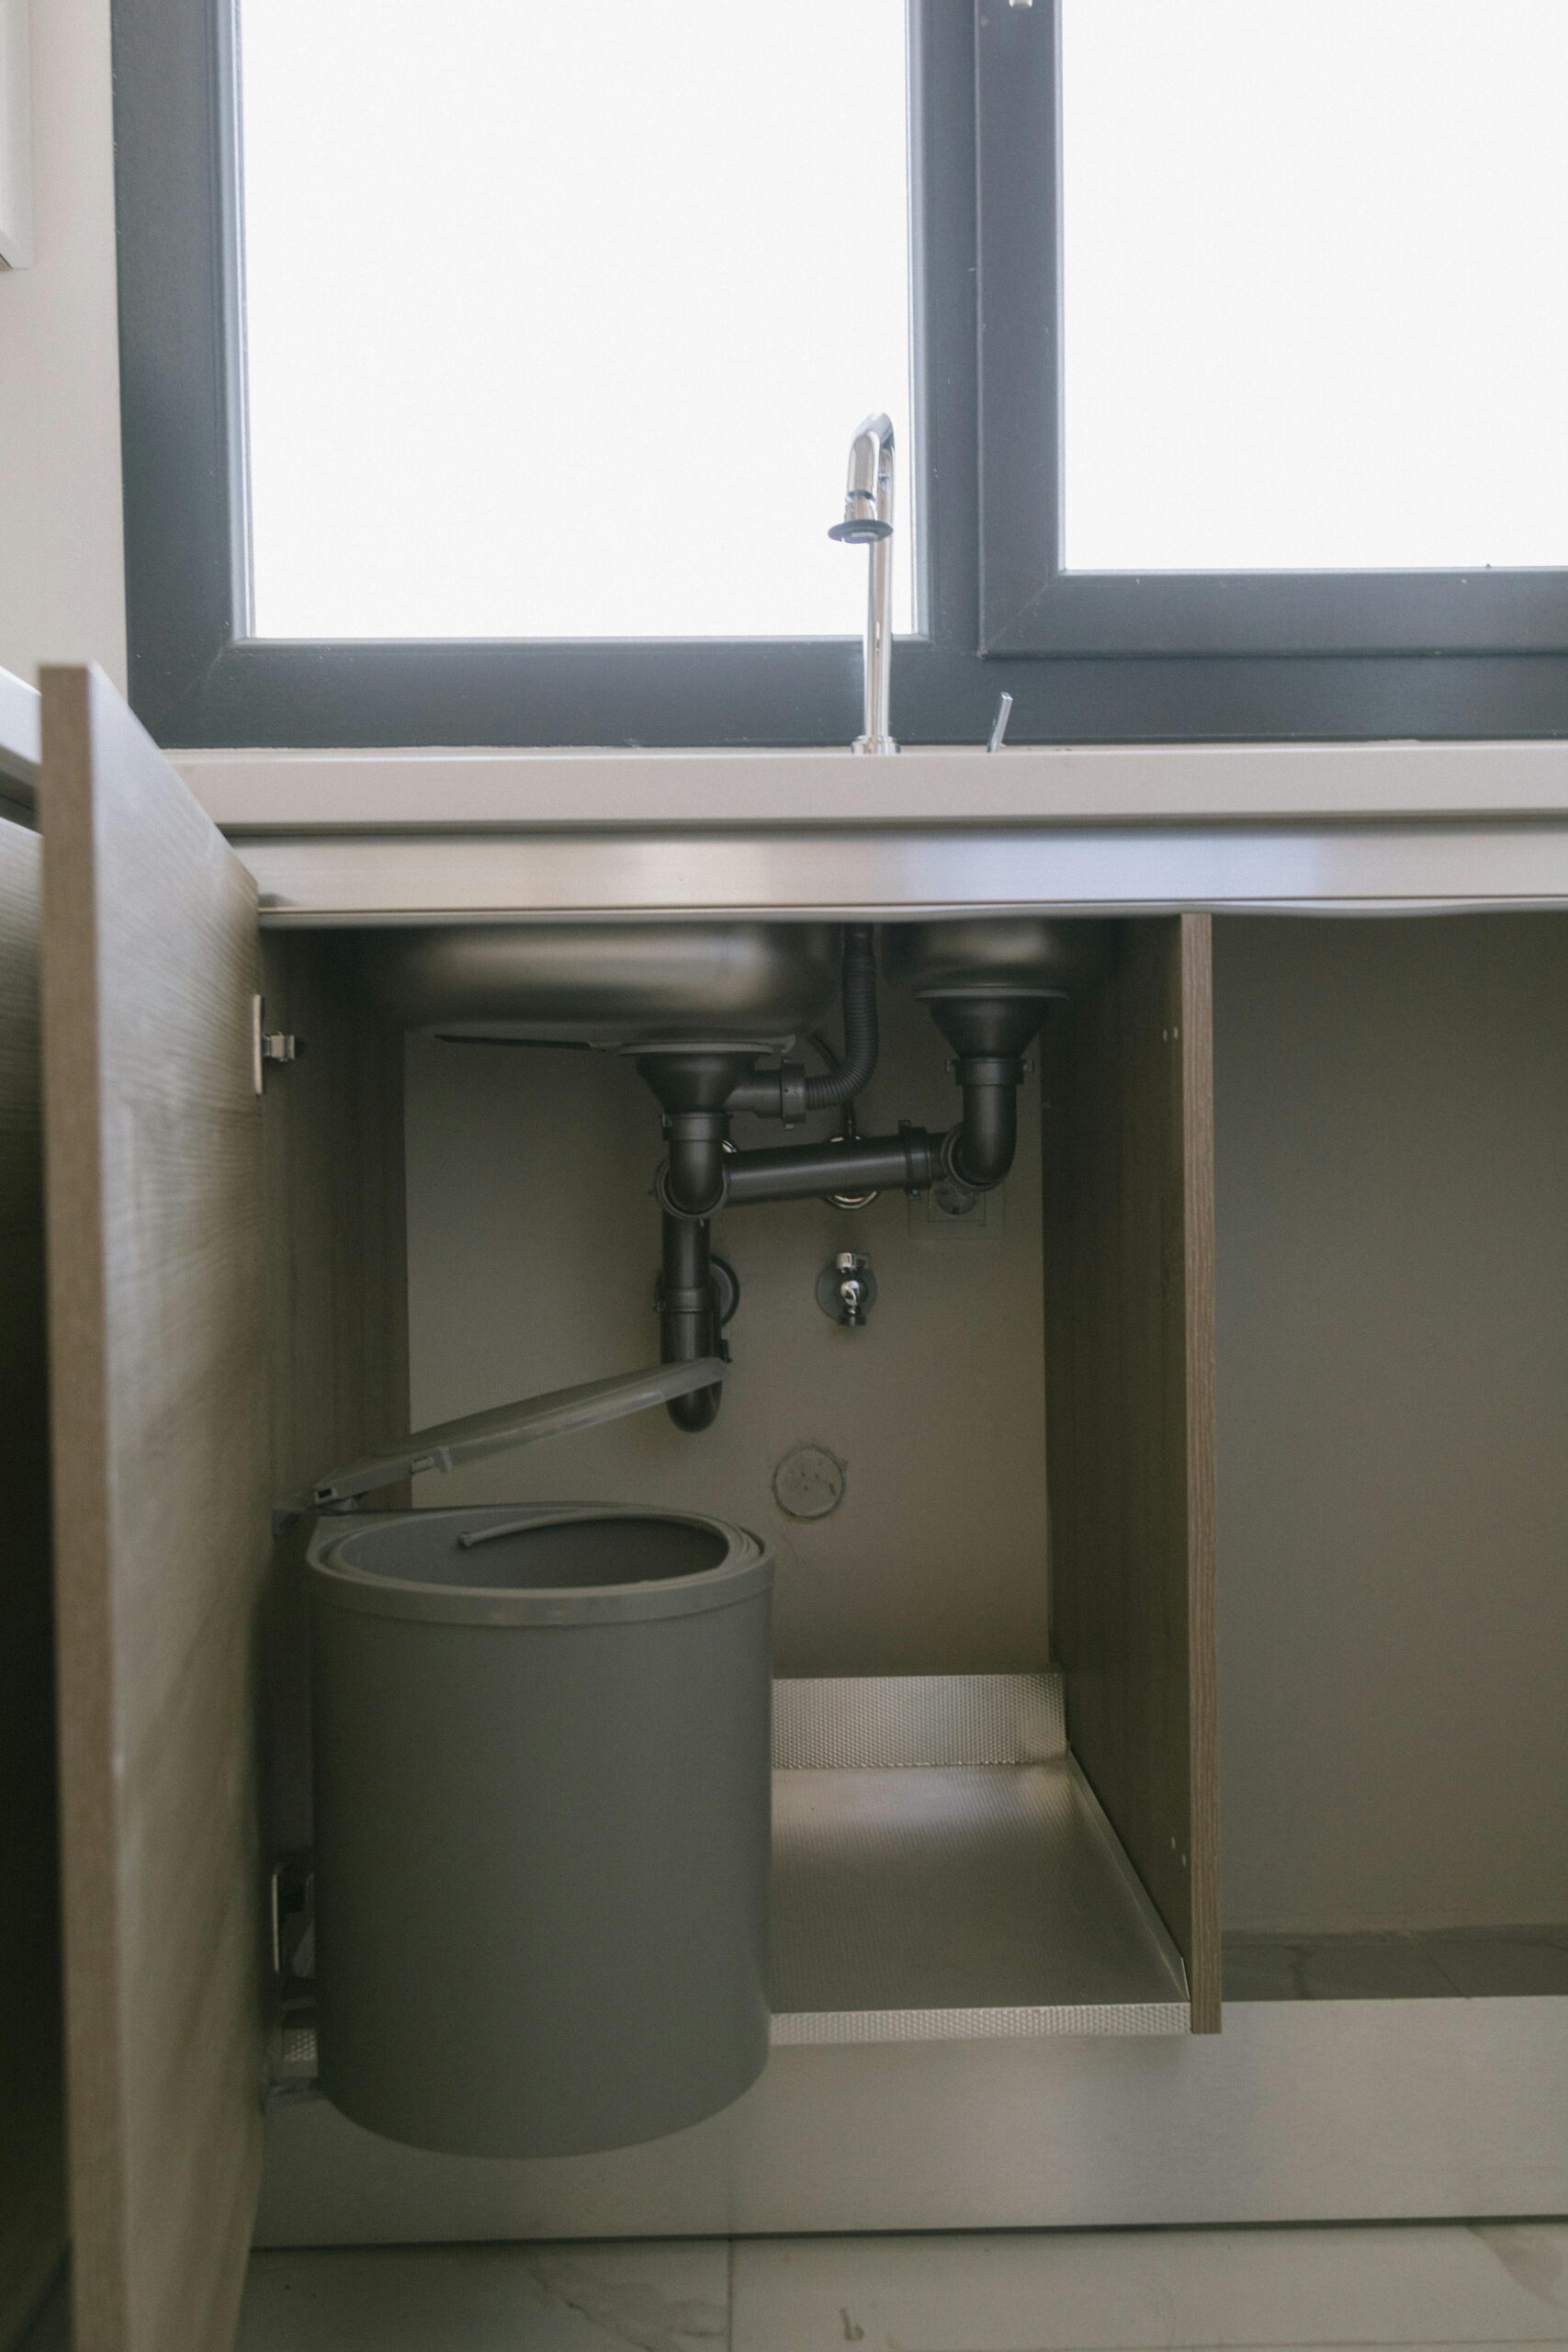
- Open the cabinet and look at the valve body, handle, and supply lines. Note corrosion, mineral crusts, visible cracks, or active dripping.
- Check whether the handle turns at all or just slips. Take a close look at the packing nut and stem for rust or buildup.
- If the under-sink valve is the only access to that fixture, shut off the house main if needed to stop flow before you work on the stuck valve.
- Place a bucket and towels under the valve to catch any water when you loosen fittings or if pressure releases suddenly.
- With the water isolated, open the faucet to drain residual water from the line.
- Remove the supply line from the valve outlet and look for sediment or broken bits. Flush the supply line into a bucket to clear debris.
- Use a small brush or cloth to remove mineral deposits around the stem and packing nut. A safe penetrating solution may help loosen light corrosion; follow the product directions and rinse before reassembly.
- After cleaning and flushing, try operating the handle gently. Use steady, controlled pressure — not jerking motions.
- If the handle now turns but leaks when open or closed, do not reuse the valve; it likely has internal damage.
- If the valve remains stuck, leaks after being freed, or the stem is clearly damaged, replace the valve. Shut the water off completely, remove the old valve, and install a new one designed for the same connection type (compression, sweat, or threaded).
- After replacement, restore water and check carefully for any leaks at joints and the valve body.
- Do not force the valve with excessive tools or leverage — this can break the valve or the pipe and create a bigger emergency.
- Do not ignore leaks or small drips; a leaking valve can cause water damage and will often fail completely if left alone.
- Do not use an open flame or apply heat near plastic fittings or cabinet surfaces to try to free a valve.
- Call a plumber if the valve is corroded into the pipe, the valve breaks while you’re working on it, or you are unsure how to shut off the house supply safely.
- If freeing the valve produces continued leaks, or the supply lines are old or damaged, a pro can replace the valve and inspect nearby piping.
- If you encounter a situation like Valve handle spins but won’t close or a larger failure such as Shutoff valve breaks during emergency, stop work and call a licensed plumber.
- Always isolate the water before loosening fittings. Have towels and a bucket ready to catch water.
- Wear gloves and eye protection when working with rust, debris, or chemical products.
- Avoid using excessive force that could shear a valve or pipe; that risk can lead to major water damage.
- Q: Why did the valve get stuck?
A: Usually mineral buildup, corrosion, debris, or long periods without use. - Q: Can I lubricate the valve to fix it?
A: Light penetrating oil can help free a stuck stem, but if the valve leaks afterward you should replace it. - Q: How long does a replacement take?
A: A straightforward replacement typically takes 30–60 minutes for a single under-sink valve for a DIYer; a plumber may be faster.
ul>