Quick Answer:
If an old gate valve won’t stop water, first isolate the supply, then inspect the valve for corrosion or debris and try flushing the line. If the valve still won’t seat, replacement is usually the reliable fix.
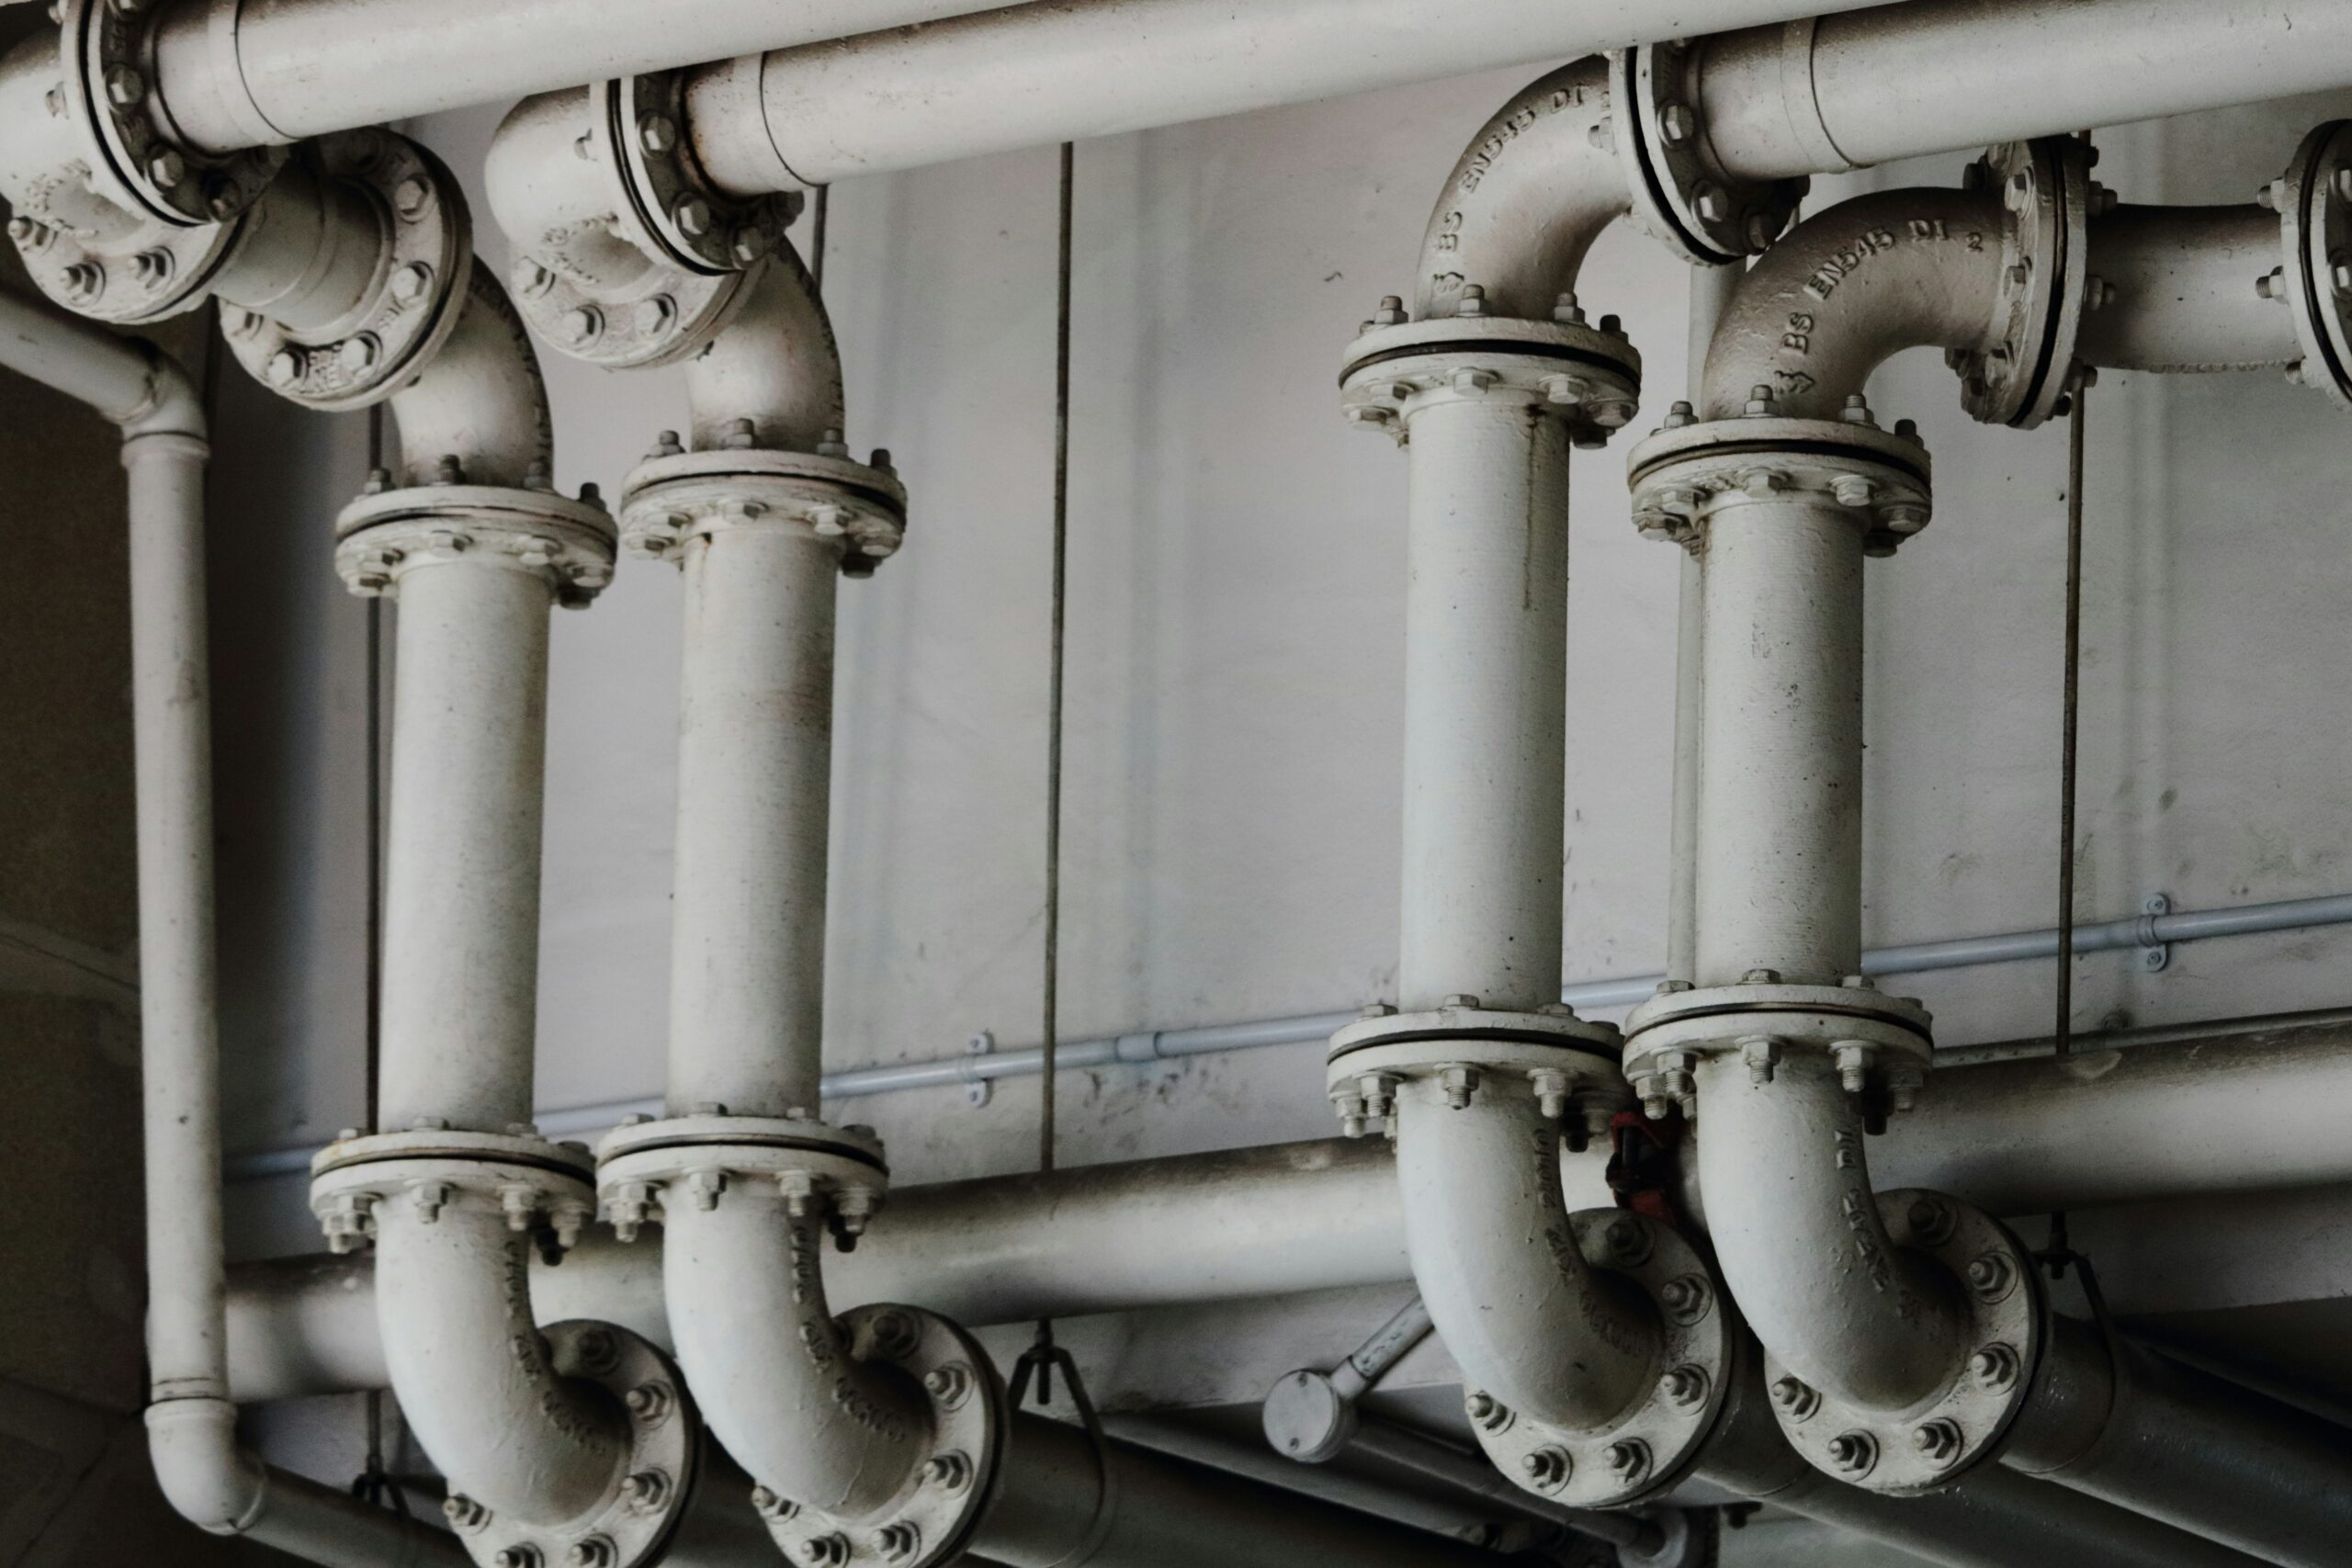
Why This Happens
Gate valves can fail to seal for a few common reasons: mineral buildup and debris prevent the gate from seating, internal corrosion weakens the parts, or the stem and packing wear so the valve no longer travels or seals properly. In some homes the valve body corrodes inside walls or behind finishes; for a related problem see Valve corrosion inside walls. Old valves were not designed for frequent operation and can stick after years of little use.
Step-by-Step What to Do
Isolate the supply
- Locate and shut the nearest upstream shutoff or the main water supply before touching the valve.
- Open a downstream faucet to relieve pressure and drain water from the line.
- Have towels and a bucket ready for any residual water.
Inspect the valve
- Visually check the valve body, stem and packing nut for corrosion, cracks or obvious damage.
- Turn the handle gently to feel for stiffness or grinding; stop if you feel sudden resistance.
- Look for leaks around the stem or seat when the supply is briefly turned back on for testing.
Flush debris from the line
- If you suspect debris, with the isolation valve open briefly, open a downstream tap to flush the line until the water runs clear.
- Sometimes a brief flush and repeat cycling of the valve clears sediment and restores sealing.
- Always re-isolate the supply before attempting repairs to the valve itself.
Replace the valve if needed
- If inspection shows corrosion, a damaged seat, or the valve still leaks after flushing, plan on replacing it.
- Turn off the main supply, drain the line, then remove and replace the gate valve with the correct type and size for the pipe.
- When replacing, use proper fittings and test the new valve under pressure before restoring full service.
What Not to Do
- Do not force the valve or ignore leaks.
- Do not hammer or heat the valve to free it—that can break the valve or damage piping.
- Do not leave a leaking valve unattended; even slow leaks cause damage and raise water bills.
When to Call a Professional
Call a plumber if the valve is in a hard-to-access location, if you find significant corrosion, or if you are not comfortable isolating and replacing the valve yourself. If failure affects multiple fixtures or you suspect hidden damage—such as a wall cavity with corroded pipe—get professional help. For other shutoff problems on fixtures, consider an inspection for the angle stop; see Angle stop won’t shut off sink.
Safety Notes
- Always shut off the main supply before removing or replacing a valve.
- Wear gloves and eye protection when working with old, corroded fittings.
- Be cautious of lead solder or older materials; consult a professional if you suspect hazardous materials.
Common Homeowner Questions
- Q: Can I repair a gate valve instead of replacing it? A: Small fixes rarely restore a worn seat; replacing the valve is usually the lasting solution.
- Q: How long does replacement take? A: A straightforward replacement typically takes one to two hours for a single valve.
- Q: Are ball valves a better choice? A: Yes—ball valves are more reliable and easier to operate, so many homeowners replace failing gate valves with ball valves.