Quick Answer:
Low pressure right after you change a cartridge is usually caused by a compatibility issue, an improperly seated cartridge, closed integral stops, or a clogged showerhead. First verify the cartridge is the exact model for your valve, reseat it and make sure any built-in stops are fully open. Then test the valve output with the showerhead removed to isolate the problem.
Why This Happens
When you swap a cartridge, small differences in shape, seal position, or flow openings can reduce how much water the valve passes. A cartridge that sits slightly proud or is rotated wrong can block ports. Some replacement parts are visually similar but not the same series, and they won’t let the valve reach normal flow. Finally, mineral debris disturbed during the repair can clog the showerhead, making it look like the valve is the problem.
If the symptom only appears in certain circumstances—for example when the tub is used as well—followups can point to diverter or shared-supply issues; see Shower pressure weak only when tub used for that situation. If you recently changed the whole valve body and flow dropped, also consider Low pressure after installing new valve.
Step-by-Step What to Do
1) Turn off water and relieve pressure
- Shut off the house water or the local supply to the shower. Open the shower valve to drain remaining water.
- Work with the water off to avoid sudden sprays and to make fitting the cartridge easier.
2) Verify the cartridge model matches your valve
- Check the part number stamped on the cartridge and the valve body or the original packaging/manual.
- Compare brand and series—many brands have multiple similar-looking cartridges that are not interchangeable. Exact match matters for ports and seals.
3) Remove and inspect the cartridge
- Take the cartridge out and look for backing rings, O-rings, or orientation tabs that must be present and in the right place.
- Look inside the valve for debris or a broken clip that could prevent a flat seat.
4) Reseat the cartridge correctly
- Reinstall the cartridge so it sits fully home and aligns with any orientation marks or slots. Do not tilt it when sliding into place.
- Reinstall retaining clips and trim per the manufacturer’s instructions. Some cartridges have a snap ring or screw that holds them in place—secure it properly.
5) Open any integral stops
- Some valves have integral shutoff stops behind the trim. Make sure these are turned fully open.
- If your trim covers stop valves, remove trim as needed to access and open them.
6) Test with the showerhead removed
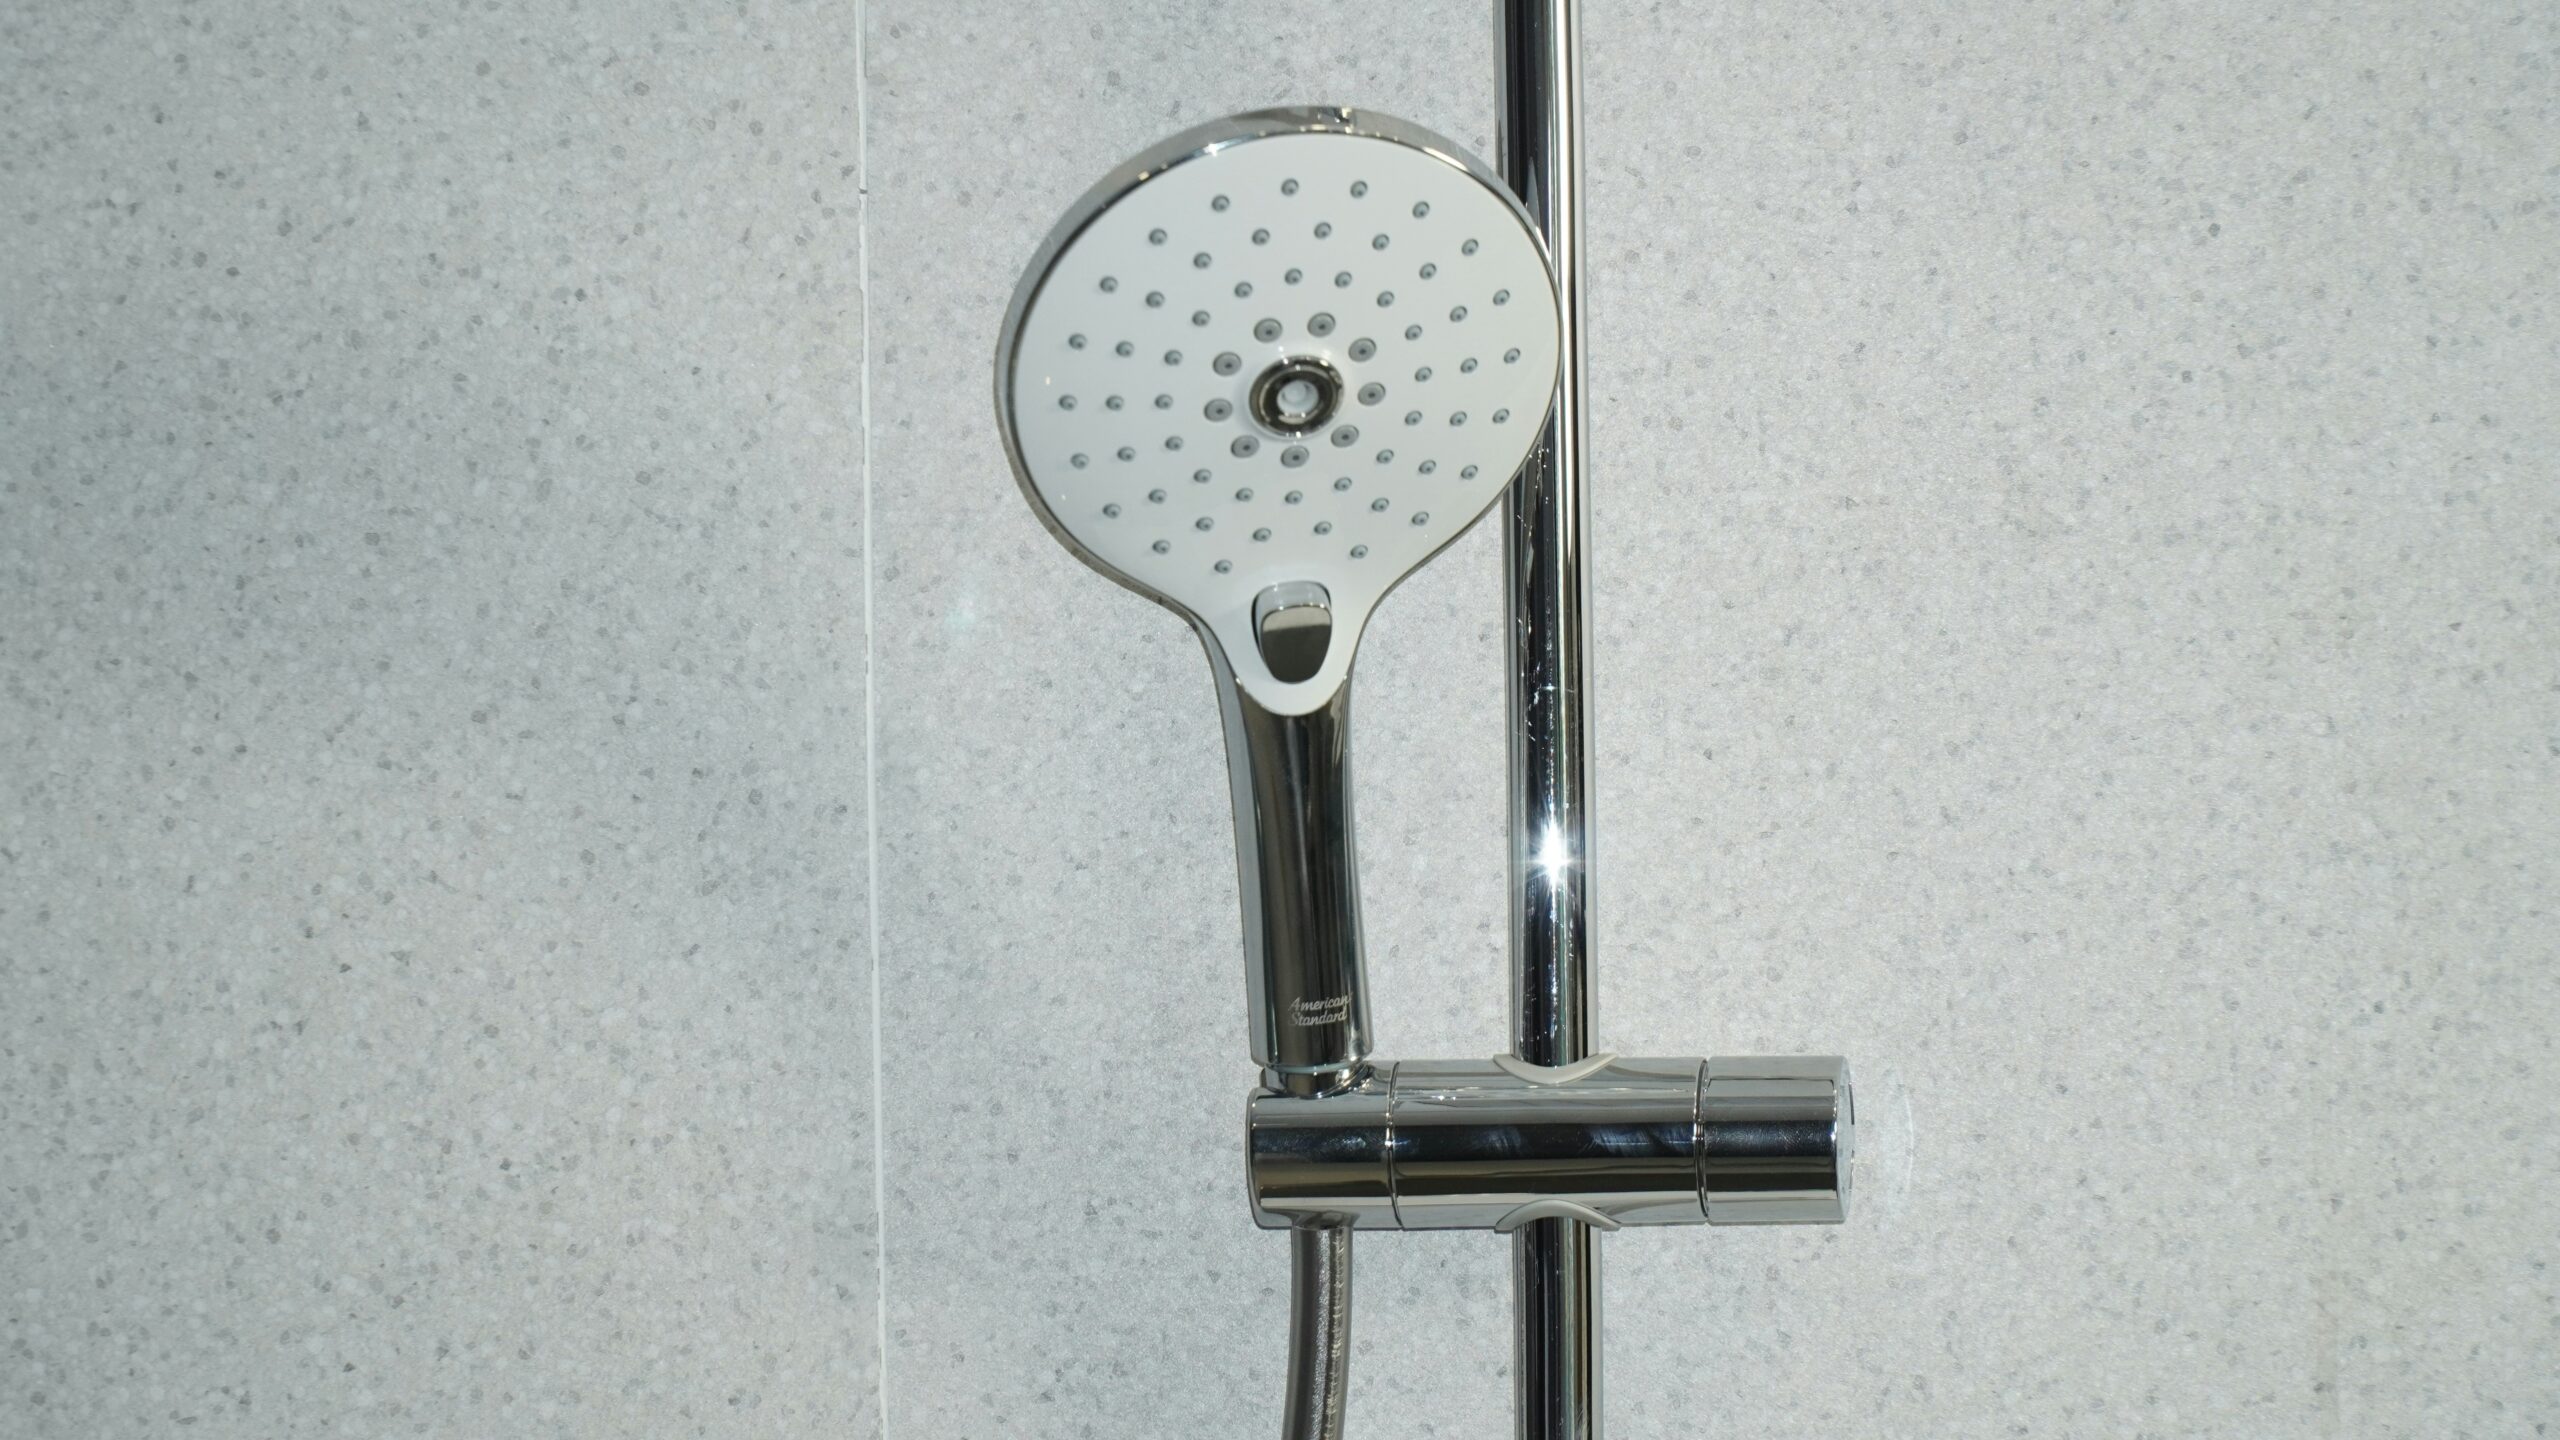
- With the showerhead removed, turn the water back on briefly to see the valve’s raw output. A strong stream from the arm or hose means the valve is passing water and the head may be clogged.
- If output is still weak with the head removed, the problem is likely the cartridge seating, compatibility, or upstream supply.
7) Check upstream supply and other fixtures
- Turn on nearby taps to compare pressure. If multiple fixtures are weak, the issue may be supply-related rather than the cartridge.
What Not to Do
- Do not force a mismatched cartridge to fit. Forcing can break the valve body or damage seals and will not restore proper flow.
- Don’t skip removing the showerhead for testing—this misleads the diagnosis.
- Don’t assume the replacement part automatically matches just because it looks similar. Compatibility checks matter.
- If pressure stays low after you’ve confirmed the correct cartridge, proper seating, and open stops, don’t keep trying DIY fixes that risk damage—call a qualified plumber.
When to Call a Professional
- Pressure remains low after you verified the correct cartridge, reseated it, and tested with the showerhead removed.
- The cartridge won’t seat properly because the valve body is damaged or corroded.
- Multiple fixtures are low, suggesting a supply or main pressure issue.
- You’re not comfortable disassembling the valve body to check internal stops or to replace a mismatched part.
Safety Notes
- Always shut off water and relieve pressure before working on a valve.
- Avoid using excessive force on plastic parts; use the correct tools and follow manufacturer torque guidance for retaining screws or nuts.
- Do not heat or modify metal parts with torches or tools that can damage seals or plumbing.
- Keep small parts and O-rings in a safe place so you can reinstall them correctly.
Common Homeowner Questions
-
Why does the showerhead still drip after cartridge replacement?
Often an improper seal or a missed worn seat/washer causes a drip. Verify cartridge compatibility and seals are in place.
-
Can I swap similar cartridges between brands?
No. Similar-looking cartridges may differ internally; always use the exact model for your valve series.
-
Will cleaning the showerhead fix low flow?
Yes if the valve output is normal. Remove the head and test the valve first to isolate the issue.