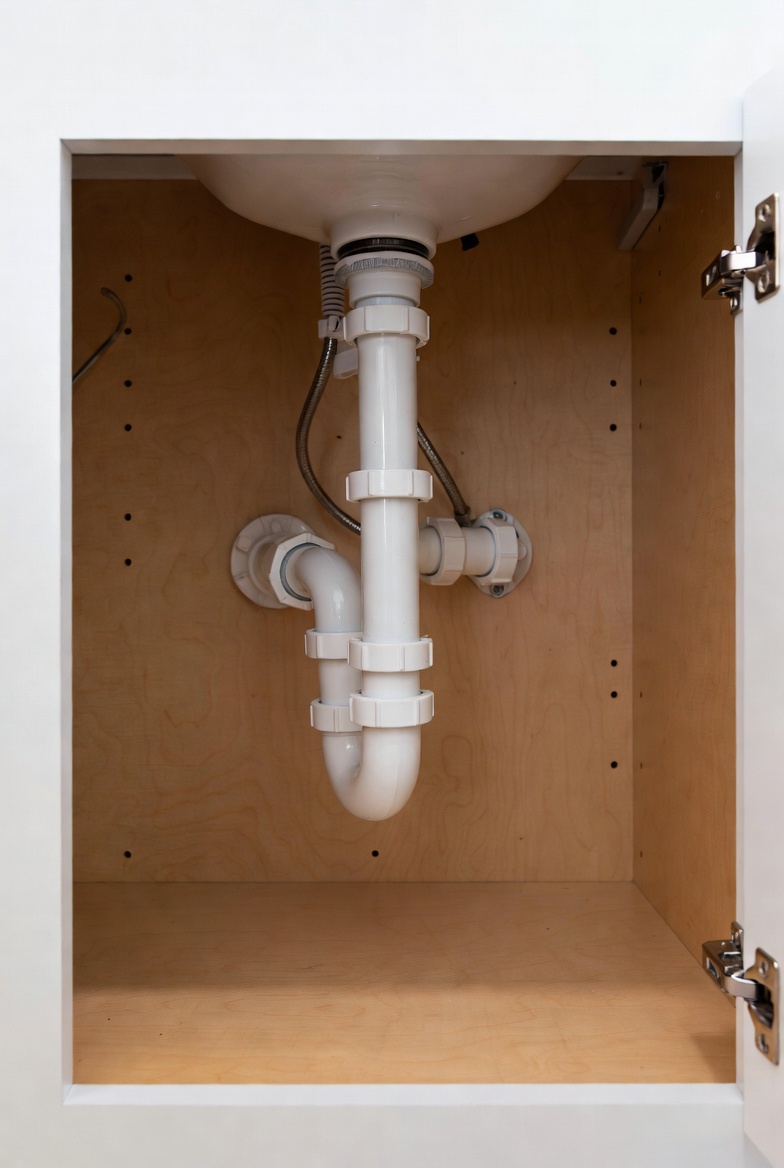
For leakage noticed after plumbing repair, preserve the invoice, changed-part details and original wet location. Contact the provider with observations rather than a concluded cause. Nearby work can guide inspection, but the timing does not establish who caused the failure.
Stop the leak without creating an electrical hazard
Stop the disposal and added sink water. Keep a connected dishwasher from discharging into the affected path. Do not run either appliance again merely to reproduce a known leak. Keep away from wet plugs, switches and wiring; do not enter water to reach a breaker. Isolate the actual affected sources only from safely accessible dry locations, or get qualified help. Wet or possibly wetted electrical equipment needs qualified assessment before reuse; wiping the cabinet dry is not clearance.
Never put hands or fingers inside the disposal, even with power disconnected. Keep electrical covers closed. A silent motor or a negative non-contact detector indication does not prove absence of voltage. For smoke, fire or immediate electrical danger, leave and call emergency services.
Compare the repaired route with the current connection
- A drain joint was opened: Identify its actual washer, gasket or clamp and permitted assembly. Do not use a universal wrench quarter-turn or assume every washer’s bevel faces the same part.
- The outlet or trap moved: Check alignment and strain against the actual model and fitting requirements. A connection should not be pulled into place by twisting the disposal or tightening a misaligned nut.
- Mounting or wiring was disturbed: Arrange safely supported model-specific inspection. Electrical changes or suspected wet wiring need appropriate qualified help; do not open covers or operate the motor to demonstrate the issue.
Record what is already visible
From safe dry access, use a light and photographs to record the first wet area and any trail from above. Do not reach through wet equipment or feel around wiring. A drip landing on the bottom can have travelled from a flange, hose or nearby supply fitting. Record the model, connected appliances and recent work; do not turn a timing clue into proof of a failed part.
Before service or a return to use
Identify the exact leaking joint and installed instructions before buying a seal or tightening hardware. Sink-flange seals, lower suspension parts, discharge seals and dishwasher-hose connections are different. Do not apply a universal quarter-turn rule, add sealant over a leak or use extra torque to conceal damaged parts. Before releasing mounting hardware, support the disposal securely and arrange controlled lowering; do not leave its weight hanging from a hose, pipe or cord.
Before opening plumbing, stop incoming flow and possible dishwasher pump-out, safely isolate affected sources, drain and cool retained water, and arrange suitable capture. Identify any cleaner or winterizing residue and follow its actual instructions; an arbitrary rinse does not establish clearance. Use approved parts and restore secure support, plumbing and guards. Where the model permits it, complete the appropriate water-only installation leak check with disposal power still isolated. A powered or dishwasher check needs a repaired, safely assembled system and any required electrical clearance. Stop for a renewed leak and re-isolate before adjustment. Use qualified service for damaged housing, internal leakage, uncertain isolation or work beyond safe access and support.
What should I send the repair provider?
Provide the model, date of work, affected joint, safe photographs and whether the original leak occurred with sink drainage, motor operation or dishwasher discharge. State what is unknown and keep the affected path out of use until assessed.
Related situations
- Water spraying from disposal housing
- Garbage disposal leaking from bottom
- Disposal Leaks & Mounting Seal Problems
Sources and limits
- InSinkErator Complete example: separate seals, support and installation leak check
- Moen INS10477C example: mounting, outlet and dishwasher connections
- CDC: electrical hazards and assessment of wet equipment
- Example drain-opener label: operation and residue restrictions
Manufacturer examples explain why the actual model matters. They do not identify your installed unit or certify a repair. No independent professional review or household field test has been obtained.