Quick Answer:
If a new fill valve or flapper produces only a partial flush during testing, don’t assume the parts are defective. Most partial flushes come from incorrect part fit, a flapper that isn’t seating, the refill tube placed incorrectly, or debris trapped at the water inlet. Work through a few checks: confirm the parts match your tank model, reseat the flapper and set the chain length, verify the refill tube position, and bench-test the fill valve before reinstalling.
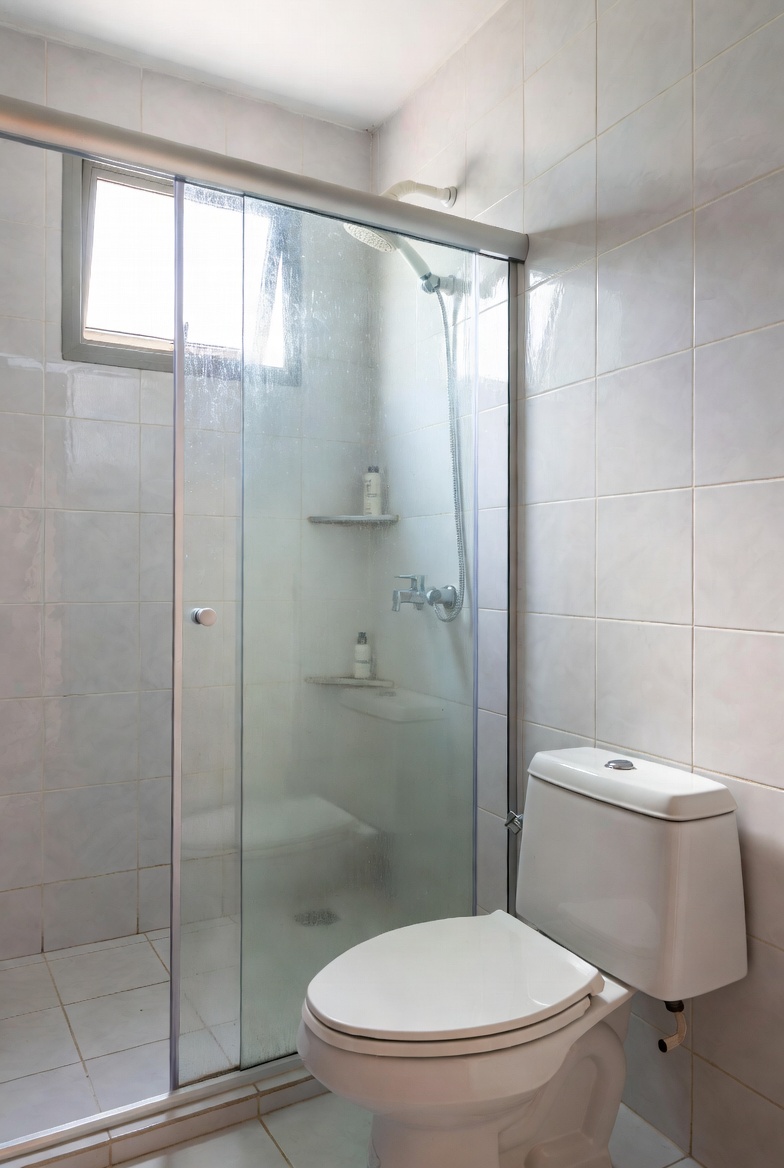
Why This Happens
- Wrong or incompatible parts: Some fill valves and flappers are made for specific tank geometries and outlet sizes. A part that looks right can still be the wrong model.
- Flapper not sealing: If the flapper doesn’t sit perfectly over the flush valve, water bypasses and the bowl doesn’t get a full flush.
- Chain or lift problems: Chain that’s too tight keeps the flapper slightly open; chain that’s too long can get trapped under the flapper.
- Refill tube placement: If the refill tube is pushed too deep into the overflow tube it can siphon or misdirect water before the bowl fills.
- Debris at the inlet or in the valve: Bits of packaging, plumber’s tape, or mineral grit can block flow through the fill valve or inlet screen.
Step-by-Step What to Do
1. Confirm the replacement parts match your tank
Check the part numbers or model names on the box or manufacturer paperwork against the make and model of your toilet. If you aren’t sure, compare the replacement to the old part: mounting style, outlet size, and adjustment range should be the same. Using the correct model avoids fit and flow problems.
2. Shut off water and drain the tank
- Close the shutoff valve at the wall and flush to empty the tank.
- Use a sponge to remove remaining water so you can see the flapper and valve clearly.
3. Reinstall or reseat the flapper and set chain length
- Place the flapper on the flush-valve seat so it sits evenly and seals all the way around.
- Adjust chain length so there is about 1/2 inch (12 mm) of slack when the flapper is closed. The chain should lift the flapper fully when you flush but not so taut that it holds the flapper open.
- Make sure the chain doesn’t rub on any other parts or get under the flapper skirt.
4. Verify the refill tube position
- Clip the refill tube to the inside of the overflow tube so the end sits just above the tube opening — not pushed deep inside.
- If the tube is inserted too far it can siphon or reduce bowl fill; if it’s not clipped, it may not direct water to the bowl at all.
5. Bench-test the fill valve before reinstalling
- Remove the fill valve and test it in a bucket or sink by supplying water to its inlet (use the shutoff valve connection or a hose adapter if available).
- Watch that it opens fully and provides steady flow with no odd noises or sputtering. If it hesitates or drips, it may be faulty.
- Reinstall only after the bench test confirms proper operation.
6. Check the inlet screen and for trapped debris
- Inspect the inlet screen on the tank’s water supply line and the fill valve for small particles left during installation.
- Flush any debris by briefly turning water on into a bucket or by removing and rinsing the screen according to the valve instructions.
7. Reassemble, refill, and test
- Turn the shutoff valve back on and let the tank fill to the marked waterline.
- Test several flushes. If the bowl still doesn’t clear, repeat the flapper seating and chain check, and watch the refill tube during the fill cycle.
What Not to Do
- Avoid force-fitting aftermarket parts into a mismatched tank — forcing parts can damage the tank or lead to persistent performance problems.
- Do not trim or alter parts unless the manufacturer explicitly says trimming is acceptable; unapproved modifications can stop a proper seal and void any warranty.
- Do not ignore repeated failure to seat correctly — call a professional when replaced parts repeatedly fail to seat or you notice persistent leaks at the tank-to-bowl gasket.
When to Call a Professional
Call a plumber if you’ve followed the steps above and the toilet still gives a partial flush, or if you see continuous leaking at the tank-to-bowl gasket. Also get help if parts repeatedly fail to seat after correctly confirming compatibility — a pro can identify subtle fit issues or cracks in the flush valve or tank that are not obvious.
Safety Notes
- Turn off the water supply before you work on the tank to avoid spills or sudden flooding.
- Use gentle force when removing or installing plastic parts to avoid cracking the tank or fittings.
- If you smell sewage or see active leaks under the tank, stop work and call a professional to avoid contamination and water damage.
For related troubleshooting, see Double flush required after repair and Partial flush after smart shutoff.
Common Homeowner Questions
- Why did this start immediately after I replaced the part? New parts reveal fit or alignment issues that the old parts had adapted to; check fit, seating, and tube placement first.
- Can I use any universal flapper or fill valve? Universal parts can work, but they must match the tank’s outlet size and mounting style; always confirm compatibility before installing.
- What if I find debris in the inlet screen? Rinse the screen and the valve per instructions and bench-test the valve before reinstalling; persistent blockages may require a supply-line clean or replacement.
More in this topic
For more related fixes and similar symptoms, see Double-Flush & Partial Flush Problems.