Quick Answer:
If a newly installed shower valve gives weak flow on first use, the most common causes are the valve’s built‑in stops left partially closed, the trim or plaster guard sitting too deep and blocking the cartridge, or the valve simply having a lower rated flow than the old one. Check the integral stops, confirm the cartridge isn’t obstructed by the trim depth, and verify the valve’s flow rating before replacing parts.
Why This Happens
- Many modern valves include integral shutoff/stops used during installation. If those are not fully opened, flow is limited.
- If the plaster guard or wall trim is set too deep, the cartridge or internal openings can be partially blocked so the valve can’t deliver full flow.
- Valves are rated for a specific maximum flow (GPM). A new pressure-balancing or water-saving valve may have a lower rating than the old valve.
- Debris from soldering, cutting pipe, or the supply lines can clog the valve body or aerator the first time water is turned on.
- If other fixtures affect flow, house plumbing elements like pressure regulators, shared supply lines, or demand from multiple showers can matter—see **Pressure weak only when multiple showers used** if that matches your situation, or **Low water pressure at shower only** if the problem is limited to this fixture.
Step-by-Step What to Do
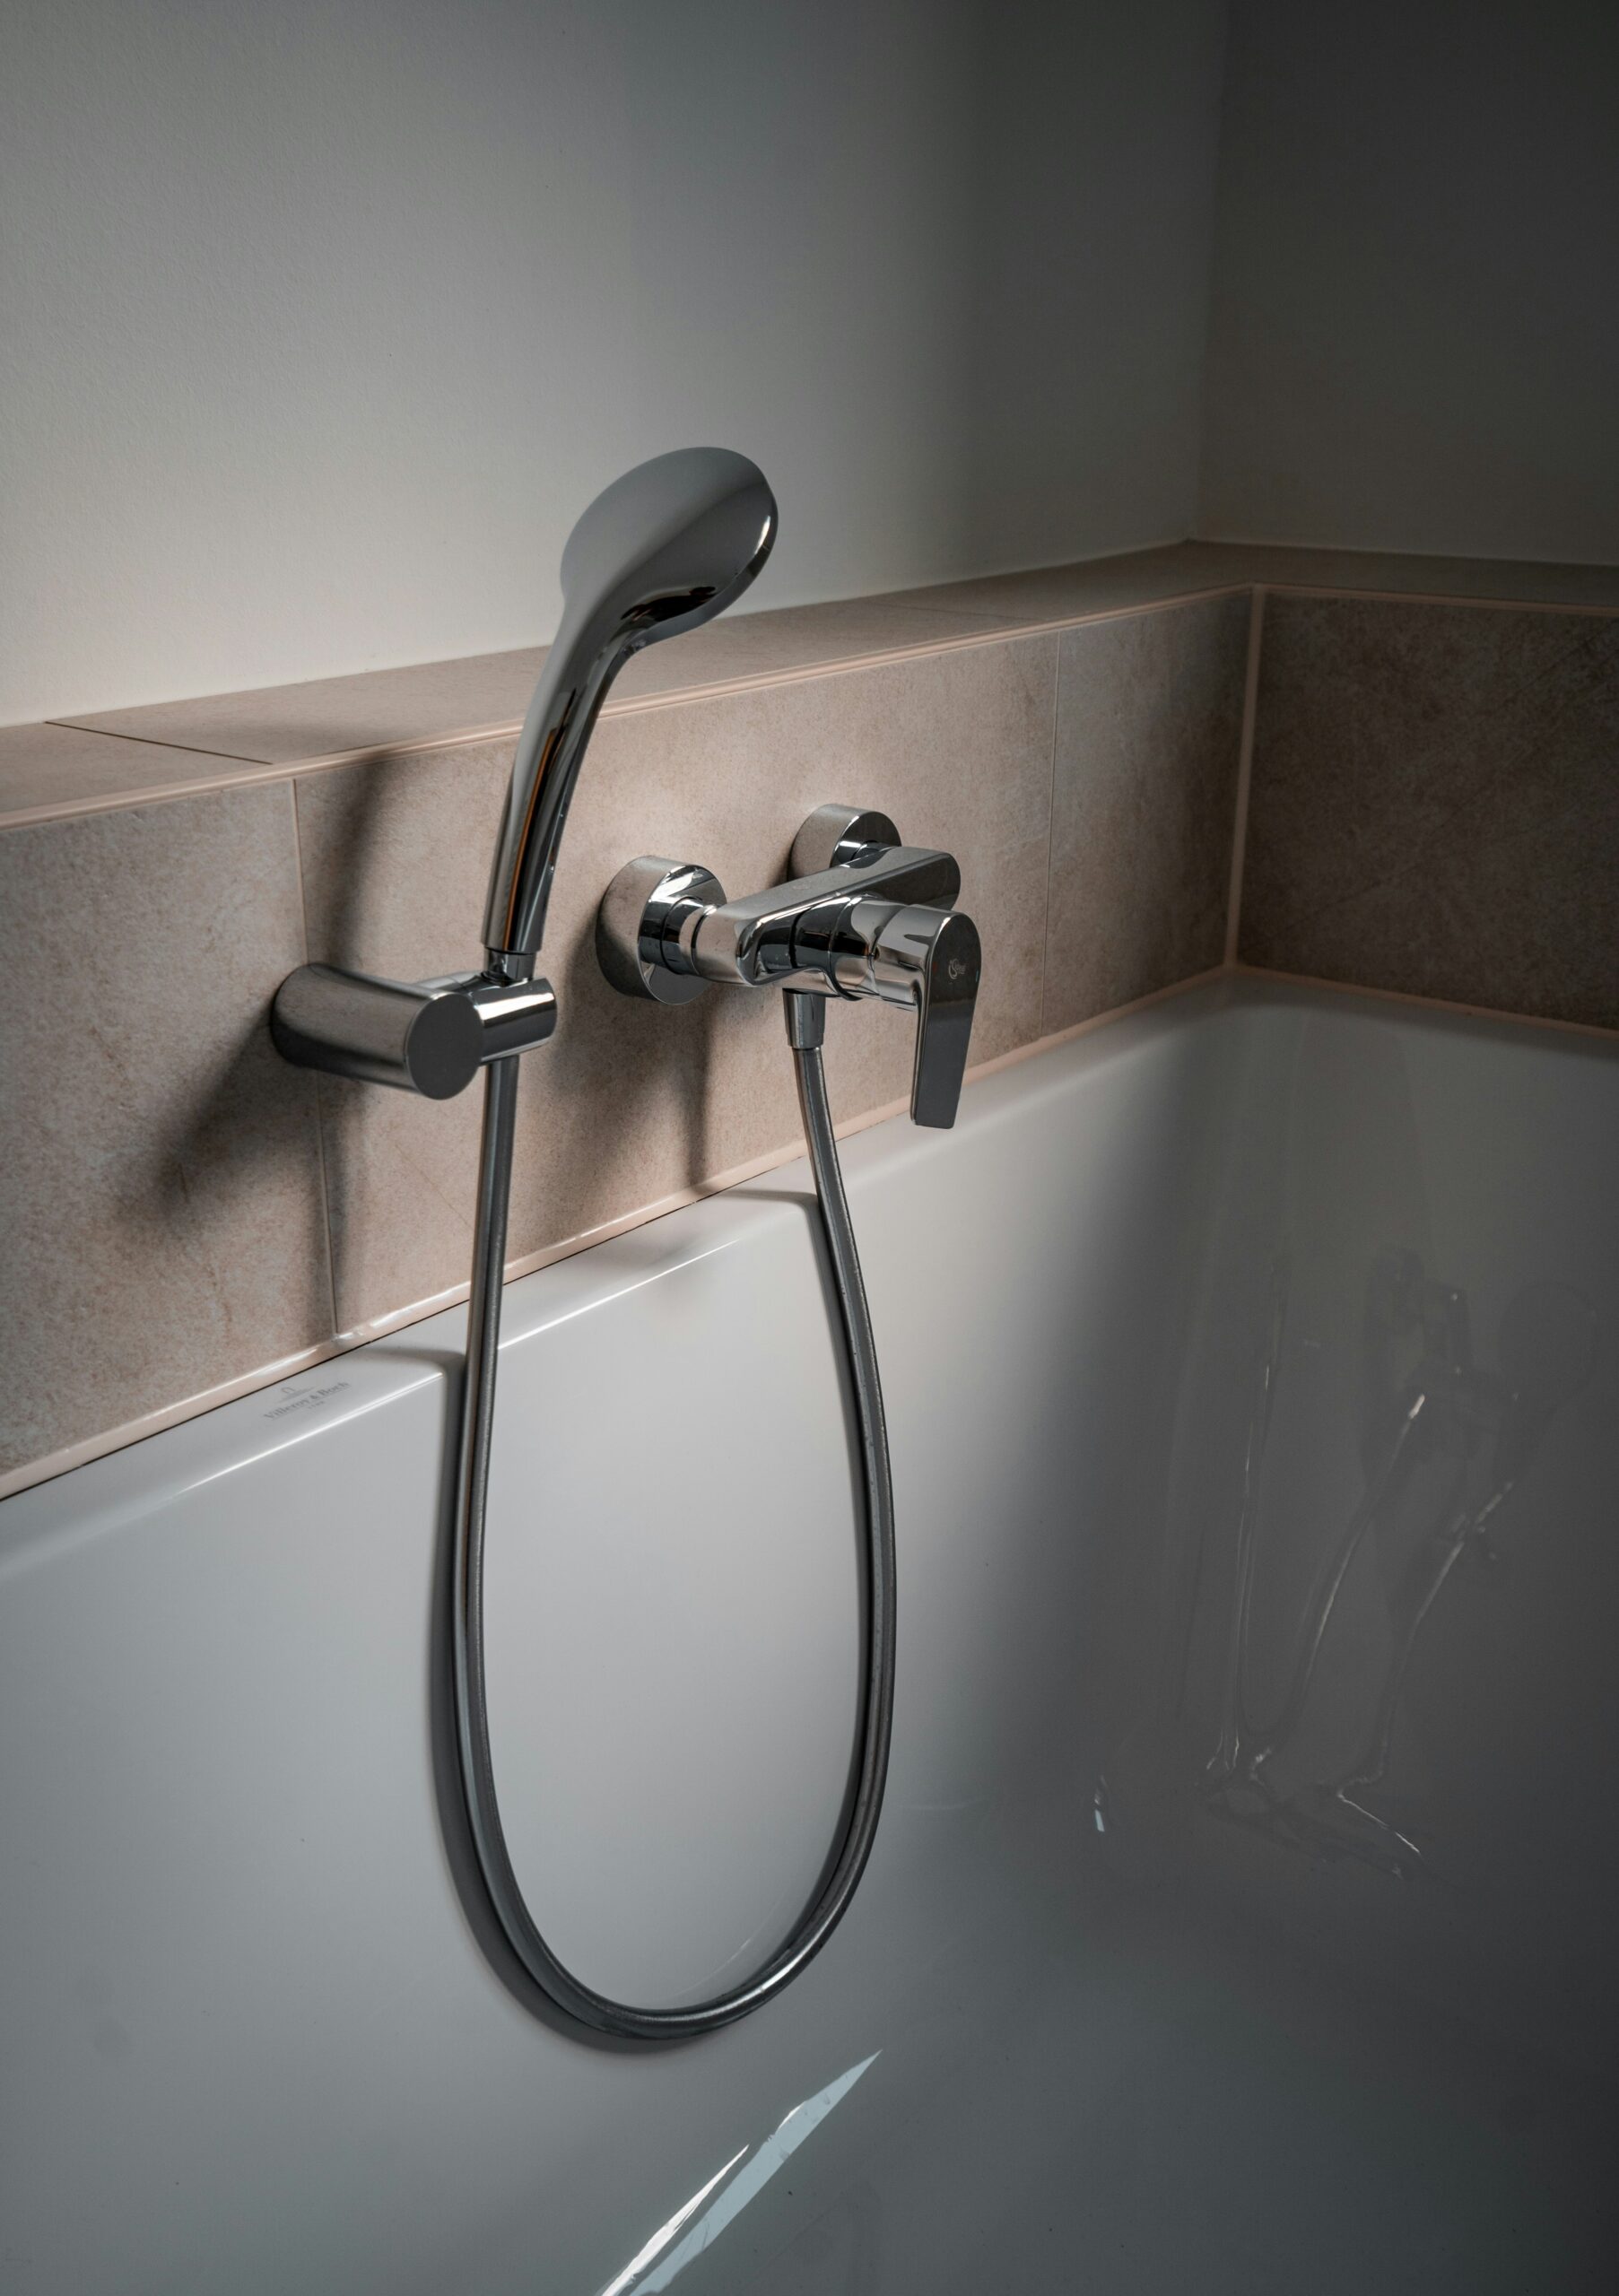
1. Turn off water and remove trim
- Shut off the local shutoff (if present) or the main water supply before removing the trim plate and handle.
- Remove the handle and escutcheon to expose the cartridge and access points for the integral stops or service ports.
2. Check and open the valve’s built‑in stops
- Look for small screw heads or square plugs on the valve body that act as the built‑in stops.
- Use the correct tool (usually a flat screwdriver or a small wrench) and turn them fully counterclockwise to open. Some require a quarter or half turn; consult the valve marking if visible.
- After opening, slowly restore water and test flow before reassembling trim.
3. Confirm trim/plaster guard depth didn’t obstruct the cartridge
- With the trim off, check that the cartridge is fully exposed and not pushed in by the plaster guard or escutcheon. The cartridge should sit flush with the valve body per the manufacturer’s instructions.
- If the plaster guard or escutcheon is too deep, loosen or shim it so the cartridge openings are unobstructed.
4. Verify the valve’s rated flow
- Find the model number stamped on the valve body or in the installation instructions that came with it.
- Compare that rating to the old valve or the showerhead. A valve rated for lower GPM will feel weaker even if working correctly.
- If the valve is a low‑flow model, replacing the trim or cartridge won’t fix perceived weakness; consider a higher‑flow valve if needed.
5. Flush and check for debris
- With stops open, briefly run water through the valve into a bucket to flush any debris before reinstalling the trim.
- Check the showerhead or handpiece for a clogged screen or flow restrictor and clean if needed.
6. Reassemble and test
- Put the trim back on, making sure nothing compresses the cartridge when the escutcheon is tightened.
- Test hot and cold, and run the shower for a minute to confirm steady flow.
- If flow is still low, repeat the checks or move to the next steps (see When to Call a Professional).
What Not to Do
- Don’t assume a new valve is set correctly out of the box—integral stops are often the culprit.
- Don’t force parts or overtighten screws to “fix” flow; that can damage the cartridge or valve body.
- Don’t remove or alter the cartridge unless you’re following manufacturer guidance; some cartridges require special tools or procedures.
- Don’t attempt to reconfigure house mains, pressure regulators, or complex balancing valves unless you have the skills—if you can’t adjust safely, a plumber is appropriate.
When to Call a Professional
- If you can’t access or identify the integral stops safely.
- If opening the stops and clearing obstructions doesn’t restore expected flow.
- If you suspect the valve was incorrectly sized for the home’s supply or you need a different rated valve installed.
- If there’s visible damage to the valve, leaks from the body, or uncertain plumbing connections behind the wall.
Safety Notes
- Shut off water before removing trim or working on the valve to avoid scalding and flooding.
- Release pressure by opening a nearby tap before serving the valve.
- Use the correct tools and protect finished surfaces to avoid damage.
- If you detect gas lines, electrical wiring, or other hazards behind the wall, stop and call a professional.
Common Homeowner Questions
- Why is my new valve weaker than the old one?
Often the built‑in stops are closed, the valve has a lower GPM rating, or the cartridge is partially blocked by trim depth. - Can I fix this without removing the valve from the wall?
Yes—many issues (integral stops, trim depth, flushing debris) can be checked and fixed with the trim removed; full valve replacement may require more work. - How do I know if the valve is the wrong size?
Compare the valve’s flow rating (model info on the body) to your previous valve and showerhead; a lower GPM rating means less flow.