Quick Answer:
If a slow leak starts after years of use, the most common causes are hardened or worn seals, loose mounting hardware, or a failing hose connection. Stop using the unit, contain the water, and inspect visible seals and connections. Small leaks can be fixed by tightening or replacing accessible seals; if the leak comes from the motor housing or you can’t find the source, call a pro.
Why This Happens
Garbage disposals sit in a wet, warm environment and are exposed to food acids, soap, and minerals in water. Over time rubber gaskets dry out and harden, metal flanges corrode, and hose clamps loosen. Mineral buildup can create narrow channels that guide water away from the original leak point, so a slow drip that began years after installation is often an aging-seal or connection issue rather than a sudden catastrophic failure.
Step-by-Step What to Do
1. Stop use and cut power
Turn the disposal off and unplug it if you can reach the cord. If the cord is tucked up or hardwired, switch off the circuit breaker to the kitchen. Never work on the unit while it has power.
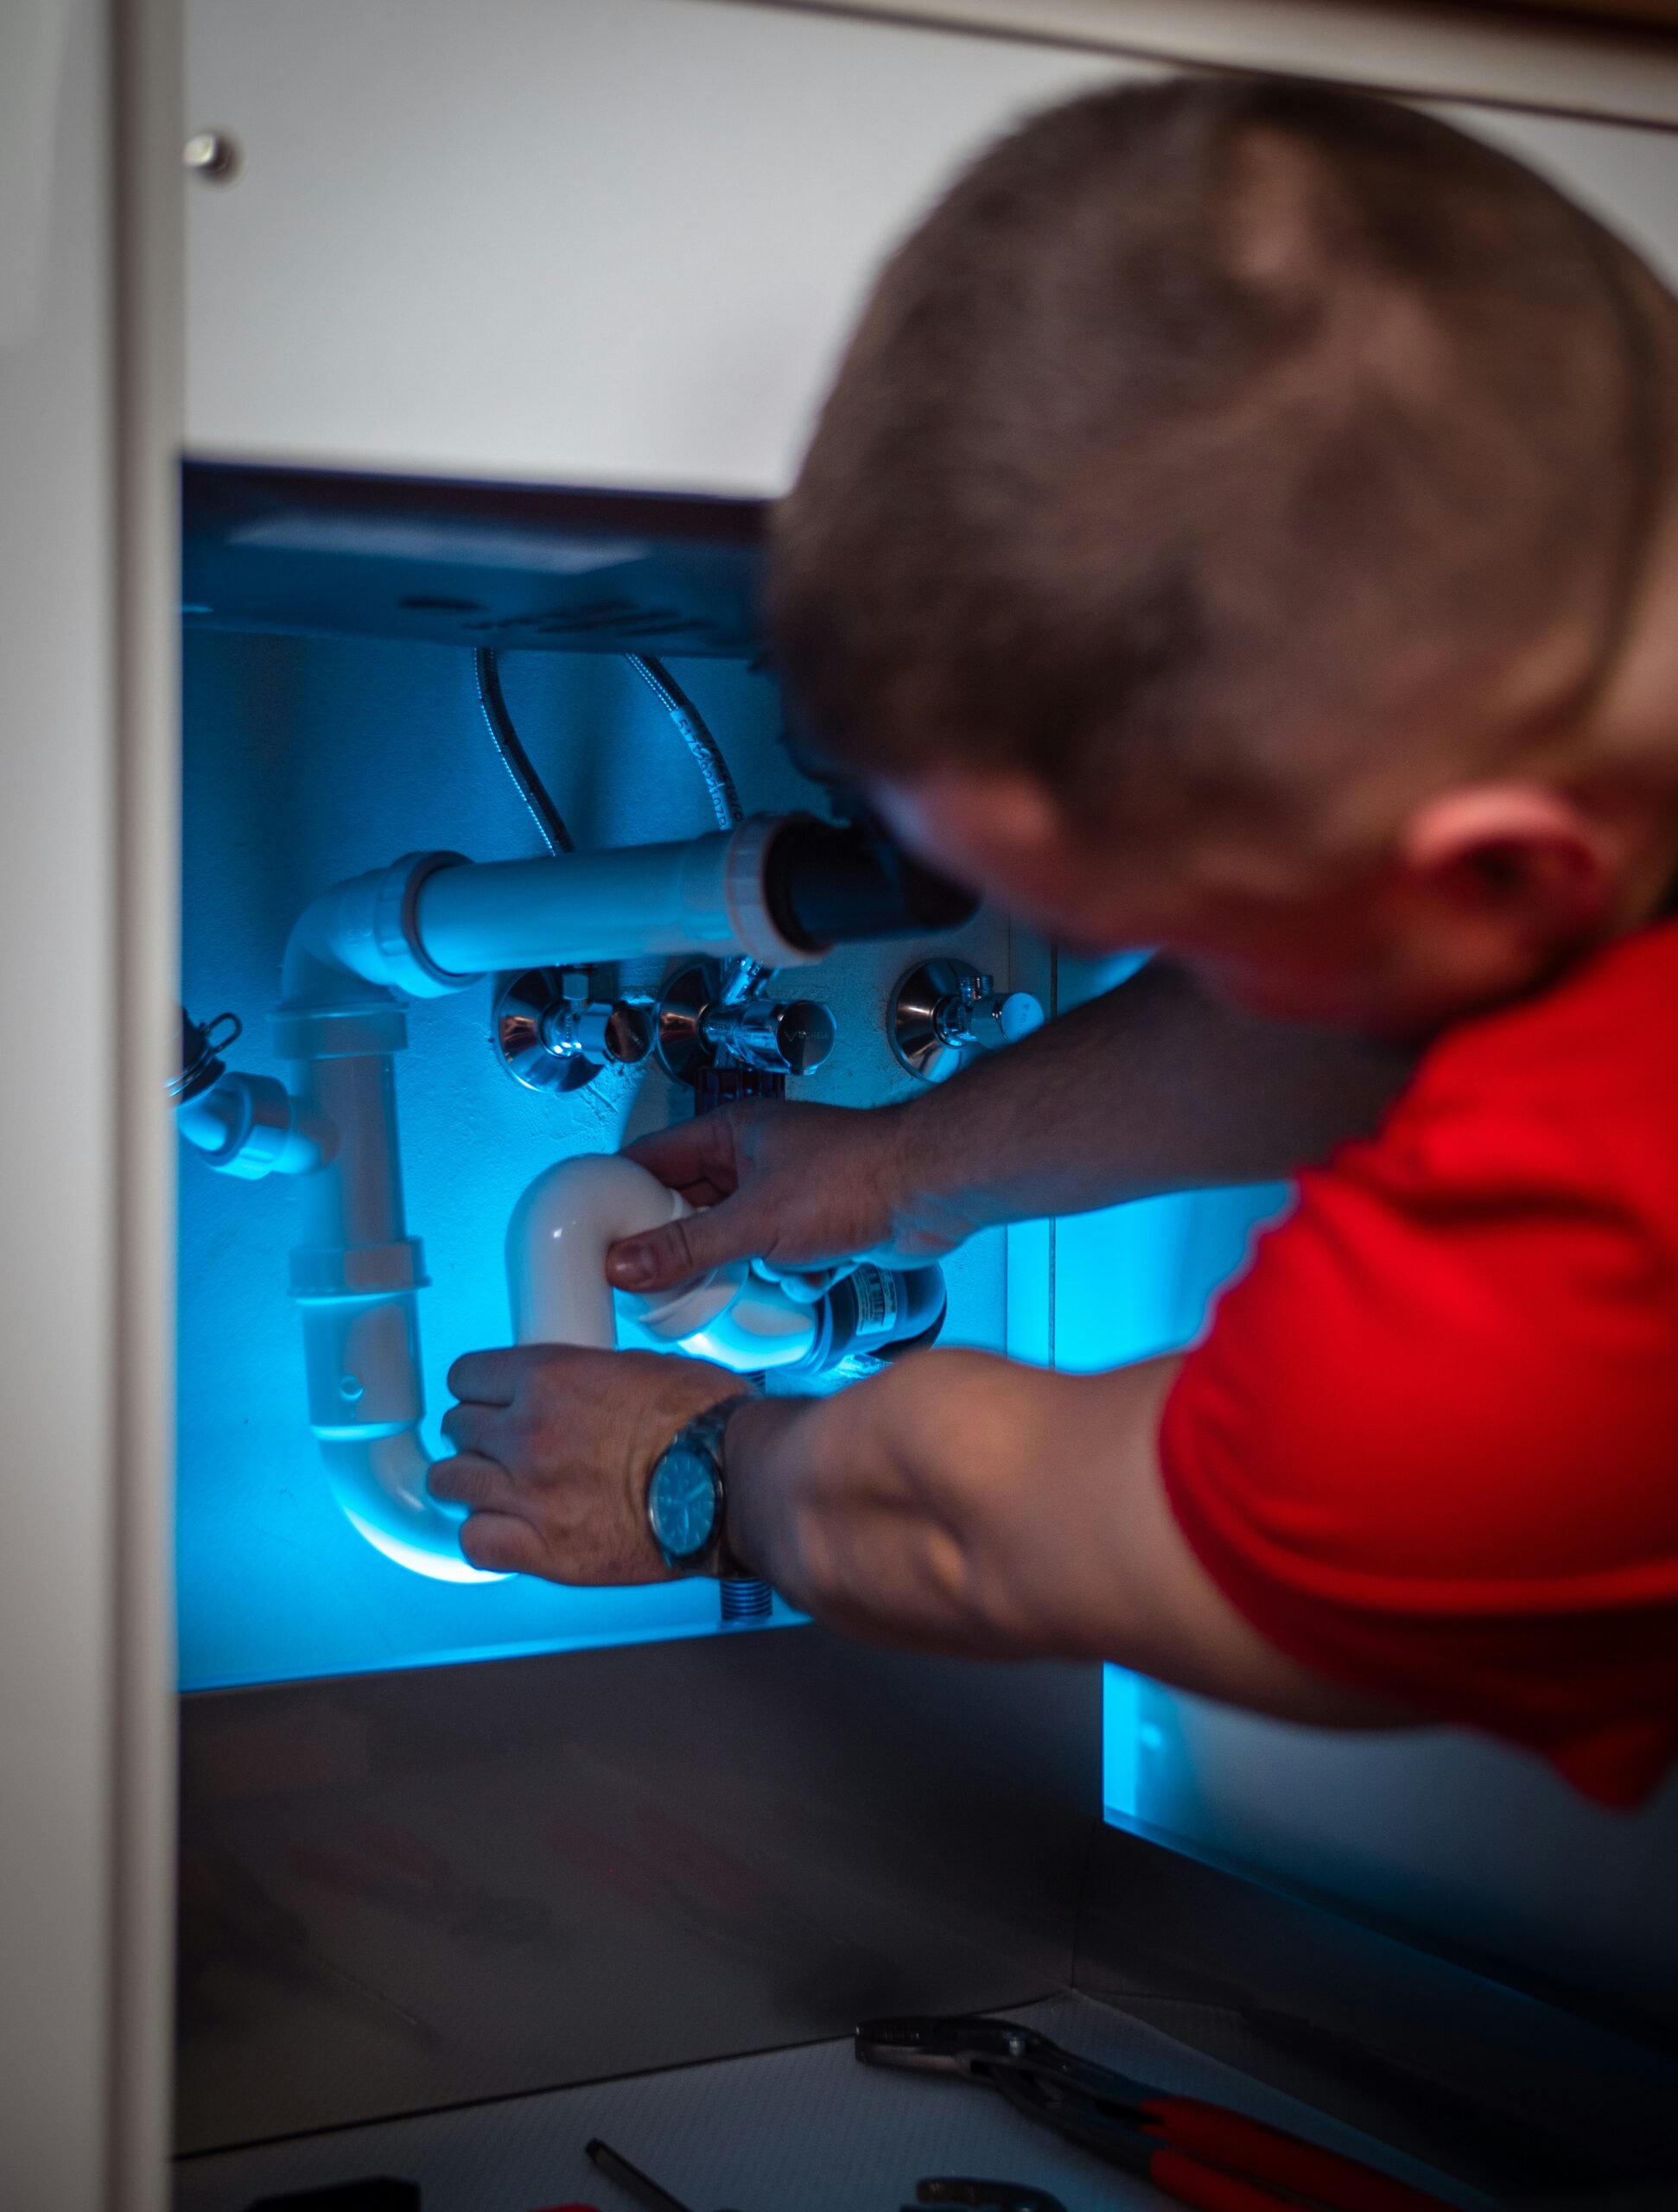
2. Contain the leak and clear the area
- Place a bucket or towels under the leak and remove stored items from the cabinet so you can inspect safely.
- Dry the area with towels so you can see where fresh water appears.
3. Look for where water has been traveling
Look for mineral tracks or staining that show where water has been traveling over time. Those streaks often point to the original leak source even if the drip now appears somewhere else.
4. Inspect the sink flange and mounting ring
Check the sink flange (where the disposal meets the sink) for looseness or gaps. If the mounting ring bolts are loose, the sink flange can tilt and allow leaks. Tighten mounting hardware a little at a time—don’t over-torque plastic parts.
5. Check the top seals and gaskets
Examine the rubber gasket around the disposal inlet and the mounting gasket for brittleness, cracks, or shrinkage. If the rubber looks dry or damaged it may mean a Disposal gasket worn out. Replacing that gasket often stops leaks that appear at the top of the unit.
6. Test for running vs. static leaks
With the area dry, run a brief water test: turn on only the water, then run the disposal for a few seconds while watching underneath. If water only appears when the unit runs, the problem is often a loose hose or a seal that fails under vibration—this is the situation described by Disposal leaks only when running. If it leaks even with no power, the issue is likely a static seal or the sink flange.
7. Check hoses and clamps
Inspect the dishwasher inlet hose and the discharge hose and clamps. Tighten hose clamps if loose. Replace cracked or softened hoses rather than trying to patch them.
8. Decide whether to replace a part or call a pro
If the leak source is a simple gasket or hose and you’re comfortable with basic hand tools, you can replace those parts. If the leak is from the disposal’s lower housing, the motor casing, or electrical area, that usually means a failed internal seal and the unit should be serviced or replaced.
What Not to Do
- Do not ignore slow leaks—mold and cabinet swelling can develop even from small drips.
- Do not put your hand into the disposal under any circumstance, even when you think it’s off. Always disconnect power first.
- Do not use harsh chemical drain cleaners on a leaking disposal; they can damage seals and create a hazardous cleanup.
- Do not overtighten plastic mounting parts or clamps; that can crack components and make leaks worse.
When to Call a Professional
- If water is coming from the bottom (motor housing) or from electrical connections.
- If you cannot find the leak source after the basic checks or the leak continues after replacing simple parts.
- If you’re uncomfortable working under the sink, dealing with wiring, or removing the disposal.
- If there is corrosion that has eaten through metal parts or the sink flange is badly damaged.
Safety Notes
- Always disconnect power at the breaker or unplug the unit before doing any inspection or repairs.
- Wear gloves and eye protection when working under the sink; used water can be dirty and contain food particles.
- Use a reliable flashlight and dry towels to keep the work area clear of slip hazards.
- If you must remove the disposal, support it securely. The unit is heavy and awkward to handle.
Common Homeowner Questions
- Why did this start after years of use? — Seals and gaskets age, and corrosion or mineral buildup can create new leak paths over time.
- Can I temporarily stop a leak with tape or sealant? — Tape is only a short-term fix; replace the failing gasket or hose for a lasting repair.
- Is it safe to run the disposal with a slow leak? — No. Turn it off and address the leak to avoid electrical hazards and cabinet damage.
For more related articles, see the Disposal Leaks & Mounting Seal Problems hub.