Quick Answer:
If pressure dropped after removing a bypass loop, the bypass likely changed flow balance or left air or debris in the lines. First isolate the repaired component, then measure pressure before and after the repair point and flush affected lines to clear air and sediment. If readings stay low after those checks, get professional help. For related troubleshooting see Pressure changed after inspection.
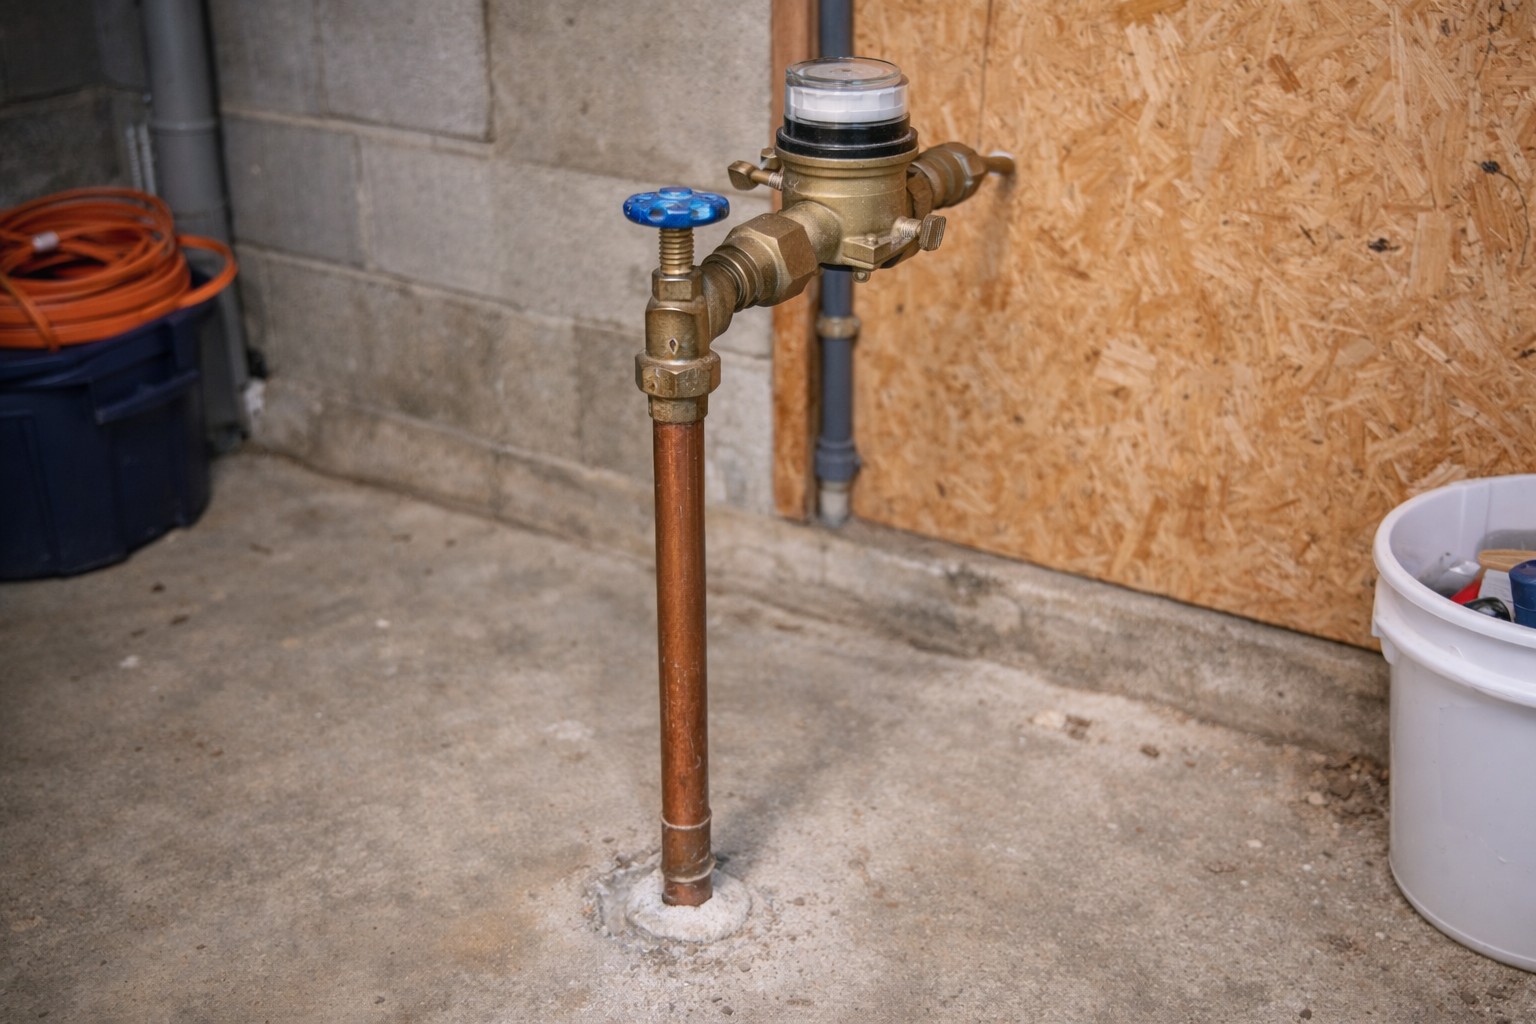
Why This Happens
Bypass loops let water flow around a section while you work. Removing the bypass changes the path water takes. Common causes of pressure loss after removal:
- Air trapped in the system, which reduces flow until bled out.
- Debris or sediment released when the bypass was taken out and lodged in valves or aerators.
- A valve not fully opened or an isolation valve left partly closed when the bypass was removed.
- A pressure imbalance if the repaired component altered supply to a branch of the system.
Step-by-Step What to Do
1. Isolate the repaired component
- Close the valves that isolate the repaired section so you can work without affecting the rest of the house.
- Confirm the bypass is fully removed and any temporary fittings are tight and correctly oriented.
- Check nearby isolation valves to make sure none are partially closed.
2. Measure pressure before and after the repair point
- Attach a pressure gauge to a hose bib or an accessible test port. Record the pressure on the supply side (before) the repair point.
- Move the gauge or use a second gauge on the downstream side (after) the repair point and record that pressure.
- Compare readings to identify where the drop is occurring and whether it’s a wide or localized difference.
3. Flush affected lines
- Open the highest and lowest fixtures supplied by the repaired section to flush air and debris.
- Run water until flow and pressure stabilize; this may take a few minutes for larger sections.
- Check aerators, showerheads and strainers for sediment and clean them if flow improves after flushing.
4. Re-check and monitor
- Re-measure pressure before and after the repair point after flushing.
- If pressure returns to normal, slowly return system to service and watch for leaks or changes over the next 24 hours.
- If pressure is still low or uneven, document readings and conditions for the technician.
What Not to Do
- Do not assume pressure will self-correct without flushing and inspection.
- Do not force valves that are stuck—forcing can break components and make the problem worse.
- Do not ignore persistent pressure loss; it can indicate a hidden leak or valve failure.
When to Call a Professional
- Pressure remains low after isolating, measuring and flushing the lines.
- There are signs of a leak, such as damp spots, new sounds of running water, or increased water usage.
- Valves are corroded or stuck and you can’t safely operate them.
- If the situation resembles Pressure dropped after city line work—issues that may involve the municipal supply—contact your water utility and a plumber.
Safety Notes
- Turn off the main water supply before working on valves if you expect a significant leak.
- If working on hot-water lines, drain and allow the system to cool to avoid scald risk.
- Use basic PPE (gloves, eye protection) when flushing lines to avoid contact with dirty water or debris.
- If you smell gas or see electrical hazards near the work area, stop and call the appropriate emergency service.
Common Homeowner Questions
- How long should I flush after removing a bypass? Flush until water runs clear and pressure stabilizes—usually a few minutes per fixture.
- Can air trapped in the line cause permanent damage? No—air causes poor flow but is cleared by proper flushing and bleeding.
- Is a pressure gauge necessary? Yes—a gauge gives objective before-and-after readings to locate the drop.
Related Articles
If you’re troubleshooting a similar symptom, these guides may help:
For the full directory, see Pressure Loss After Plumbing Repairs.