Quick Answer:
If you have lower or inconsistent water pressure after bringing systems back online, the first steps are simple: isolate the repaired component, flush affected lines, and make sure to measure pressure before and after the repair point. Often the issue is trapped air or debris; flushing and a few pressure checks will identify whether you fixed it or need professional help.
Why This Happens
Winterizing and then reactivating plumbing or irrigation can leave air pockets, mineral debris, and partially closed valves in the system. A bypass or temporary connection used during winter work can be removed incorrectly or leave small restrictions. Work on valves can leave packing or seats slightly misaligned. Those situations create flow restrictions, sudden pressure loss, or pressure that varies between fixtures. If the restriction is near the meter or a main valve, the symptom can affect the whole house.
For similar scenarios after specific repairs, check the notes on Pressure loss after bypass removal and Pressure problems after valve change for common causes and fixes.
Step-by-Step What to Do
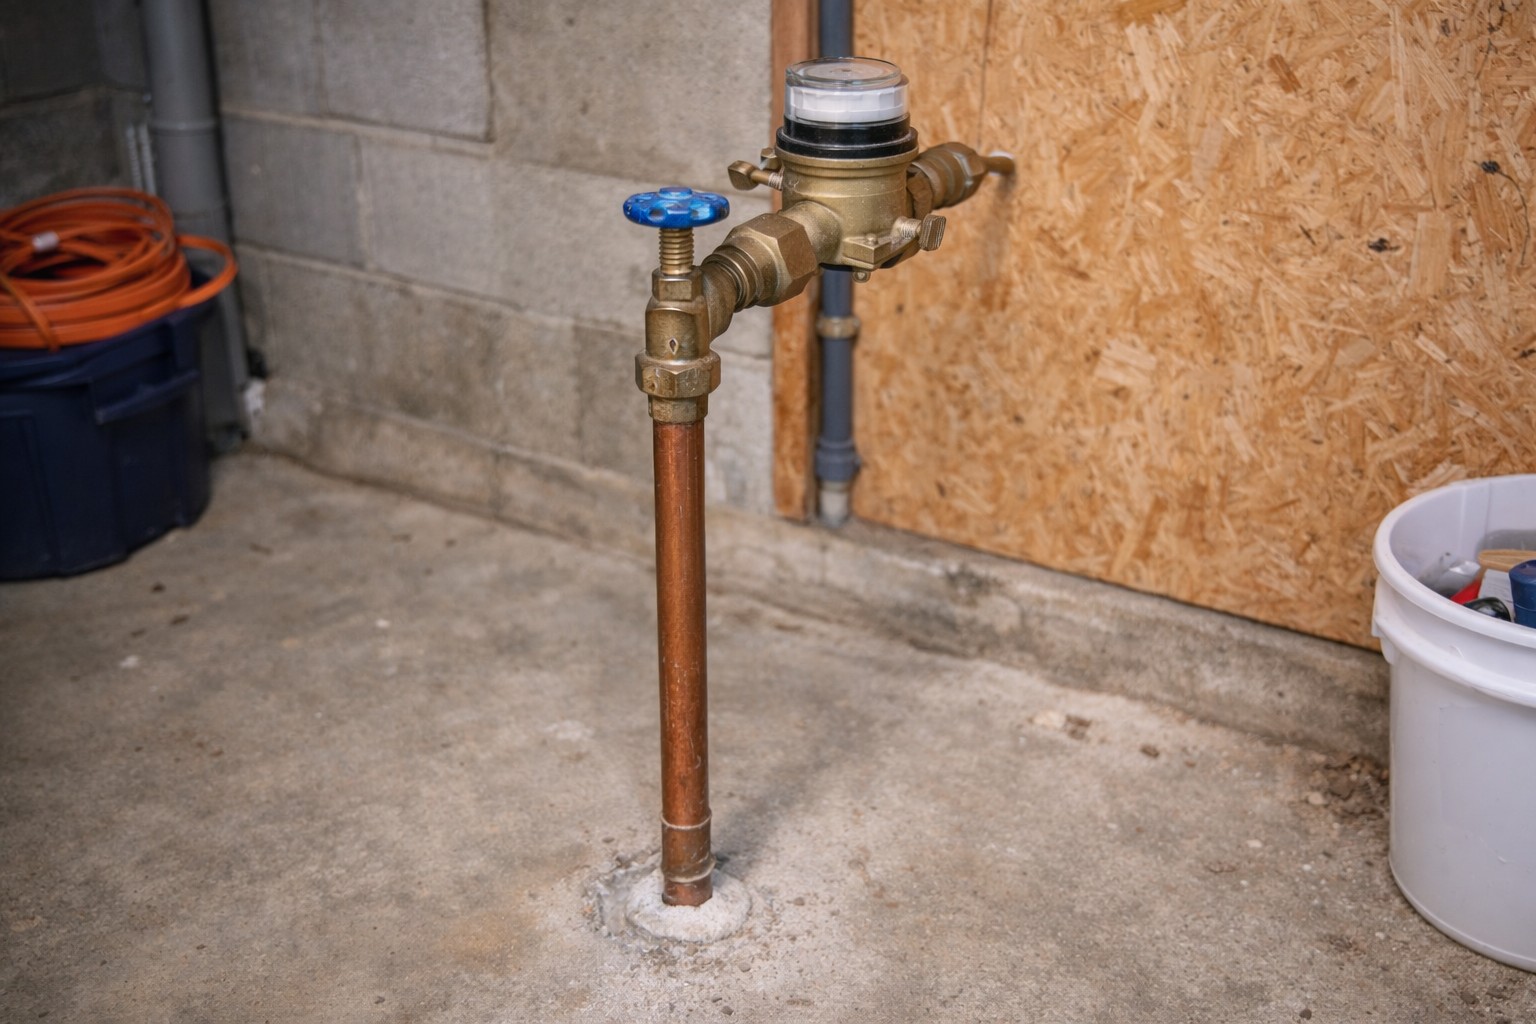
1. Prepare and follow basic safety
- Shut off the main supply if you will be opening or isolating parts of the system.
- Relieve pressure by opening a low faucet before disconnecting anything.
- Have a bucket and towels ready for small drips.
2. Isolate the repaired component
- Close isolation valves on both sides of the repaired section so you can test the rest of the system independently.
- If there are removable caps or unions, confirm they are tight and not obstructed.
- Label which valves you closed so you can restore them in the correct order.
3. Measure pressure before the repair point
- Attach a pressure gauge at a point upstream from the repair (for example, at a hose bib near the meter or on a test port).
- Record the static pressure and a working pressure while a fixture runs.
- Make sure to measure pressure before and after the repair point so you have a clear baseline.
4. Flush affected lines
- Open the lowest and highest fixtures connected to the isolated run to create a flow path.
- Run water until it flows clear and air is expelled—this can take several minutes depending on length of the run.
- If the line feeds irrigation or external systems, flush hose bibs and zone lines the same way.
5. Measure pressure after the repair point
- With the repaired component isolated and after flushing, measure pressure downstream of the repair point and compare it to your upstream reading.
- A significant drop between upstream and downstream indicates a local restriction or leak at or near the repair.
- If pressures are normal after flushing, gradually restore valves and re-check to confirm stability.
6. Restore and test under normal conditions
- Open isolation valves slowly to avoid water hammer and watch for pressure dips or visible leaks.
- Run multiple fixtures at once to verify steady supply and consistent pressure across the house.
- Document readings and any unusual behavior in case you need a pro later.
What Not to Do
- Do not assume pressure will self-correct without flushing and inspection.
- Do not force a stuck valve with excessive wrenching—this can break the valve or pipe fittings.
- Do not apply open flame or improvised heat to frozen pipes; use safe thawing methods or call a professional.
- Do not ignore a steady pressure drop that appears when several fixtures run—this usually signals a restriction or partial blockage.
When to Call a Professional
- Pressure remains low after flushing and isolation, or readings show a large drop across the repair area.
- You find leaks you cannot access or control with isolation valves.
- Water quality is cloudy with sediment after extended flushing, suggesting internal damage or scale that needs repair.
- The system includes complex components (well pumps, pressure tanks, backflow preventers) and you cannot safely test or isolate them.
Safety Notes
- Always shut off the main and relieve pressure before disconnecting fittings.
- Wear eye protection and gloves when working with pressurized lines or when flushing debris-laden water.
- Avoid using heat sources on pipes; controlled thawing and professionals are best for frozen lines.
- If you smell gas or suspect contamination, evacuate and call emergency services or your utility provider.
Common Homeowner Questions
- How long should I flush lines after winter work? Run water until it flows clear and air stops sputtering—typically 5–15 minutes for most runs.
- Can air pockets cause low pressure? Yes. Air trapped after winterization often reduces flow until it is fully bled from the system.
- Will the pressure issue fix itself over time? No. If the cause is debris or a partly closed valve, it usually needs flushing and inspection to correct.
Related Articles
If you’re troubleshooting a similar symptom, these guides may help:
For the full directory, see Pressure Loss After Plumbing Repairs.