Quick Answer:
If symptoms got worse after installation, the tank is likely not seeing system pressure or was set up incorrectly. Check that it is mounted on the cold-water feed that supplies the heater, not isolated by a check valve or closed shutoff, confirm the air precharge matches the cold static pressure, support and orient the tank per the maker’s instructions, then retest for pressure spikes.
Why This Happens
Expansion tanks relieve pressure when water in a closed system heats and expands. If the tank is installed where it can’t see the system pressure (for example, after a check valve or behind a closed shutoff), it cannot accept that extra volume and pressure rises. A tank with the wrong air precharge behaves the same way: too much or too little air prevents the diaphragm from working. Poor mounting or wrong orientation can stress the connection or allow the tank to sag and leak, making the problem worse.
For related causes and failures, see Thermal expansion after system retrofit and Expansion tank failed causing high pressure.
Step-by-Step What to Do
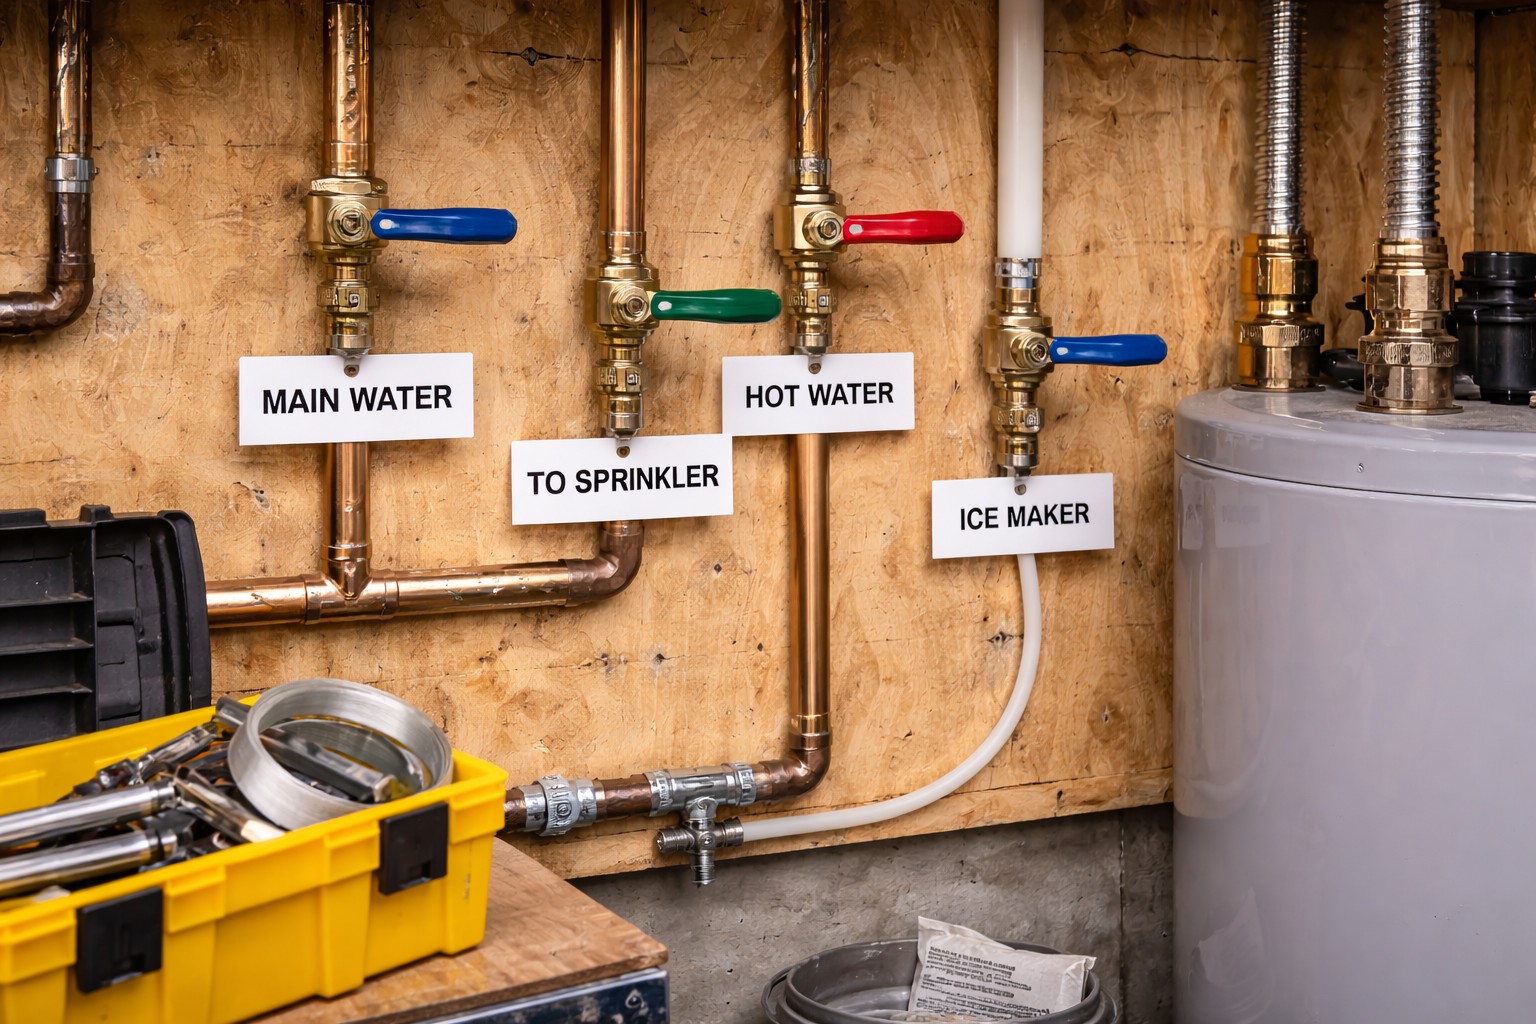
1. Verify tank location and that it sees system pressure
- Find the connection point. The tank should be on the cold-water line feeding the heater so it sees the same pressure the rest of the system sees.
- Look for check valves, backflow preventers, pressure-reducing valves, or shutoffs between the tank and the rest of the system. If any of these isolate the tank, it won’t work.
- Open nearby shutoffs fully if they’re partially closed; partial closure can isolate or limit flow to the tank.
2. Confirm static pressure and precharge
- Use a house pressure gauge to read the cold static pressure at a hose bib or the water heater drain. Note that number (usually 40–60 psi in many homes).
- With the system cold and the water supply isolated and drained from the tank side so the tank is not under water pressure, check the tank’s air precharge at the Schrader valve. It should match the cold static pressure you measured.
- If it does not match, add or release air with a hand pump and pressure gauge until it matches. Only adjust air when the tank is not pressurized by water—otherwise you’ll get a false reading and can damage the diaphragm.
3. Verify any nearby shutoff is fully open and system piping is correct
- Confirm the shutoff next to the tank is turned fully open so the tank sees system pressure at all times.
- If a downstream check valve or device is needed for other reasons, consider moving the tank to the supply side of that device so it remains exposed to system pressure.
4. Support and orient the tank properly
- Mount the tank according to the manufacturer’s orientation guidance and secure it with a proper bracket. Support is important because the tank filled with water is heavy; an unsupported tank can twist or crack the fitting.
- If the maker allows horizontal mounting, use the recommended supports and keep the connection stress-free. If in doubt, mount vertically with the connection at the top.
5. Re-pressurize and retest pressure peaks
- Restore system pressure, re-open the water supply, and turn power back on to the heater if you turned it off.
- Measure cold static pressure again to confirm precharge still matches.
- Heat water (run the heater or call for hot water) and observe the system pressure during a heat cycle or while drawing hot water. Watch for spikes above the pressure relief valve rating; if spikes are gone, the tank is now working correctly.
What Not to Do
- Don’t install the tank where a check valve or closed shutoff isolates it—it must see system pressure to work.
- Don’t adjust the air precharge while the tank is under water pressure; you will get incorrect readings and could damage the tank.
- Don’t rely on a loose bracket or let the tank hang from piping without proper support.
When to Call a Professional
Call a licensed plumber if you discover a complicated valve arrangement, a failed backflow device, a leaking tank, or if you’re uncomfortable isolating and draining parts of the system. Also call if pressure spikes persist after you’ve confirmed location, precharge, and support—persistent overpressure can damage appliances and safety devices and may require professional diagnosis and repair.
Safety Notes
- Turn off power to electric heaters or set gas heaters to pilot before draining or working on the system to avoid scalds or damage.
- Allow hot water to cool before working on the heater or lines you will open.
- Relieve water pressure before disconnecting fittings. Use gloves and eye protection when working with pressurized systems.
Common Homeowner Questions
- How can I tell if the tank is isolated? Check for valves, backflow preventers, or pressure-reducing valves between the tank and the rest of the system; measure pressure at the tank and at another point—if they differ it may be isolated.
- Can I set the precharge myself? Yes, if you can safely isolate and depressurize the tank; use a pressure gauge and a hand pump and only adjust air when the tank is not under water pressure.
- What if pressure spikes continue after I fix it? Stop and call a plumber—persistent spikes can mean a failed tank, a hidden check valve, or another pressure device issue requiring professional repair.
Related Articles
If you’re troubleshooting a similar symptom, these guides may help:
For the full directory, see Thermal Expansion Pressure Behavior.