Quick Answer:
If one fixture is weak after plumbing work, debris likely migrated and lodged in that fixture’s small screen or cartridge. Start by listing what was worked on, remove the aerator and flush, then clean the cartridge and check angle stop screens. If you suspect solder or pipe debris, flush the branch line before putting screens back.
Why This Happens
When someone does plumbing work—replacing a valve, soldering a joint, or cutting a line—small bits of flux, solder, pipe scale, or mineral grit can break free. Those particles travel in the water flow and often stop at the first restriction: an aerator, a cartridge, or the screen inside an angle stop. That leaves the rest of the system fine while one fixture has low flow. If you want to compare patterns, see Fixture pressure improves when others run for a similar symptom and troubleshooting ideas.
Step-by-Step What to Do
1. List what was worked on
- Note any recent repairs: replaced valve, soldering, pipe replacement, or work on that branch.
- Include where the work was done (kitchen, bathroom, basement) and whether the main was shut off during the repair.
2. Remove the aerator and flush
- Unscrew the aerator or showerhead screen. Keep parts in a safe place.
- Turn on the fixture at full hot and cold (if separate) for 30–60 seconds to flush loose debris from the faucet and branch line.
- Look at the water stream for visible particles or discolored water.
3. Clean the cartridge or internal screen
- If the faucet has a removable cartridge, follow the manufacturer steps to remove it (note how parts fit together).
- Rinse the cartridge and screens with clean water and use a soft brush to dislodge trapped grit. Do not use metal tools that could damage seals.
- Reinstall the cartridge and test the flow before replacing the aerator.
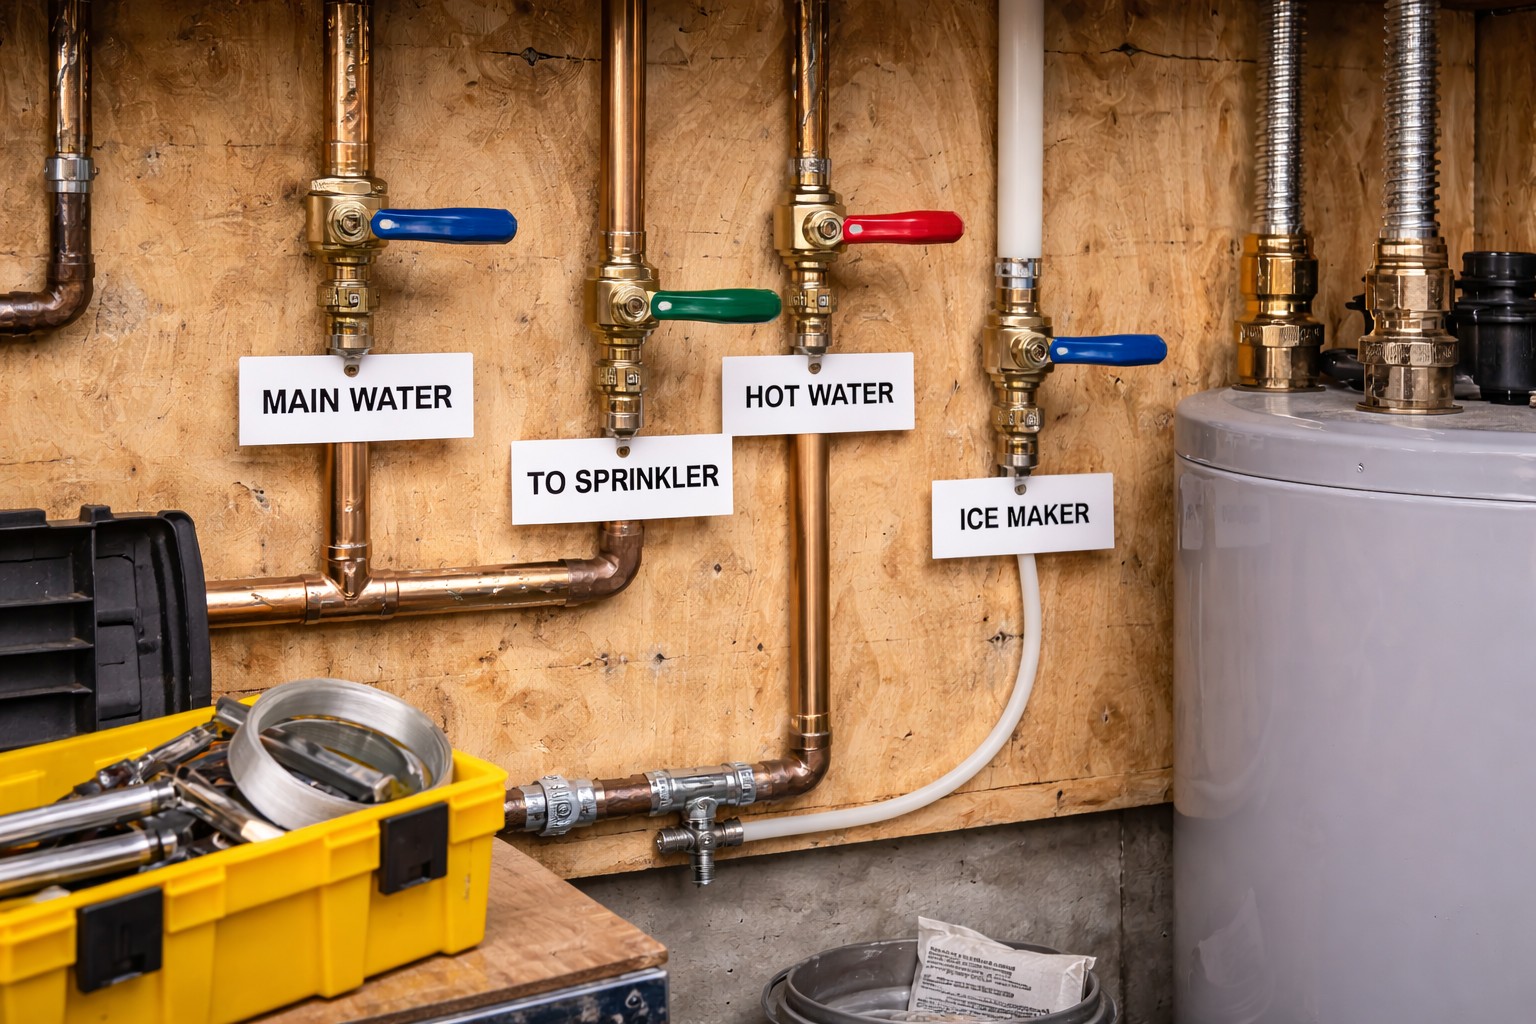
4. Inspect angle stop screens
- Close the fixture shutoff (angle stop), disconnect the supply hose or tube, and check the small screen inside the valve inlet.
- Clean or replace the screen if it has sediment. Only reinstall after you have flushed the line if debris is suspected.
5. Flush the branch line if solder/pipe debris is suspected
- Open the upstream supply briefly (or open a higher fixture on that branch) and run water to push out remaining particles.
- Flush for a minute or two until the water runs clear before reinstalling screens and reassembling the fixture.
- If the debris is heavy, leave the upstream and downstream fixtures open and flush longer. For shower-specific issues, see Shower has low pressure but rest of house is fine for focused tips.
What Not to Do
- Don’t keep cycling the stop valve repeatedly—sediment can score the seat and create leaks.
- Do not force or hammer parts to free debris; you can damage delicate seats and seals.
- Avoid using wire or sharp tools inside cartridges or screens that could enlarge openings or nick seals.
When to Call a Professional
- If flushing and cleaning don’t restore flow, or debris keeps reappearing, the line may need a professional flush or inspection.
- If the cartridge or valve is damaged, leaking, or hard to remove, a plumber can replace it correctly.
- If multiple fixtures on the same branch are affected after work, a pro can locate and clear the source safely.
Safety Notes
- Turn off the water supply to the fixture before taking apart valves or supply lines to avoid spills.
- Be cautious with hot water when flushing; scalding is possible. Run cold first if unsure.
- If the recent work involved soldering, avoid breathing fumes and wait for hot materials to cool before touching.
Common Homeowner Questions
- Q: How long should I flush the line? A: Run it until the water runs clear—usually 30–120 seconds; longer if you see debris.
- Q: Can I clean the cartridge myself? A: Yes, if you’re comfortable removing it; use a soft brush and avoid metal picks.
- Q: Will replacing the aerator fix it? A: Sometimes—if the aerator is clogged, replacing or cleaning it often restores flow, but check the cartridge and angle stop too.
For more related articles, see the Low Pressure at Single Fixture hub.