Quick Answer:
If a shutoff or service valve acts up after fitting a new water heater, start by isolating the water supply, relieve pressure, and inspect the valve for visible damage or debris. Flush any trapped debris, retest the valve, and replace it if it still leaks or won’t operate. A quick check often reveals whether you can fix it yourself or need help.
Why This Happens
New installations disturb pipe scale, solder, or sealant flakes. Those particles can lodge in valve seats or packing, preventing a tight shutoff or smooth operation. Heat cycling and slight movement during installation can also loosen valve parts or damage seals. Finally, older valves may have been weakened and finally fail when flow patterns change after the new heater is connected.
Step-by-Step What to Do
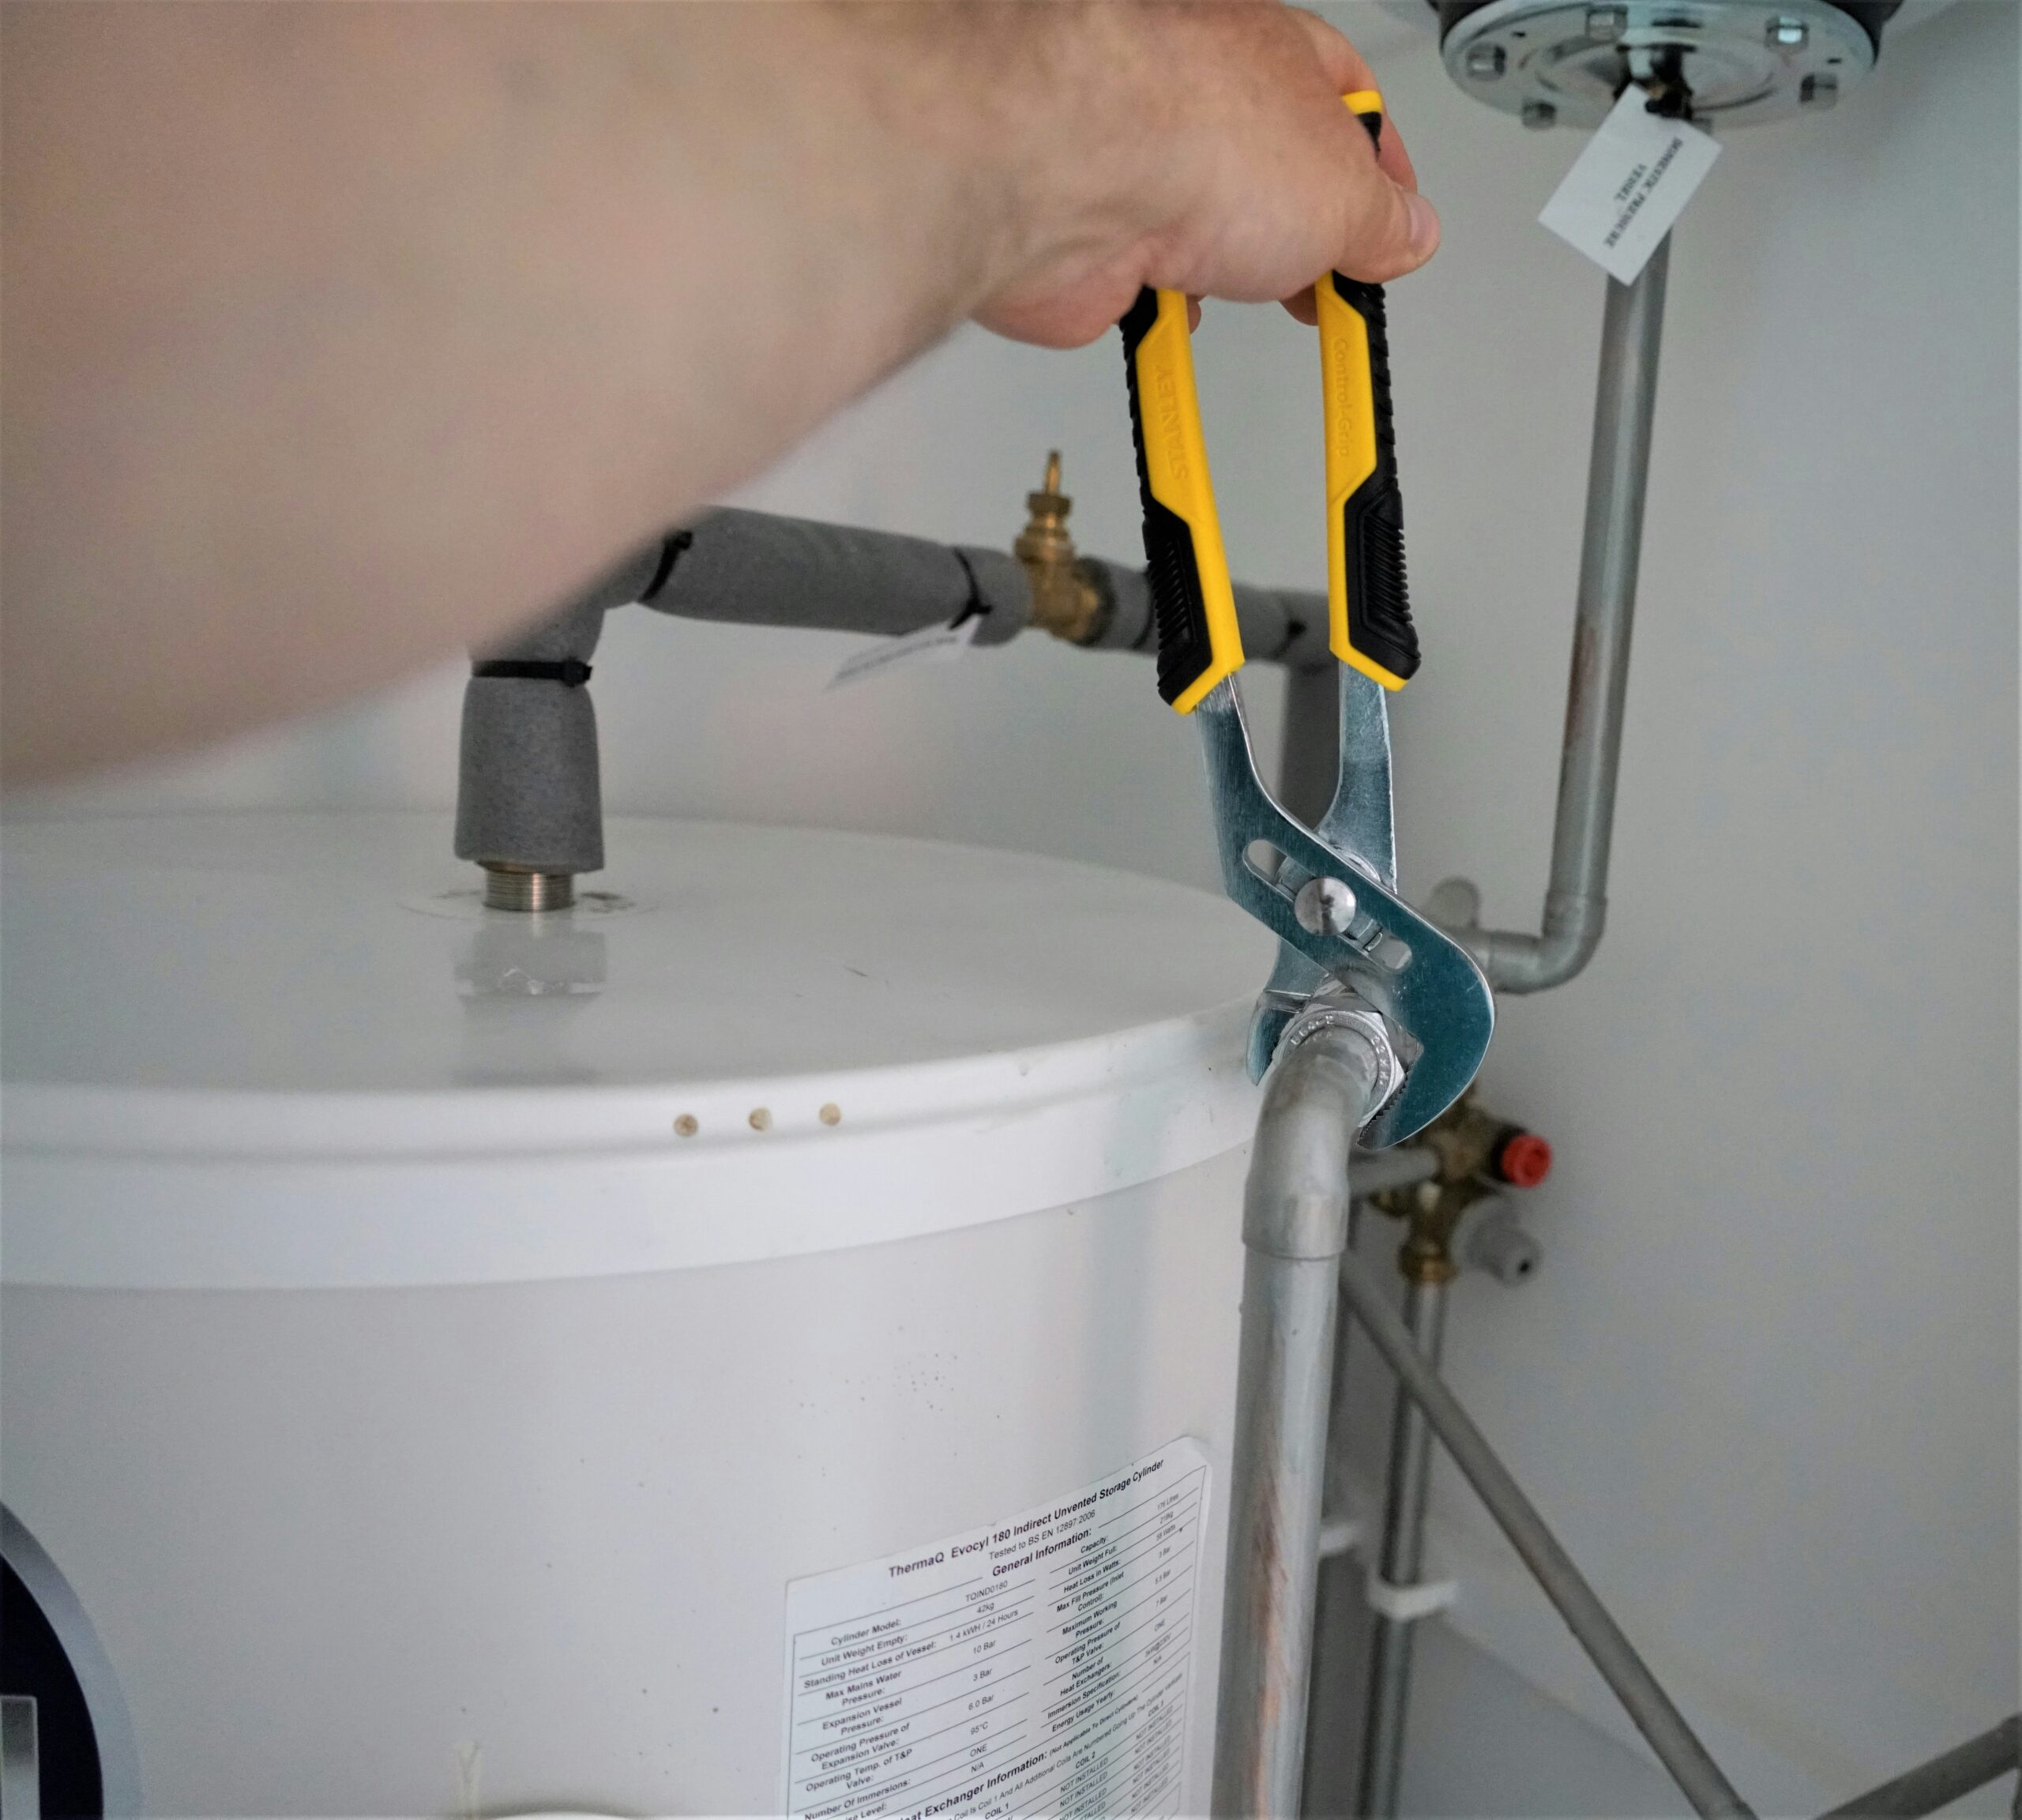
1. Isolate the supply
- Locate and close the water heater’s supply shutoff valve first, then the house main if needed.
- Open a nearby hot water tap to relieve pressure and drain a little water so the valve work is safer and cleaner.
2. Inspect the valve
- Look for leaks around the stem, body, and fittings. Check for corrosion, cracked handles, or loose packing nuts.
- Turn the handle gently to feel for grit, binding, or free spinning. If the handle spins but the valve doesn’t move, that’s a sign of internal failure — Valve handle spins but won’t close.
- Note whether debris appears when you open the valve a little (brown or gritty water).
3. Flush debris
- Place a bucket or connect a hose to a drain outlet. Partially open the valve to shoot a short burst of water and dislodge loose material. Repeat until the flow runs clear.
- If debris keeps returning, the issue may be deeper in the line; flush the heater drain or the supply line as appropriate.
- After flushing, cycle the valve a few times to see if operation improves.
4. Replace if needed
- If the valve leaks, the handle won’t engage, or flushing didn’t help, plan to replace the valve. Turn off and drain enough water to work safely, then remove the old valve and fit a correctly sized replacement.
- When replacing an under-sink shutoff or similar part, you may find an angle stop has failed — check the shutoff and consider that the symptom could be an Angle stop won’t shut off sink.
- Use proper thread sealant or tape where required, tighten fittings to manufacturer torque, and test under pressure before finishing the job.
What Not to Do
- Do not force the valve. Forcing can break the stem, shear the handle, or create a situation where the valve becomes impossible to remove without cutting the pipe.
- Do not ignore leaks. Even a small drip can lead to major water damage, mold, or a failed connection under pressure.
- Do not use excessive heat or adhesive near the valve when the heater is connected; that can damage seals and nearby plastic parts.
When to Call a Professional
Call a licensed plumber if you encounter any of these:
- You cannot stop the flow by isolating the supply.
- The valve is corroded or broken where replacement will require cutting or soldering on-site.
- Leaks persist after replacing a valve, or you’re unsure how to safely depressurize and drain the system.
Safety Notes
- Always shut off water and relieve pressure before working on valves. Open a hot faucet to confirm pressure is relieved.
- Wear eye protection when flushing lines; debris can spray unexpectedly.
- If you must work near electrical components (like the heater’s elements or controls), turn power off first.
Common Homeowner Questions
- My new valve leaks slightly after install — can I tighten it? Tighten only a small amount; overtightening can worsen the seal or crack fittings. If it still leaks, replace the valve.
- How long should a service valve last? A well-made valve can last decades, but age, water quality, and installation stress shorten lifespan.
- Is it okay to run the heater if the valve is faulty? No. A faulty shutoff can cause uncontrolled flow or hidden leaks. Isolate the heater and address the valve before regular use.
For more related articles, see the Shutoff Valves That Will Not Fully Close hub.