Quick Answer:
If a valve that hasn’t been used in years won’t turn or won’t stop water flow, start by isolating the supply, inspect the valve and nearby fittings, flush any debris from the line, and only replace the valve if it can’t be freed or is leaking. Take it slowly and follow basic safety steps — don’t force parts or ignore drips.
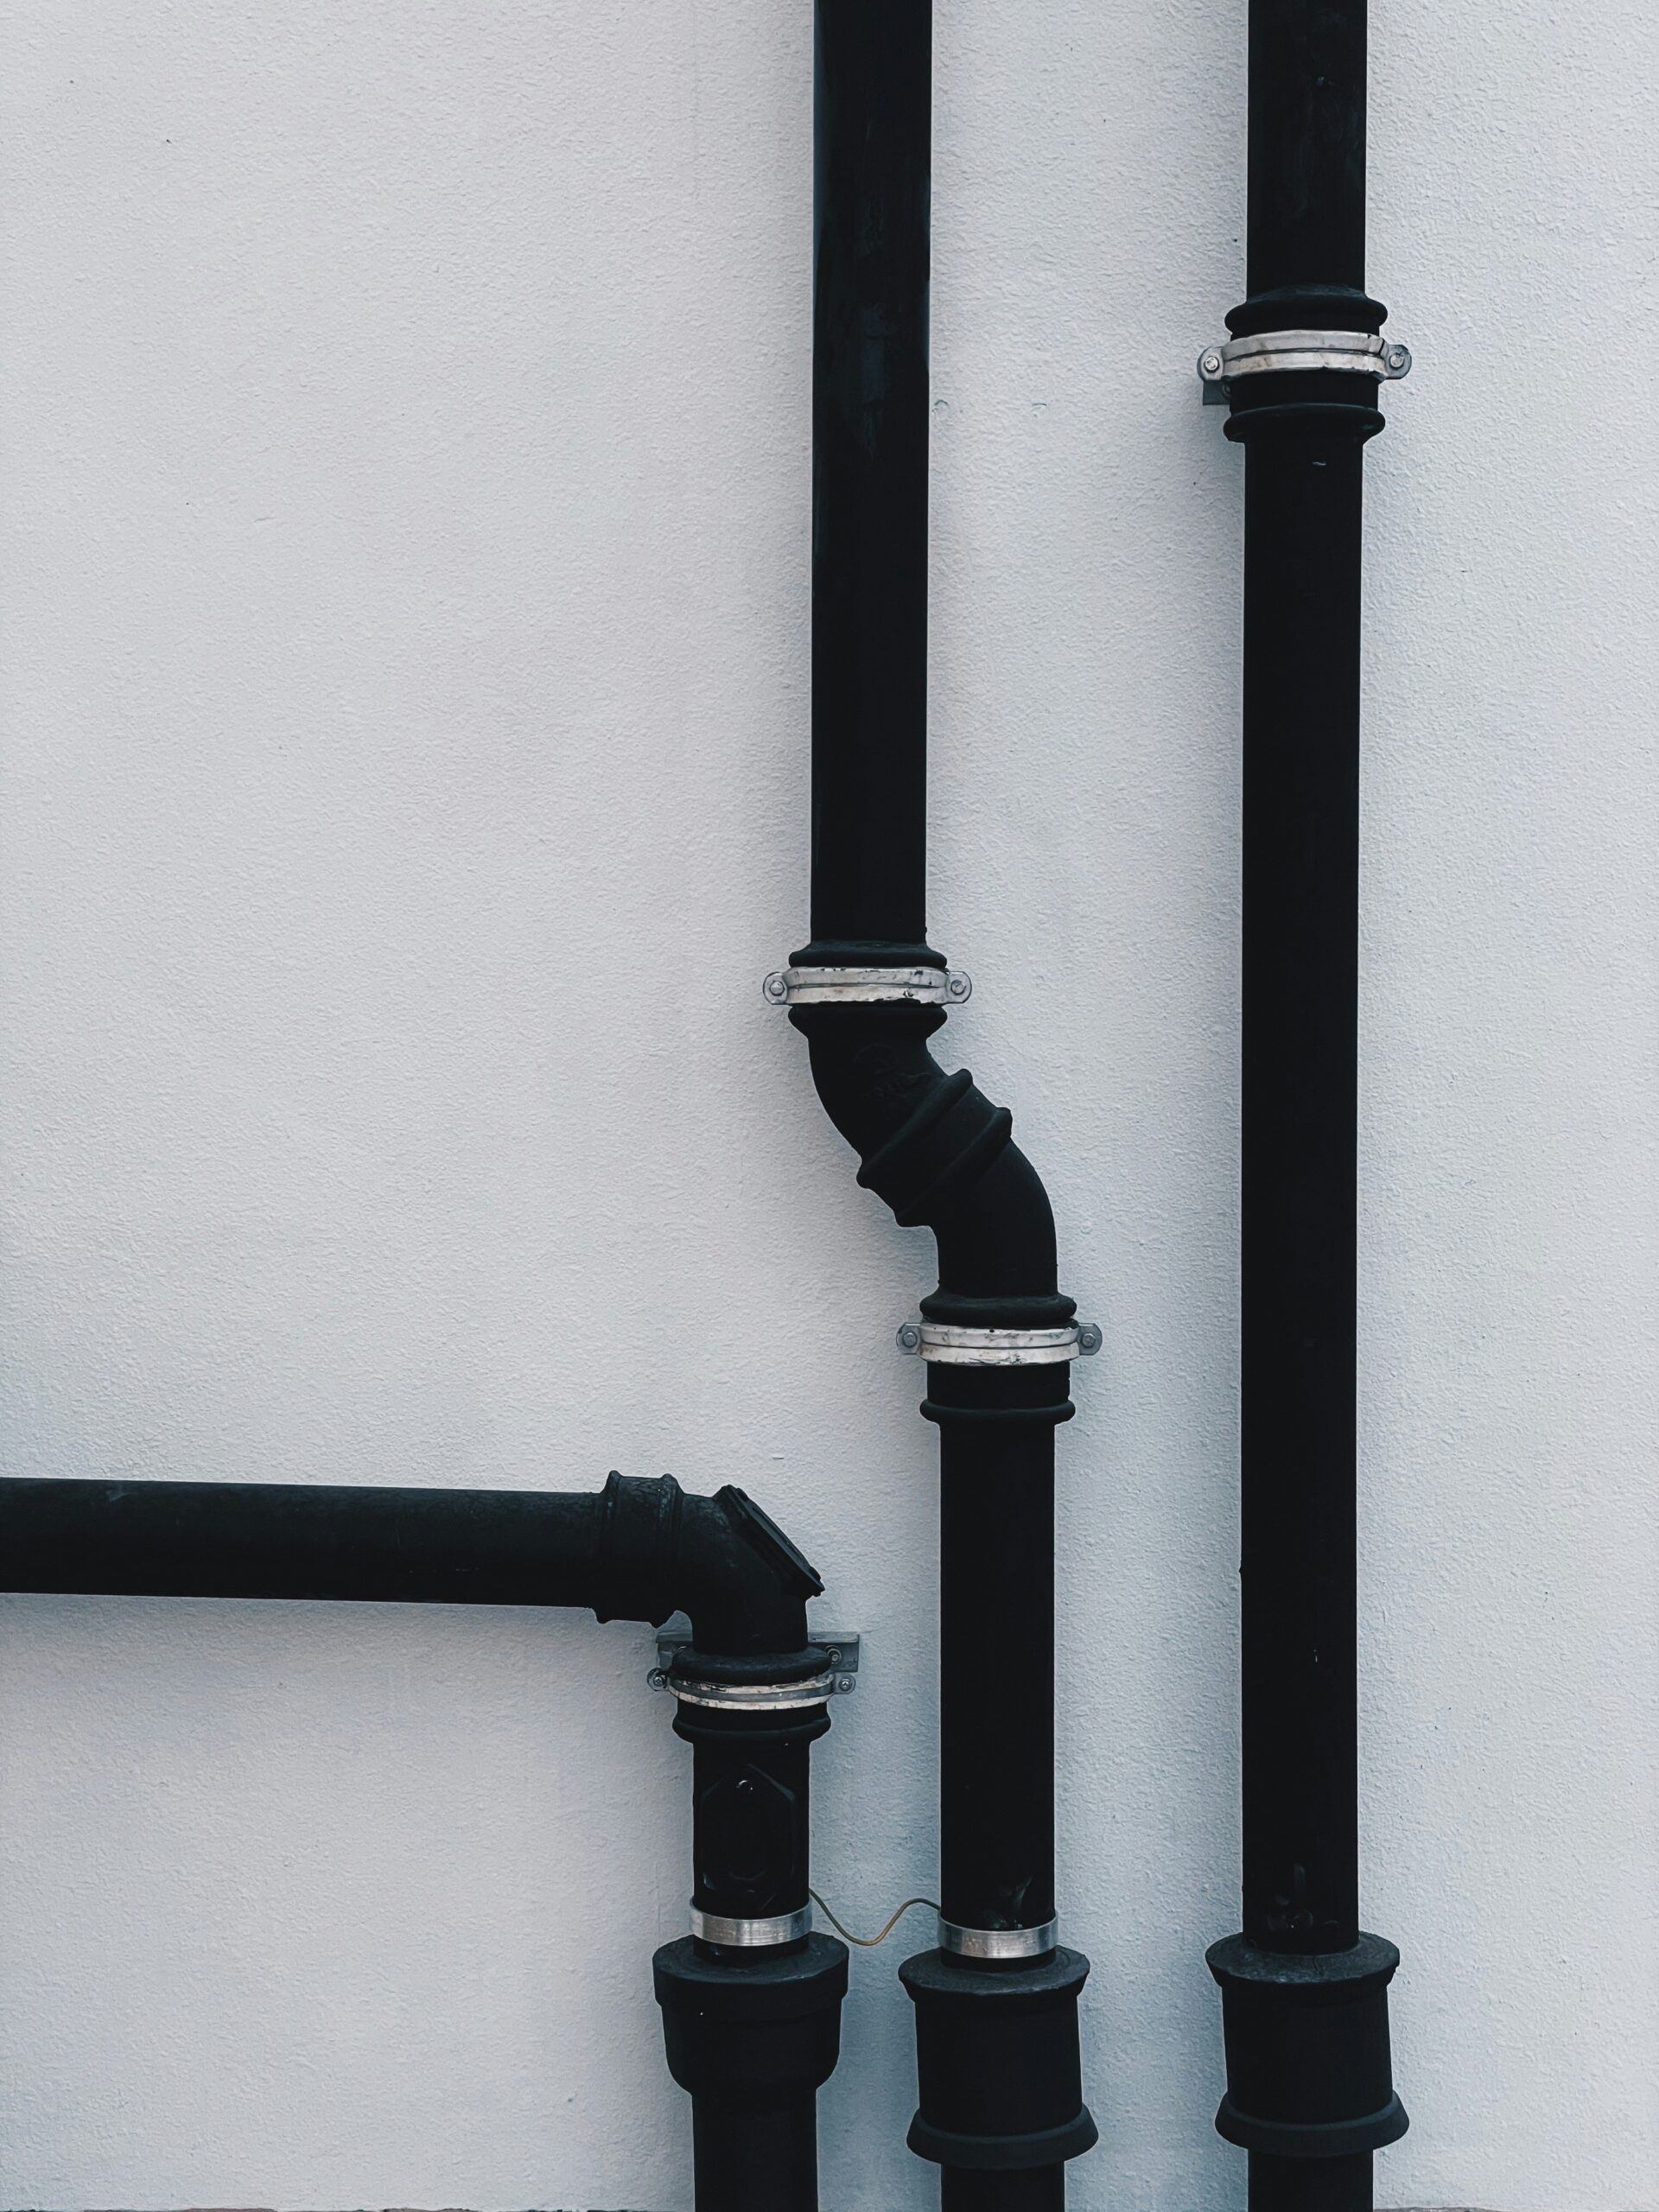
Why This Happens
Valves that sit unused can seize from mineral buildup, corrosion, or trapped debris. Rubber seats and packing can dry out and crumble. Stagnant water promotes mineral deposits and small particles collect near the seat or in the valve body. Temperature changes and vibration over years can also fatigue seals and stems, so a valve that once worked may now stick or leak.
Step-by-Step What to Do
1. Isolate the supply
- Shut off the nearest upstream shutoff or the main water supply before you touch the valve. If the valve is the only shutoff for a section, close the main to avoid uncontrolled flow.
- Open a downstream faucet to relieve pressure and drain the line so you’re not working against water pressure.
2. Inspect the valve
- Look for visible corrosion, cracked handles, or wet spots around the stem and connections. Check packing nuts, unions and nearby fittings for signs of leaks.
- If the stem looks damaged or packing is soaked, you may have a leak that needs attention — see the note about Valve stem packing leaking.
3. Try to operate gently
- Use a wrench on the nut or handle with gentle, steady pressure. Apply penetrating lubricant around the stem and allow it to soak per the product instructions before trying again.
- Work the valve back and forth a small amount to free deposits — avoid large forceful movements that could break the valve or pipe.
4. Flush debris
- With the supply still isolated, open a downstream tap and briefly open the valve (if it will move) to flush any grit or buildup out. If the valve is stuck open, keep the supply isolated and consider removing the valve for inspection.
- If you can remove the valve, inspect the body for sediment and use clean water to flush the line and valve parts before reinstalling or replacing.
5. Replace if needed
- If the valve won’t free, is cracking, won’t seal, or is leaking after effort to repair, replace it. Use a replacement rated for the same pressure and connection type.
- When replacing a critical shutoff, consider installing a newer quarter-turn ball valve which resists seizing and is easier to operate in emergencies — this also helps avoid scenarios like a Shutoff valve breaks during emergency.
6. Test and finish
- Restore supply slowly, checking for leaks. Operate the new or freed valve a few times to ensure smooth movement and sealing.
- If you had to open any downstream fixtures to flush, close them when the water runs clear and the system is steady.
What Not to Do
- Do not force the valve — excessive force can break the stem, handle, or connections and make repairs much harder.
- Do not ignore leaks — even small drips can indicate a failed seal and will worsen over time, causing water damage.
- Do not remove or replace a valve under pressure — always isolate and depressurize the line first.
When to Call a Professional
Call a licensed plumber if:
- The valve is part of a complex system (gas lines, fire sprinkler, or main supply) or you’re unsure which shutoff to use.
- The valve is seized solid and force risks breaking a critical connection, or the piping is old and corroded.
- Leaks persist after you’ve tried basic fixes, or soldering/replacement would require skills and tools you don’t have.
Safety Notes
- Always turn off and depressurize the supply before working on a valve. Opening under pressure can spray water and cause injury or damage.
- Wear eye protection and gloves when working with corrosion, cleaning chemicals, or when cutting/unscrewing fittings.
- If the valve is near electrical equipment, turn off power to nearby circuits to reduce risk of short or shock from water contact.
Common Homeowner Questions
- How long should a shutoff valve last?
Properly maintained valves can last decades, but rubber components and exposed metal often fail first after many years. - Can I just pour vinegar or CLR to free a stuck valve?
You can try a manufacturer-safe penetrating agent, but avoid aggressive chemicals on fittings with rubber parts or on underground/hidden pipes. - Is replacing the valve a DIY job?
Replacing a straightforward water shutoff on accessible piping is often DIY-capable if you have the right tools; call a pro for uncertain or high-risk situations.