Quick Answer:
If you installed a new trap and see drips at the joints, first stop adding water, dry the joints, run water, and pinpoint the first location that beads or drips. Most leaks after installation come from a mis-seated washer, a badly aligned trap or a slightly loose slip nut. Work calmly through the joints and test each connection — often the fix is a reseated washer or a small adjustment, not brute force.
Why This Happens
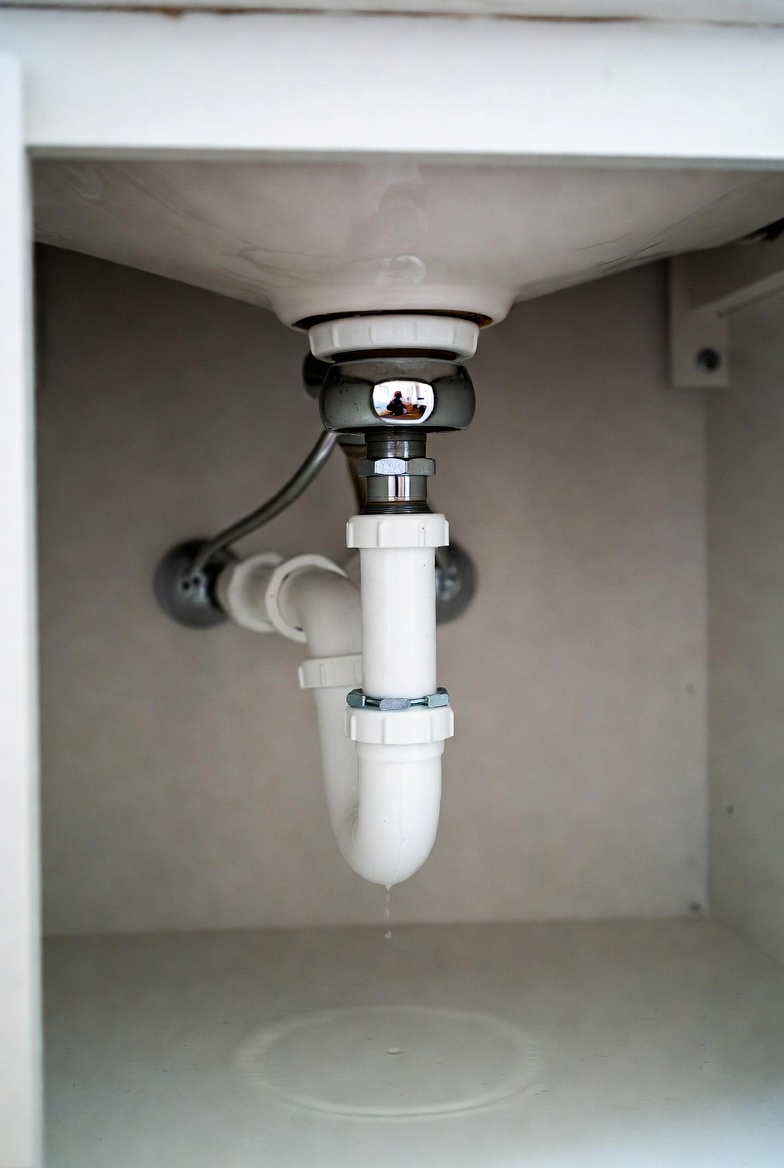
A sink trap is made of a few simple parts: the trap body, trap arm, slip nuts and washers (often called slip washers or gaskets). Common reasons for new leaks include:
- Washers installed upside down, worn, or pinched.
- Slip nut not seated squarely so the washer doesn’t compress evenly.
- Trap pieces slightly out of alignment after installation, leaving a gap at a joint.
- Incorrect trap length or position that stresses a joint when tightened.
If the trap is forced into place or the outlet pipe sits off-center it can cause persistent trouble and even backup. If alignment is an issue, check for a Trap offset causing backup situation as part of your inspection.
Step-by-Step What to Do
Step 1 — Prepare and dry the joints
Put a bucket under the trap to catch drips. Use a clean towel or paper towels to dry each joint and the washers. Drying the area is critical so you can see the first bead of water when you test.
Step 2 — Run water and observe
Run a steady stream of water for 20–30 seconds while closely watching each joint. Pinpoint the first location that beads or drips. Note whether the water comes from the seam between nut and tailpiece, the trap joint, or the trap arm to wall connection.
Step 3 — Lightly check and reseat fittings
Hand-tighten any loose slip nuts first. If a nut is snug but still leaks, loosen it, inspect the washer, seat the washer squarely, then hand-tighten again and test. If you must use a wrench, give only a quarter-turn beyond hand-tight—most leaks are fixed by proper seating rather than extra force.
Step 4 — Replace worn or misinstalled washers
If the washer looks compressed, torn, or is sitting the wrong way, replace it with the proper size and material for your trap. After replacing a washer, reassemble, hand-tighten, and test. If the trap seems squeezed or stretched when assembled, the trap may be the wrong fit for the sink—check if the trap is the correct model or if you need a different offset or length and consider whether the Trap wrong size for sink might be the root cause.
Step 5 — Final test
Dry the area again and run water a final time. Watch for any beads or new drips. If everything stays dry under normal flow, wipe the area and leave the small bucket for a day to catch slow leaks you might miss during testing.
What Not to Do
- Do not overtighten slip nuts to stop a leak—proper seating and washers matter more than force.
- Do not use glue or permanent adhesives on slip-joint fittings; they should remain serviceable.
- Do not assume a small drip is harmless if it has soaked wood or drywall — act promptly to avoid damage.
When to Call a Professional
- If you replace washers and realign the trap but it still leaks.
- If the leak is at the wall connection or from inside the drain (not just the slip joints).
- If there is persistent backup, foul odors, or signs of water damage to cabinetry or floors.
- If you are uncomfortable disassembling the trap or working in a cramped space with plumbing nearby.
Safety Notes
- Wear gloves to avoid contact with wastewater. Use eye protection if you are loosening fittings that may spray.
- Place a bucket under the trap before loosening anything to catch water and prevent spills.
- Avoid harsh chemical drain cleaners when troubleshooting leaks; they can be hazardous and damage parts.
- Turn off any electrical devices near the sink and be cautious of outlets under the cabinet when water is present.
Common Homeowner Questions
- Why does a new washer still leak? — The washer may be the wrong type or installed upside down; reseat it and try a new one if needed.
- Can I use tape to stop a slip-joint leak? — No; tape on slip joints is not effective. Fix the seating and replace the washer if necessary.
- How tight should slip nuts be? — Hand-tight plus up to a quarter-turn with a wrench is usually enough; avoid heavy force.