Quick Answer:
If the stopper closes but water still seeps out, first remove the stopper, wipe the drain seat clean, and closely inspect the rubber seal. Often the seal is dirty, warped, or worn and can be cleaned or replaced quickly. If the seal looks good, check the pivot rod and clip under the sink for misalignment.
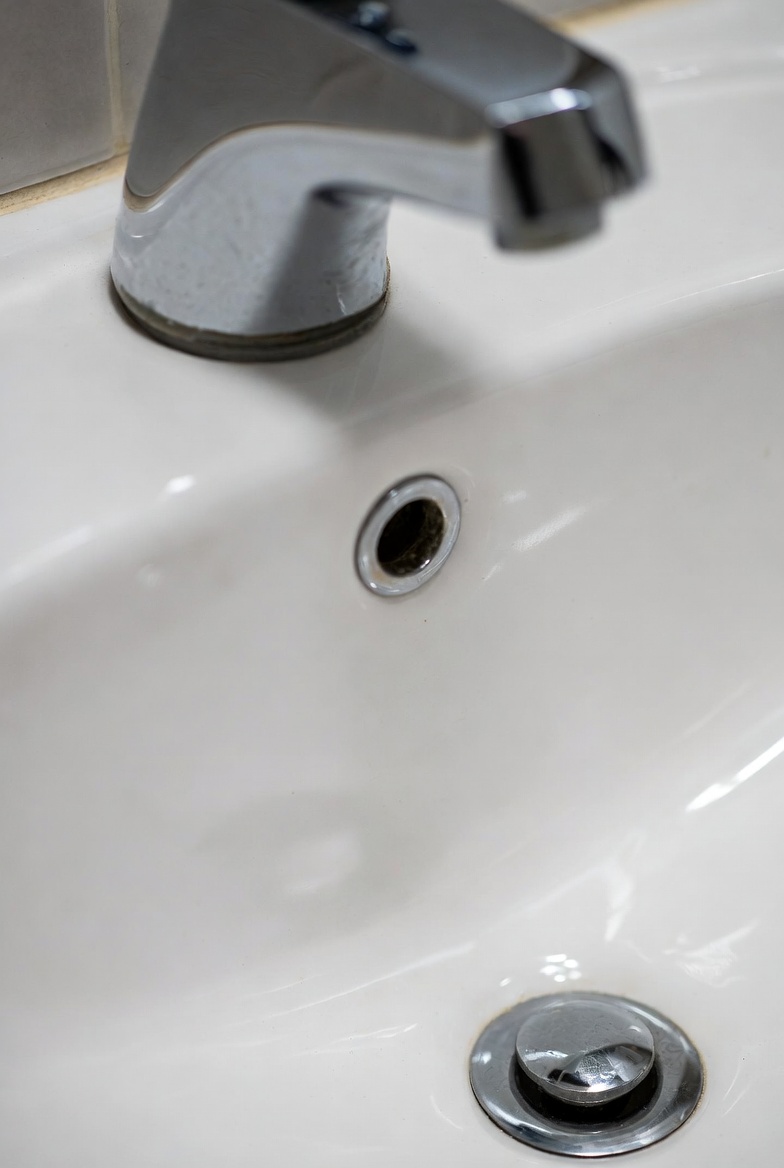
Why This Happens
- Rubber seal worn, cracked, or flattened from age.
- Debris, soap scum, or mineral buildup on the drain seat prevents a full seal.
- Misaligned or disconnected linkage/pivot rod so the stopper never seats fully.
- Damaged or corroded stopper parts or the drain seat itself.
Step-by-Step What to Do
Step 1: Observe how it leaks
Fill the sink a little and close the stopper. Watch whether water trickles slowly or pours out. Note whether the stopper looks off-center when closed.
Step 2: Remove the stopper
Many pop-up stoppers lift out once the pivot rod under the sink is loosened. If yours pulls straight out, lift it. Put a towel or small container under the tailpiece to catch drips.
Step 3: Wipe the drain seat and inspect the rubber seal on the stopper
Use a clean rag to wipe the drain seat (the metal or plastic ring the stopper presses against) and the rubber seal on the stopper. Look for nicks, hardening, flat spots, or mineral crust. This simple cleaning often restores a good seal.
Step 4: Clean and test
- Soak stubborn mineral buildup with a mild vinegar solution, then scrub gently with an old toothbrush.
- Rinse and dry both the seat and the rubber seal, then reinsert the stopper and test.
Step 5: Check the linkage under the sink
If cleaning doesn’t fix it, inspect the pivot rod, clevis, and spring clip under the sink. A misaligned or loose connection keeps the stopper from seating. If you see the pivot rod out of position or the clip broken, that’s the likely cause. If you suspect the pivot rod has come undone, look for a detached clip or slipping rod — this is a common cause of a linkage disconnected under sink issue.
Step 6: Replace parts if needed
If the rubber seal is visibly worn or deformed, replace the seal or the entire stopper assembly. Replacement seals and stoppers are inexpensive and usually simple to install. If the seat itself is damaged, replacement or a seat resurfacing kit may be necessary.
What Not to Do
- Do not use caulk or sealant as a substitute for a worn stopper seal.
- Do not force metal parts together if they don’t align—this can break clips or strip threads.
- Do not rely on chemical drain cleaners to fix a mechanical seal problem; they won’t restore the stopper gasket and can make rubber degrade faster.
When to Call a Professional
- The stopper or seat is cracked or badly corroded.
- Leaks continue after cleaning and replacing seals.
- There’s damage to the tailpiece, drain flange, or you’re uncomfortable working under the sink.
- If replacing parts requires cutting or soldering metal drain pieces.
Safety Notes
- Wear gloves to protect your hands from sharp edges and grime.
- Place a bucket or towel under the work area to catch water.
- Avoid mixing chemical cleaners with manual disassembly—rinse the drain well first if cleaners were used.
- Work slowly with small parts like clips and springs to avoid losing them down the drain.
Common Homeowner Questions
- Why does water still leak after I close the stopper?
Usually the rubber seal is dirty, deformed, or the stopper isn’t seating because of linkage misalignment. - Can I fix it myself?
Yes — cleaning, re-seating, and replacing the rubber seal are common DIY fixes. - What if the stopper won’t stay down?
If the stopper doesn’t stay closed or drops back up, inspect the linkage and pivot rod; it may be loose or misadjusted — and note issues like a pop-up won’t stay down can point to the same under-sink linkage problem.