Quick Answer:
If the sink drain runs slowly or the trap looks crooked after a repair, start by visually checking the drain arm and trap for proper slope and alignment. Loosen the slip nuts, reposition the trap arm so it slopes gently toward the wall waste line, retighten, and test for leaks and flow. If you cannot get a steady downhill slope or you see repeated leaking, call a plumber.
Why This Happens
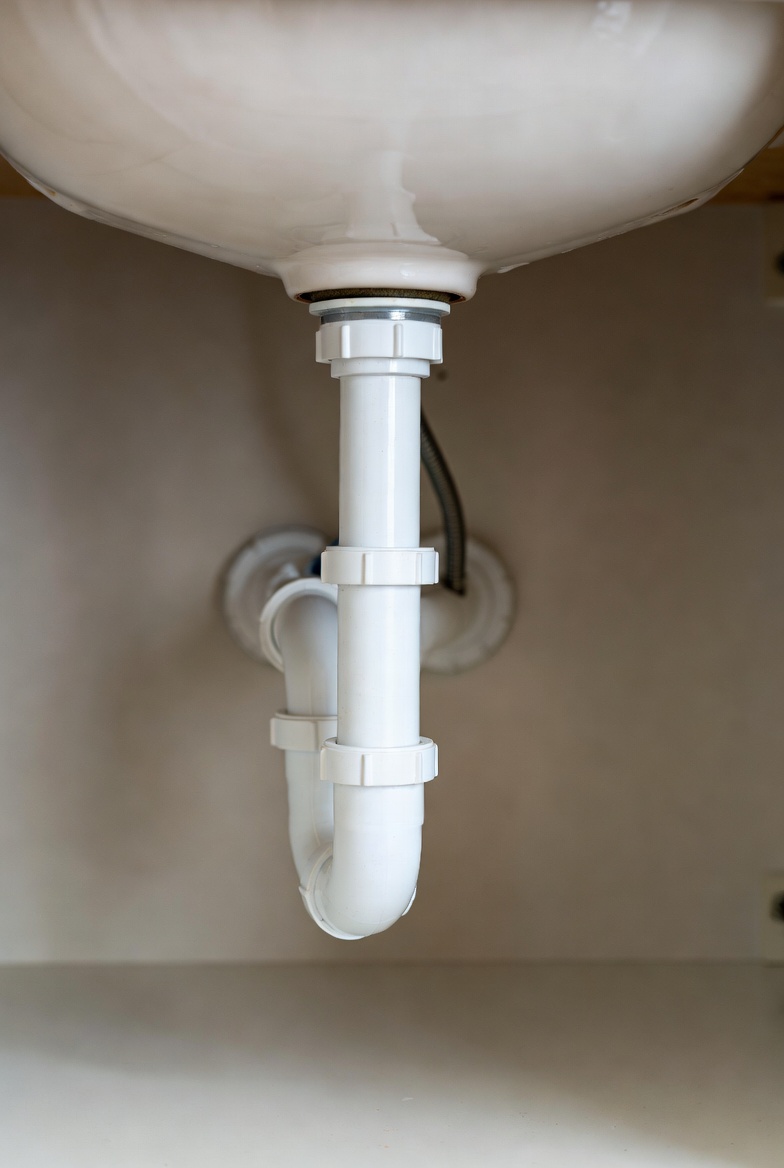
After a repair the drain pieces — tailpiece, trap, trap arm and wall adapter — must line up so water flows downhill into the waste pipe. Typical causes of misalignment include:
- Parts assembled in the wrong order or rotated so the trap arm points up instead of down.
- Using the wrong length tailpiece or a trap that doesn’t match the outlet height.
- Extra fittings or improper adapters that change the angle of the outlet.
- Over-tightening or forcing parts into place so the trap sits at an odd angle.
A small slope is required so water and solids move toward the wall; if the slope is reversed or flat, the trap will hold water unevenly and drainage can be slow or leak-prone.
Step-by-Step What to Do
1. Prepare and have the right tools
- Place a bucket under the trap to catch water.
- Have an adjustable wrench or channel pliers, plumber’s tape for threaded parts if needed, and a rag.
- Turn off the faucet and clear under-sink storage so you can work comfortably.
2. Visually inspect alignment
Remove any cloth or items under the sink. Visually confirm drain arm slope toward the wall. Look for twists in the trap, an upward-pointing trap arm, or a gap where the trap arm meets the wall inlet.
3. Loosen and reposition the trap and trap arm
- Put the bucket under the P-trap, then loosen the slip nuts on each end of the trap (hand-tighten or use pliers gently).
- Slide the trap down and rotate the trap arm as needed so the arm angles slightly downward toward the wall outlet.
- If the tailpiece is too long or short, install an appropriate extension or shorten it so parts line up without forcing.
4. Re-tighten and seal
- Hand-tighten slip nuts, then give a slight additional turn with pliers — avoid overtightening plastic nuts.
- Make sure any washers or compression rings are seated correctly to prevent leaks.
5. Test the setup
- Run water for a few minutes and watch for slow draining, gurgling, or leaks at every joint.
- If flow is steady and dry, the alignment is correct. If problems persist, re-check the angle and connections.
If the trap won’t sit at a gentle downhill angle without forcing parts, the wall outlet, trap type, or tailpiece likely needs a different fitting or professional attention. For related problems you may also see Sink trap fails after repair and Drain noisy after repair.
What Not to Do
- Do not leave misaligned piping uncorrected.
- Do not overtighten plastic nuts — you can crack fittings or strip threads.
- Do not force pipes into position; forcing increases the chance of leaks and future failure.
- Do not use chemical drain cleaners to fix mechanical alignment or installation problems.
When to Call a Professional
Contact a licensed plumber if:
- You cannot achieve a consistent downhill slope without stressing the fittings.
- Leaks continue after properly repositioning and tightening the trap.
- There is repeated clogging, sewage smell, or water backing up into the sink.
- Structural access is needed behind the wall or the wall outlet is damaged.
If you have persistent vibration, gurgling, or odd noises even after trying basic adjustments, check the article on Drain noisy after repair or call a pro to diagnose venting or trap issues.
Safety Notes
- Use a bucket and rags to catch water and protect cabinet finishes.
- Wear gloves and eye protection if working with rusty or dirty drains.
- Avoid working under the sink alone if the space is cramped; ask someone to assist or stand by.
- If you smell sewage or see signs of major leakage in the cabinet or ceiling below, stop and call a plumber — these can be health hazards and cause structural damage.
Common Homeowner Questions
- How much slope should the trap arm have? About 1/4 inch drop per foot toward the wall is the common guideline.
- Can I fix alignment without replacing parts? Often yes: loosening slip nuts and repositioning the trap or using a short tailpiece extension fixes most problems.
- How do I know the leak is fixed? Run water for several minutes and check all joints for dripping; dry any spots and re-check after 24 hours to be sure.