Single-fixture loss after repair needs the work and actual water path recorded. Timing does not prove solder or migrating debris, and a stop cannot isolate its own inlet screen for removal.
First check the situation
Stop affected use for leakage, unsafe temperature, damaged parts or a drain that cannot accept water. Seek prompt appropriate help without another comparison test. Do not enter wet cabinets, wall spaces or water to reach a valve or electrical control.
Keep away from wet electrical equipment. Do not touch wet appliances, plugs or switches, or enter water to reach a breaker. When no gas leak is suspected, power may be isolated only from a safely accessible dry location; otherwise call an electrician or emergency help. Wet equipment needs qualified assessment before it is used again.
If fuel gas is suspected, leave the building or affected area immediately. Do not operate valves, switches, plugs, appliances or phones there. Call the gas emergency service from a safe location well away, and wait for responders’ clearance.
Record the original observation
- Parts and connection actually worked on, relevant model and completion record.
- Original affected setting and any real material/location evidence.
- Stop condition, leakage, water-quality notices and effective separate isolation.
What it can tell you
A particle at an aerator does not establish the complete upstream source or clear every shared segment. An open higher fixture is not controlled discharge management for an exposed lower branch.
Useful next steps
- Do not remove a cartridge or stop-inlet screen before exact every-feed isolation. The same suspect stop is not its own upstream barrier.
- Do not reopen upstream supply or a higher fixture to push debris through disconnected work, or leave multiple fixtures open for a longer flush.
- Actual construction/service flushing needs a secured accepting path, required retained parts and complete source-off/refitting steps.
- Give the installer actual work and material evidence. Use appropriate intended outlet care without a mandatory full hot/cold purge or normal-water timer.
Ordinary outlet care has limits
For a separately suitable routine outlet-cleaning case, use the exact model removal and finish-care instructions. Turn the outlet off, allow parts/water to cool, keep safe footing and contain retained water. Cover the drain to retain small parts without allowing a basin overflow. Use the actual aerator key or permitted tool; cloth on pliers does not make force harmless. Clean only intended removable parts using a compatible product and duration. Do not assume every screen pulls out, every finish accepts vinegar or every assembly contains an owner-serviceable check valve. Keep restrictors, checks and seals in their required places. Refit completely before a small attended safe-temperature check with an accepting drain. Stop for rise, leakage, binding or unsafe temperature.
Before internal or connection service
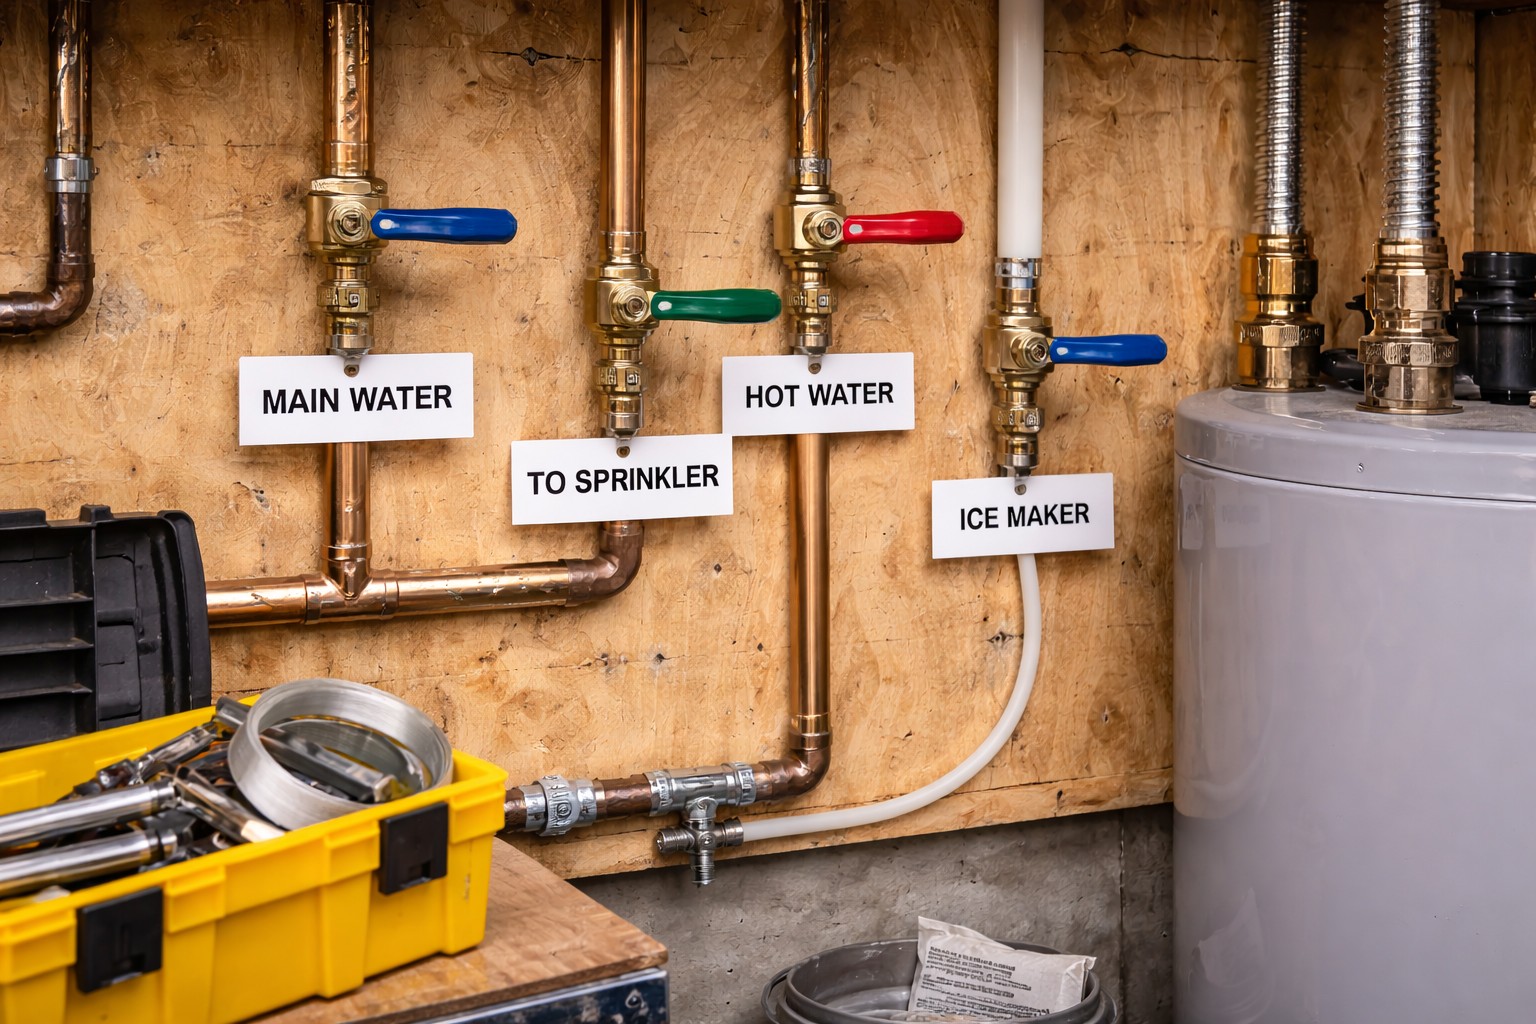
Before any internal service or fitting removal, identify and isolate every supply that can pressurize the section, release trapped pressure through the appropriate controlled outlet and verify depressurization. Account for hot water and possible alternate feeds. Lowering a PRV setting, reducing flow or wearing gloves does not make a pressurized assembly safe to open. If isolation cannot be established, leave it assembled and obtain qualified help.
Keep all relevant feeds isolated while retained parts or supply connections are open. A failed stop is not trustworthy isolation, and closing that stop cannot unload its own inlet. A quiet remote tap or empty toilet tank alone does not verify every segment. Do not reopen a removed cartridge, exposed supply or loosely held hose into a bucket as a generic test. Some actual makers prescribe controlled outlet or installed-valve service flushing; follow the full model method, secured capture and source-off extraction/refitting sequence. Fully reassemble compatible parts before normal restoration and leak/function checks. Comfort, towels and a short burst do not replace source control.
Check only an identified owner-operated shutoff whose normal position and operating method are known, without force or repeated cycling. Do not manipulate curb stops, meter valves, utility fittings, backflow test cocks or an unknown valve. Contact the supplier for its equipment and the installer or plumber for household equipment.
Does water running clear prove the repaired branch is sound?
No. Appearance does not verify pressure, secure connections, source correction or water quality. Actual compatible completed service and checks are required.
Give the provider the model, actual work record, original setting/phase and any material already recovered. Persistent or recurring low delivery needs actual fixture/supply evidence; a temporary change does not certify the whole system. A weak stream or spray feel is not a measured pressure, and a nearby working tap does not clear every shared condition. If a new unexplained color, odor or other water-quality change accompanies the event, do not taste it or boil unknown water as a general remedy. Use a known-safe consumption source and contact the supplier for the actual restrictions and restoration directions. Clear flow does not lift an advisory.
Related guides
- Fixture pressure improves when others run
- Shower has low pressure but rest of house is fine
- Low Pressure at Single Fixture