Quick Answer:
If the toilet starts cycling or refilling on its own after a repair, the most common cause is grit or debris in the supply line or tank parts. Turn off the water, flush the supply line into a bucket to remove grit, then recheck tank sealing and the flapper/float for proper seating. This usually stops repeat refills.
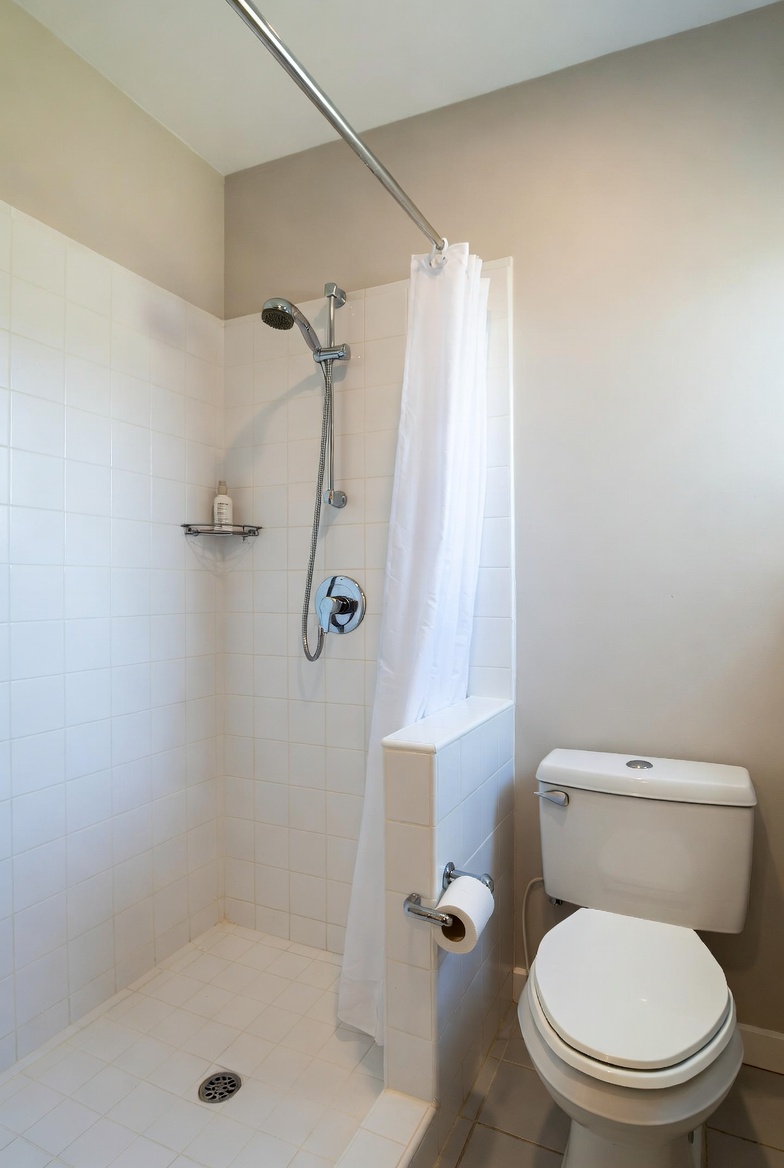
Why This Happens
When plumbing work disturbs pipes or the municipal supply, small bits of mineral scale, solder, pipe dope, or grit can travel into the toilet fill valve and flapper area. That debris can prevent the flapper from sealing or the fill valve from shutting off cleanly, causing the tank to lose water and refill intermittently. Similar behavior can occur in other situations like a recent outage or winter work — for example, see Random refills after city outage and Phantom flush after winterization for related causes and fixes.
Step-by-Step What to Do
1. Stop the cycling and turn off the water
- Close the shutoff valve at the base of the toilet. If that valve won’t close reliably, shut off the home’s main water supply.
- Flush the toilet once to empty most of the tank so you can work with less water.
2. Flush the supply line into a bucket to remove grit
- Disconnect the flexible supply hose from the tank inlet (have a small bucket ready). Slowly open the shutoff valve and let the line run into the bucket until the water flows clear and any visible grit has flushed out.
- Close the shutoff valve again before reconnecting the hose.
- Flush supply line into bucket to remove grit, then recheck tank sealing.
3. Inspect and reseat tank components
- Check the flapper or flush valve seat for grit, chips, or warping. Clean gently with a soft cloth; replace the flapper if it looks damaged.
- Check the fill valve for debris at the inlet or inside the valve. Many fill valves have a removable cap for rinsing; follow the manufacturer’s basic cleaning steps or replace the valve if it won’t shut off properly.
- Make sure the float and chain are adjusted so the flapper can fully close and the fill valve stops at the correct height.
4. Reconnect, restore water, and test
- Reconnect the supply hose securely, open the shutoff slowly, and let the tank fill while watching for leaks and proper shutoff.
- Flush a few times and observe for a period (10–15 minutes) to confirm the cycling has stopped.
What Not to Do
- Don’t skip post-repair flushing—grit causes repeat leaks; plumber if unsure.
- Don’t insert sharp tools into the tank to scrape the seat — you can damage parts or the porcelain seal.
- Don’t rely on temporary tape or glue to “fix” a poorly seating flapper; replace the component if it won’t seal cleanly.
When to Call a Professional
- If cycling continues after you’ve flushed the supply line and cleaned or replaced simple parts.
- If you see persistent leaks at fittings, cracks in the tank, or you can’t isolate the shutoff valve.
- If multiple fixtures show sediment-related problems after a repair or after the city turns water back on — a plumber can check the service line and pressure regulator.
Safety Notes
- Turn off water at the shutoff or main before disconnecting lines to avoid flooding.
- Use a bucket and small towels to manage water; avoid letting water spill onto electrical outlets or switches.
- If you’re unsure about disassembling valves or if valves are corroded, stop and call a professional to avoid breaking fittings or causing a larger leak.
Common Homeowner Questions
- Why did this start right after the repair? Debris disturbed during the work commonly travels into the supply and tank, lodging in the fill valve or under the flapper.
- How long should I watch after flushing the line? Test for at least 10–15 minutes of idle time and a few flush cycles to be confident the issue is resolved.
- Can I just replace the flapper and ignore the supply line? You should flush the supply line first; grit in the line can quickly foul a new flapper or fill valve, causing the problem to return.