Quick Answer:
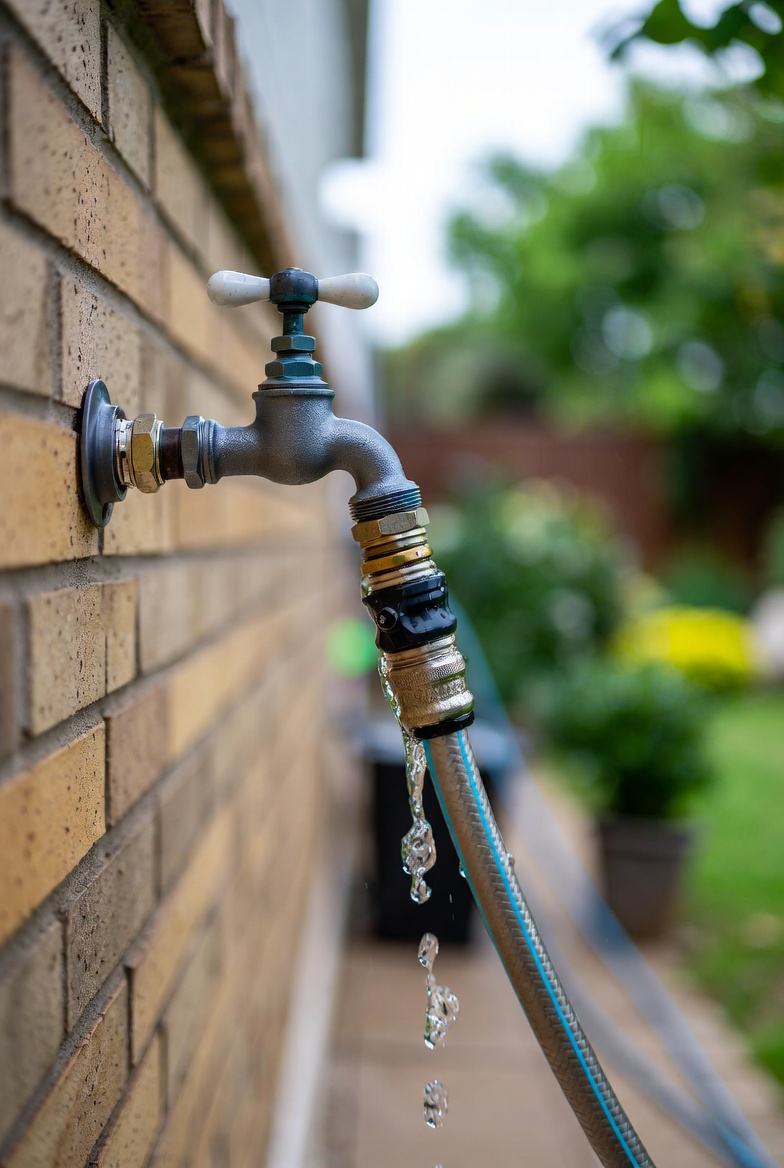
If the faucet only drips when a hose is connected, start by shutting off any dedicated exterior shutoff, remove the hose and inspect the hose washer and spigot threads. Often the fix is a correctly sized washer and careful hand-tightening followed by a small wrench turn. If the leak comes from the spigot stem or you see wetness inside the wall, call a professional.
Why This Happens
Common causes when a hose is involved:
- Worn, missing, or wrong-size washer in the hose end so the seal fails when connected.
- Damaged or cross-threaded spigot threads that prevent the hose from sealing snugly.
- Corrosion or cracks in the spigot that only show under the added pressure of a hose attached. For related issues when pressure affects the spigot, see Hose bib leaks under pressure.
- Leaks at the spigot stem or inside the wall that can look like a hose-connection problem but are actually plumbing behind the fixture.
Step-by-Step What to Do
1. Shut off any dedicated exterior shutoff
- Before you touch anything, locate and close the exterior shutoff valve if your home has one (often in a basement, crawl space, or utility closet). This prevents water while you inspect.
2. Remove the hose and inspect the hose washer and spigot threads
- Detach the hose and check the rubber washer inside the hose coupling. If it’s cracked, flattened, or missing, replace it.
- Look at the spigot threads for nicks, grit, or corrosion that could prevent a seal.
3. Dry the spigot and hand-thread the hose to check for cross-threading
- Use a rag to dry the spigot threads so you can see where water appears when you test.
- Start the hose onto the spigot by hand. If it feels like it’s binding or not turning smoothly, back it off and realign—don’t force it. This checks for cross-threading or misalignment.
4. Reinstall a correctly sized washer and tighten properly
- Fit a new, correctly sized rubber washer into the hose coupling. Make sure it sits flat.
- Hand-tighten the hose until snug, then finish with about a 1/4–1/2 turn using an adjustable wrench. This slight wrench turn compresses the washer enough for a seal without damaging threads.
- If you recently replaced the washer and the leak continues, consider that this can be a different problem—see Leak after replacing hose washer.
5. Retest under normal flow to confirm source
- Open the exterior shutoff and run water at normal flow (not full blast). Watch carefully where the water appears:
- If water comes from the hose-to-spigot connection, the washer or threads are still the issue.
- If water appears at the spigot stem or behind the mounting plate, the leak is in the spigot assembly or inside the wall and needs professional attention.
What Not to Do
- Avoid overtightening the hose—excessive force can strip threads or crush the washer and make the leak worse.
- Don’t stuff extra material (like rags, putty, or improvised washers) into the hose end; these usually fail and can hide the real problem.
- Do not attempt aggressive repairs behind the wall yourself. Call a pro when the leak persists at the spigot stem or you see water inside the wall cavity behind the spigot.
When to Call a Professional
Contact a licensed plumber if any of the following apply:
- The leak continues after replacing the washer and confirming proper threading and tightening.
- Water is coming from the spigot stem, the base where the spigot meets the wall, or you notice moisture or water staining inside the wall cavity. These signs indicate a failing valve or plumbing inside the wall.
- The spigot is corroded, cracked, or the shutoff valve does not stop water reliably.
Safety Notes
- Turn off water before disassembling connections to avoid surprises.
- If you must shut off the main water to work, drain nearby faucets first to relieve pressure.
- Wear gloves to protect your hands from sharp threads or debris.
- Do not use an open flame or solder near wall cavities or insulation. Leave pipe replacement or inside-wall work to a professional.
Common Homeowner Questions
- Why does it drip only when the hose is attached? — The hose connection adds pressure and seals differently, revealing a bad washer, damaged threads, or a misaligned hose coupling.
- Can I use plumber’s tape on the hose threads? — Plumber’s tape is for pipe threads, not the hose coupling; replacing the washer and aligning threads is the proper fix.
- How do I know the correct washer size? — Match the hose coupling diameter and thickness; washers are inexpensive and sized by inside diameter—bring the old washer to a hardware store if unsure.
More in this topic
For more related fixes and similar symptoms, see Outdoor Spigot Leaks Under Load.