Weak flow on first use after a new shower valve calls for the installer’s commissioning evidence. Identify the actual valve, cartridge, trim, stops and head before moving parts. Do not treat an unfamiliar screw or square plug as a stop.
Keep temperature and access safe
Stop bathing if temperature becomes unpredictable, scalding, or cold supply is lost. Keep others out of the spray and have the cause assessed; do not recreate an unstable event under the shower or turn full hot to diagnose weak flow. Do not use a hand or body part as the temperature instrument. Any suitable check is attended, off-body, with a stable safe temperature, an accepting drain and controlled capture; stop for temperature change, leakage or rising water.
For an uncontrolled leak, use only an identified safely accessible supply stop under its actual method; do not force it. Keep away from wet, sagging or unstable finishes. For suspected fuel gas, leave immediately, avoid switches, valves and phones in the affected area, and call emergency help from safety. Keep away from wet electrical equipment; never enter water to reach a breaker or touch wet controls. Use appropriate qualified help when access or isolation is unsafe.
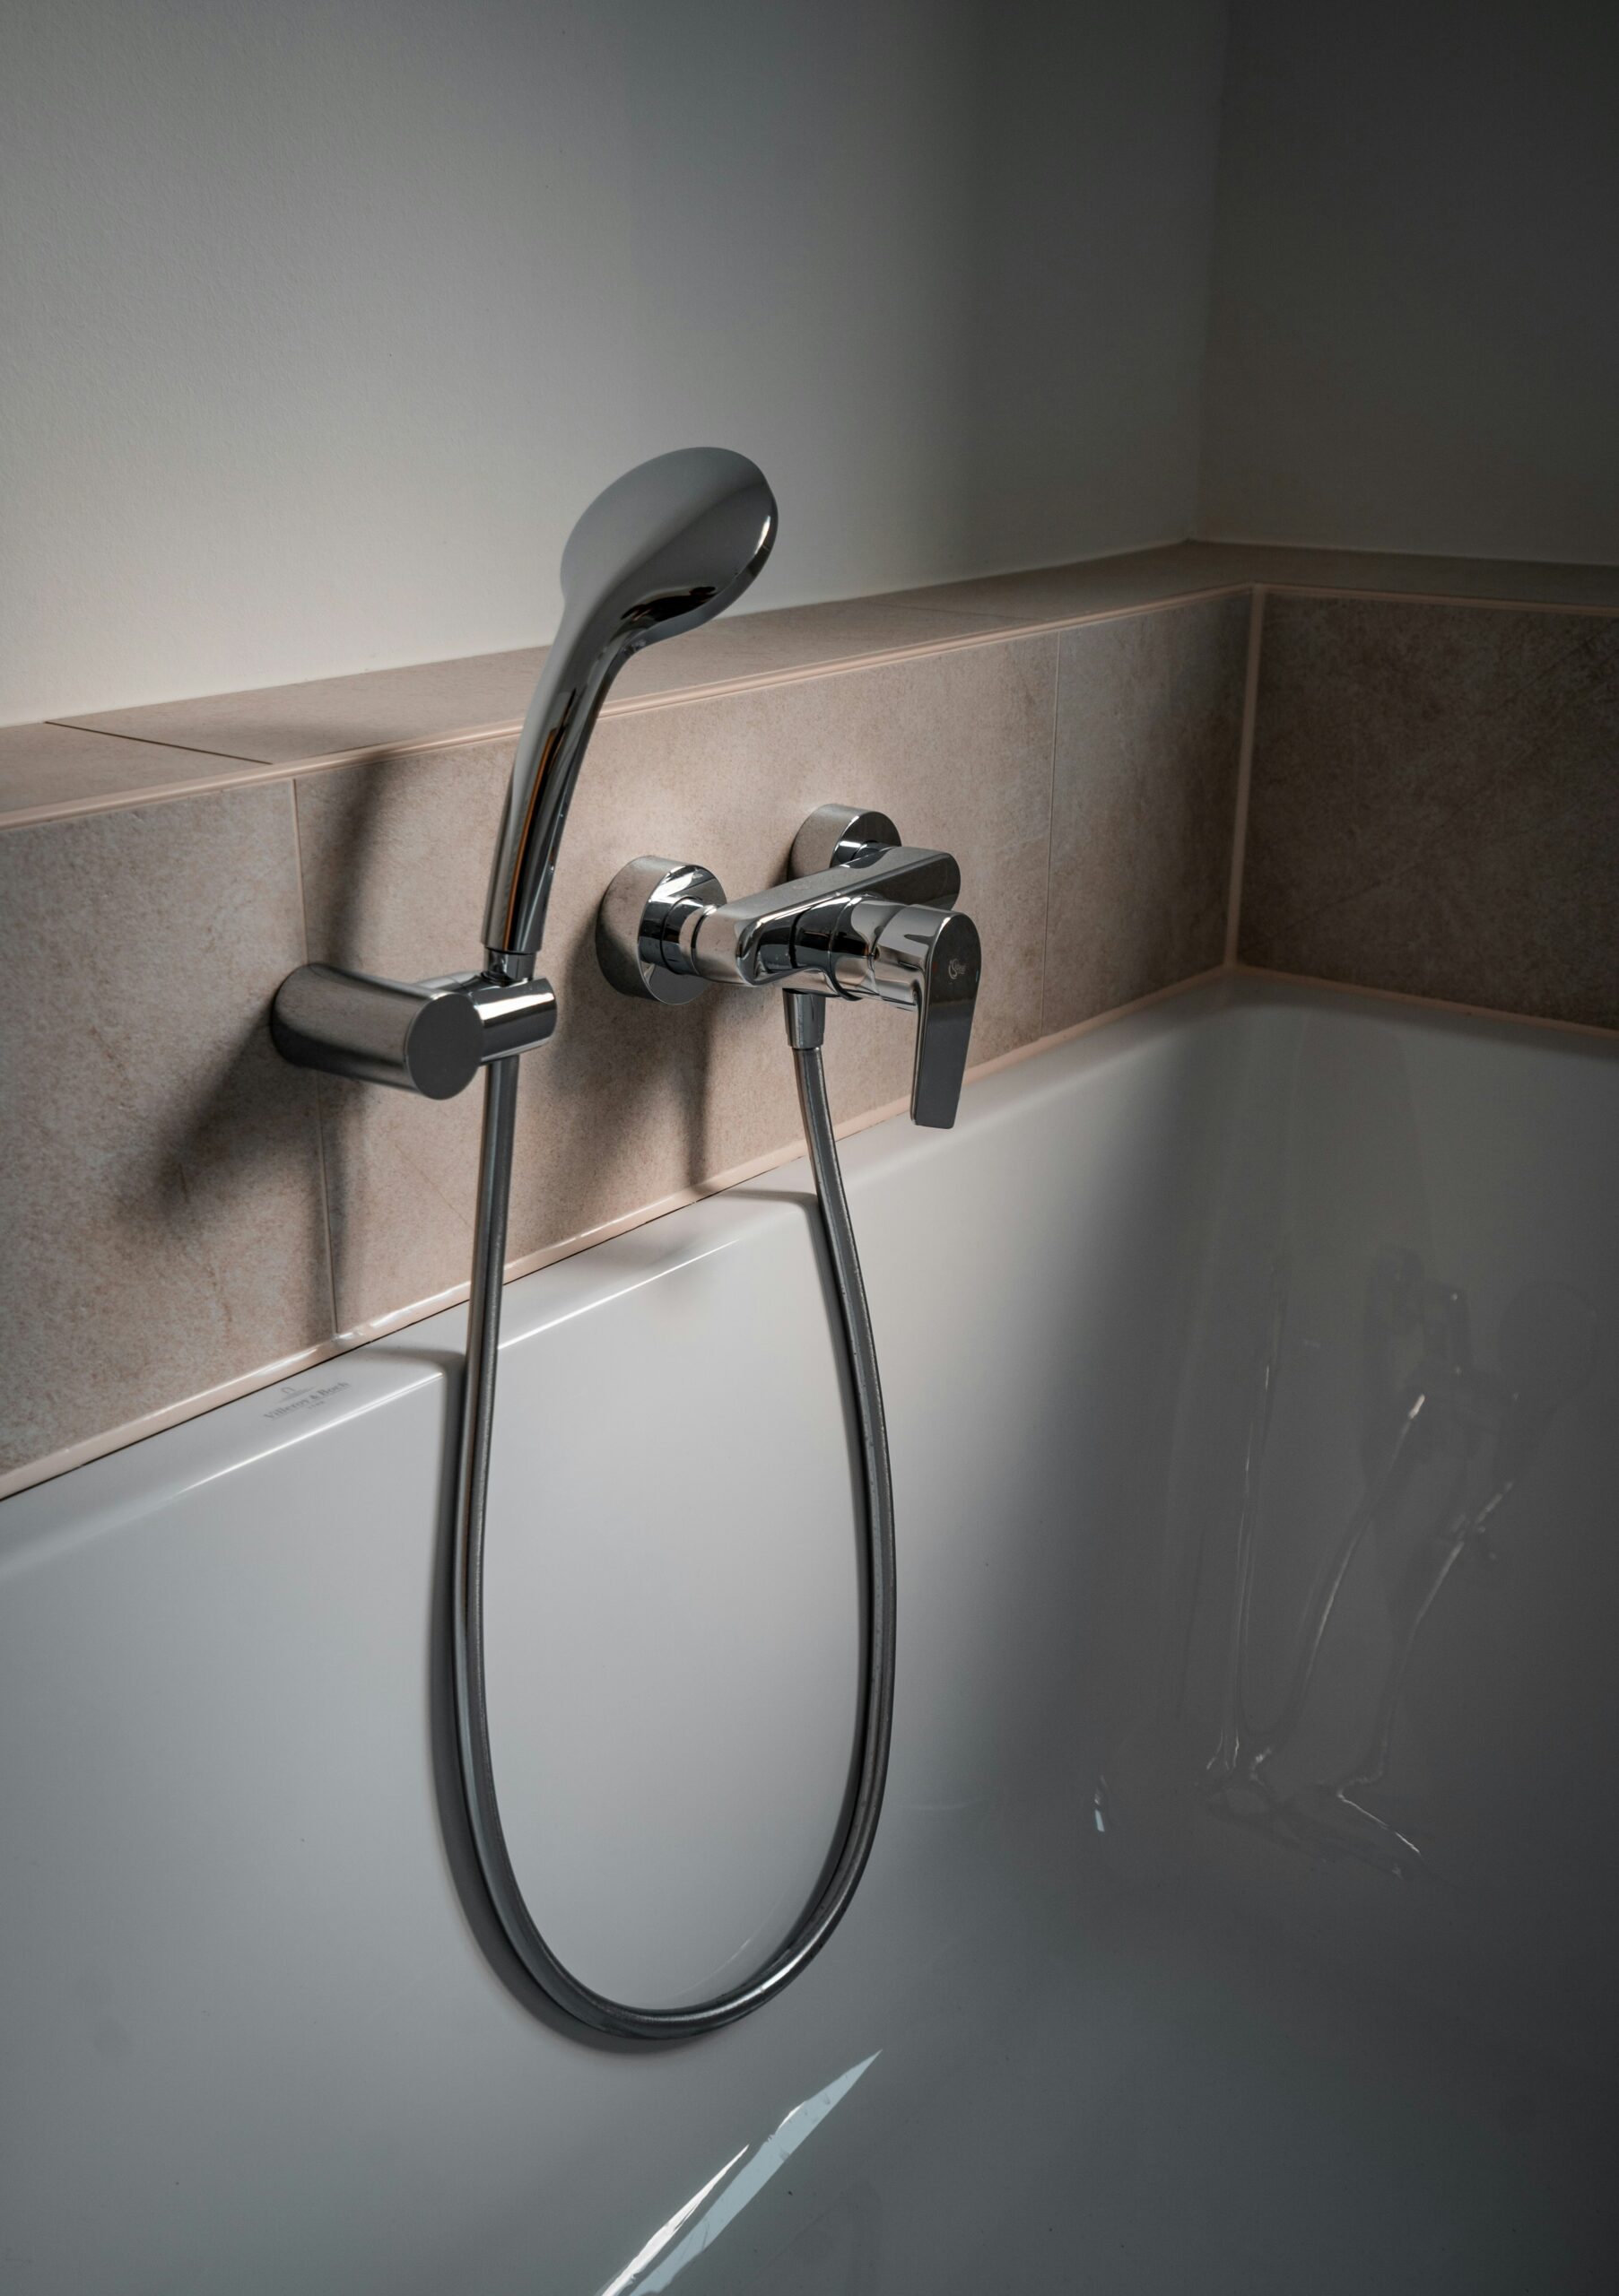
The photograph illustrates bath/shower fittings. It cannot identify your valve model, establish when work was performed or show commissioning results.
For a related next question: Low Pressure After Installing New Valve: First Checks — Ask the installer to verify the new valve, safe completed assembly and commissioning before choosing another repair..
Ask for the new-valve commissioning checks
- Valve, cartridge, trim and head model numbers and the actual installation instructions.
- Whether the work is complete, the original inlet/outlet behavior and any leaks or unstable temperature.
- Specified rough-in depth and approved trim or extension kit, with the installer’s checks of handle travel and retention.
- Actual pressure and flow measurements with their location, load and rating conditions.
Read three different kinds of rating evidence
- Outlet flow rating
- The head’s rated delivery belongs to its stated test conditions. A bare outlet is a different resistance; its stronger stream is not a like-for-like head rating test.
- Valve and outlet compatibility
- A compensating valve needs to be suitable for the fitted outlet’s flow conditions. Keep that compatibility evidence separate from a maximum-delivery number on a valve sheet.
- Installed delivery
- An actual commissioning observation needs its outlet, measurement point, draw conditions and completed assembly identified. A rating label alone is not a measurement of this installation.
Installing the new valve: commissioning handover questions
- Component set
- Which valve, cartridge, trim and head were fitted, and which actual instructions establish the compatible set?
- Completed assembly
- Who confirmed the specified retention, permitted trim arrangement, handle travel, protection and leak checks? Note incomplete or unknown items.
- Rating conditions
- Which document and conditions support the valve/head match? Keep a product rating separate from measured supply or outlet data.
- Recorded result
- What was observed at the completed installation, and which unresolved result supports the proposed repair? Do not run a new unsafe test to fill a missing field.
Choose the next action from actual evidence
- Ask the installer to identify the true service stops and their specified operating method. A test cap, drain, retaining screw and service stop are different components. There is no universal fully-counterclockwise, quarter-turn or half-turn rule for unidentified parts.
- Check actual rough-in and trim compatibility before selecting a correction. Depending on the model, incorrect depth or trim can interfere with handle travel or assembly; it does not prove that the escutcheon is physically blocking internal water ports. Do not loosen or shim the trim, push a cartridge flush or remove a plaster guard as a generic flow repair. Use the model’s approved kit and procedure.
- Compare the valve and head ratings at their specified conditions with the actual installed performance. A lower nominal rating does not alone establish a fault, a need for a higher-flow valve or inadequate spray performance. Keep required flow-control and temperature-protection components intact.
- If debris is suspected, identify the approved flush outlet and sequence. A towel or bucket below an unidentified open body is insufficient. Some manufacturers allow a properly retained untrimmed check or a controlled cartridge-out flush; isolate and verify release before removal, follow the actual safe flush procedure, then re-isolate before touching or refitting parts. Do not repeatedly run an incomplete assembly until it appears better.
- Have the installer complete the required retention, trim, temperature-limit, leak and operational checks before regular use. Uncertain hidden connections, leaking stops, damaged parts or unknown equipment require qualified service. Finding wiring or gas piping behind a wall warrants stopping intrusive work; suspected fuel-gas leakage requires the emergency response above.
Separate spray, flow and pressure
Spray feel is not a pressure reading. Volume collected over time measures delivered flow; a pressure gauge measures pressure at its own connection, with the location, time and draw conditions recorded. A different sink, bare shower arm or lower-floor hose tap has different resistance and may have a different route. A stronger result can help direct assessment but does not uniquely locate a fault or prove that a normally rated head is clogged. Use the actual outlet rating, installed valve and matched conditions before selecting parts or a regulator adjustment.
Keep service specific to the installed model
Ordinary owner-approved nozzle or removable-screen cleaning can be appropriate with water off, secure footing and the actual finish-safe cleaner and retention method. Identify a screen, seal and flow limiter correctly; do not pry out, drill or discard a limiter to make the spray stronger. Do not twist a concealed shower arm, force a stuck spout or use drain cleaner on a supply restriction. Fully refit serviced parts, required seals and protective components before the suitable leak/operation check.
Before removing a cartridge, spool, retaining part or pressure housing, isolate the actual supplied segment, control retained hot water, relieve its pressure by the approved path and verify shutoff. A nearby tap on a different branch may not release that segment. Some manufacturers permit a controlled cartridge-out flush or a properly retained untrimmed test; that requires the actual procedure, safe temperature, effective capture and control. Re-isolate and verify release before touching or refitting parts afterward. A towel, short time or comfort with tools is not a substitute. Preserve the correct retainer, lubricant, orientation, temperature-limit and commissioning requirements; do not open finished walls or change a PRV as a generic next step.
Should I buy a larger valve because the new one feels weak?
Only after the installation, compatible outlet, actual supply conditions and measured performance support that change. A stronger bare-arm stream or the timing of the work does not select a larger valve. Ask which documented result justifies the proposed repair.
Related situations
- Low Pressure After Changing Cartridge: Parts and Retention
- Pressure weak only when multiple showers used
- Shower & Bathtub Water Delivery
Sources and equipment limits
- Moen/CFG trim example: compatible head and compensating valve ratings
- Moen INS282A: actual 3320/3330 controlled flushing sequence
- EPA WaterSense at Work 3.4: showerheads and diverters
- Moen: no cold or no hot at a tub/shower unit
- CDC: electrical hazards near water
- Con Edison: suspected gas leaks
Manufacturer examples do not identify your installation. Use actual product instructions and local requirements. Independent professional review and field testing have not been obtained.