Quick Answer:
Construction dust and small debris often get into fittings during a remodel. Start by shutting off the water, removing and cleaning any screens or aerators on the showerhead and tub spout, and verify the spout is installed straight and fully seated. If cleaning and reseating the spout don’t stop the leak, call a plumber.
Why This Happens
During a remodel workers cut, sand, and carry materials that create fine grit and debris. Those particles travel down pipes or settle in fittings when water is turned on again. Two common results after work is finished are a clogged screen or a spout that was knocked, misaligned, or not fully seated during reinstallation. New spout styles (slip-on vs. screw-on) can also fit differently, making a poor seal if not seated correctly.
If the leak only appears after you run the shower, it’s often a trapped piece of debris or a worn internal seal, rather than the house “settling.” For related situations see Tub spout drips after shower and Tub spout leaks when shower runs.
Step-by-Step What to Do
1. Shut off the water supply
- Turn off the local shutoff valves if present, or shut off the home’s main water if needed. This prevents washing more debris into the fitting while you work.
2. Catch water and protect surfaces
- Place a towel or small bucket in the tub to catch any residual water when you remove parts. Protect new tile or finishes with a soft cloth.
3. Remove and clean screens and aerators
- Unscrew the showerhead and the tub spout tip (if fitted with a screen or aerator). Clean screens with water and a soft brush. Debris can sit behind these and cause irregular flow or leaks.
- If a screen is damaged, replace it; they’re inexpensive and simple to fit.
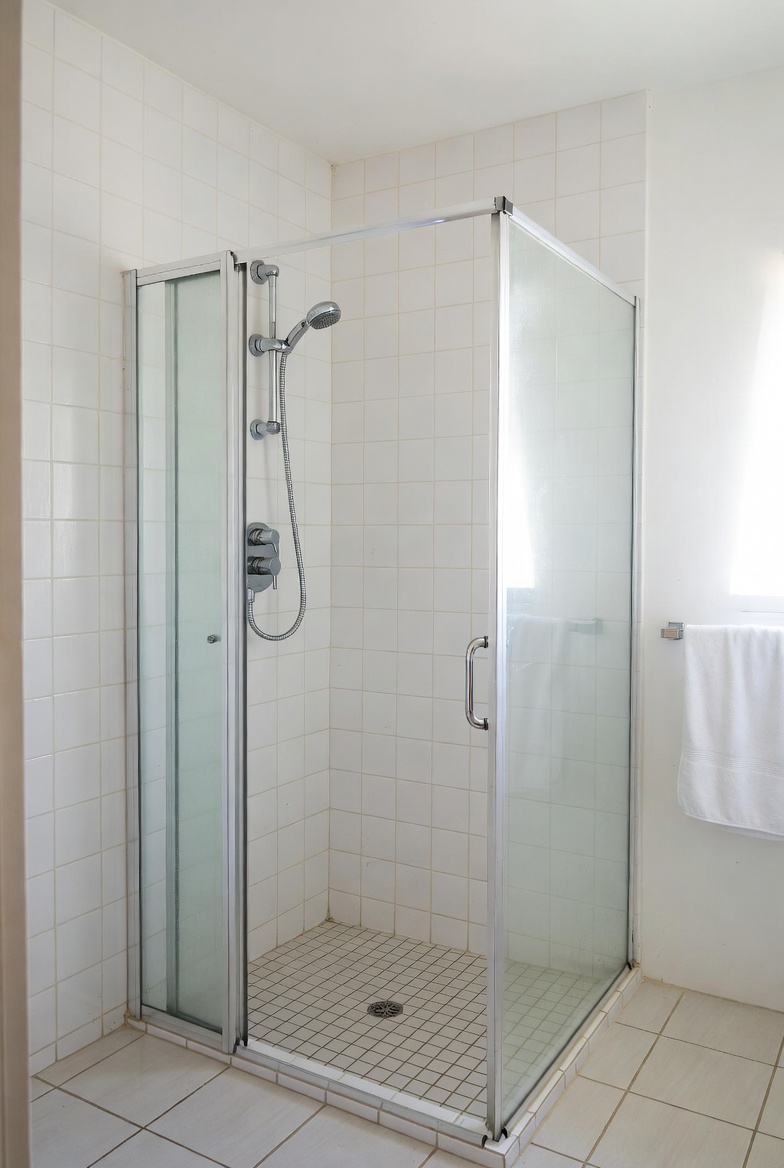
4. Inspect and remove the spout
- Determine the spout type: slip-on (pulled off with a set screw) or threaded (unscrews). Loosen the set screw or unthread the spout and slide it off the pipe.
- Look for grit, tape remnants, or a deformed O-ring. Clean the inside of the spout and the pipe stub with a soft cloth.
5. Verify the spout is straight and fully seated
- Before reinstalling, check that the spout slides on straight and the mounting surfaces meet flush. A crooked or partially seated spout won’t seal and will leak when water runs.
- Tighten the set screw or thread the spout back on until it is snug and aligned. Don’t overtighten plastic parts.
6. Test the repair
- Turn the water back on and run both the tub and shower briefly. Watch for leaks at the spout joint and under the wall if visible. If leaking persists, note whether it leaks only after shower use, continuously, or under pressure.
What Not to Do
- Don’t accept post-remodel leaking as “settling.” Debris and mis-seating are common and often fixable.
- Don’t force or hammer a spout into place — that can crack finishes or deform fittings.
- Don’t ignore the leak hoping it will stop; even a small drip can cause mold or damage behind new finishes.
- Don’t try complex valve repairs or soldering if you’re not experienced; those can cause more damage. If cleaning and reseating don’t help, a plumber is appropriate.
When to Call a Professional
- You can’t stop the leak after cleaning and reseating the spout.
- Water is coming from behind the wall, or there is visible damage to tile, drywall, or substructure.
- The spout or valve shows signs of corrosion, stripped threads, or a broken pipe stub.
- Multiple fixtures are leaking after the remodel, suggesting a bigger debris or pressure issue.
- Any time you need valve replacement, soldering, or work inside the wall and you’re not confident doing it safely.
Safety Notes
- Always shut off water before removing a spout. Unexpected pressure can spray water and debris.
- Wear gloves and eye protection when handling debris-filled parts.
- Be cautious around electrical work if walls are open—stop and call a pro if you see wiring near the plumbing.
- Avoid makeshift fixes (glue, sealants pushed into joints) that can hide problems and make later repairs harder.
Common Homeowner Questions
- Why did the spout only start leaking after the remodel? — Fine dust and small debris from construction often enter fittings when water is turned back on or when parts are moved.
- Will the leak stop by itself? — Not usually. Cleaning screens and properly seating the spout normally fixes it; ignoring it risks more damage.
- Is it safe to remove the spout myself? — Yes for basic removal and cleaning, but stop and call a plumber if you see damaged pipes, corrosion, or water behind the wall.
For more related articles, see the Tub Spout Leaks When Shower Is On hub.