Quick Answer:
If the tub spout upstairs drips only while the shower is running and the downstairs fixtures are fine, the problem is usually the tub spout/diverter or that bathroom’s valve assembly — not the whole house. Start by isolating that bathroom and comparing its spout and diverter to a nearby working one. If you recently worked on parts, check for a Leak after replacing diverter; if the drip appears after long shower runs, see notes about Leak only when shower on long.
Why This Happens
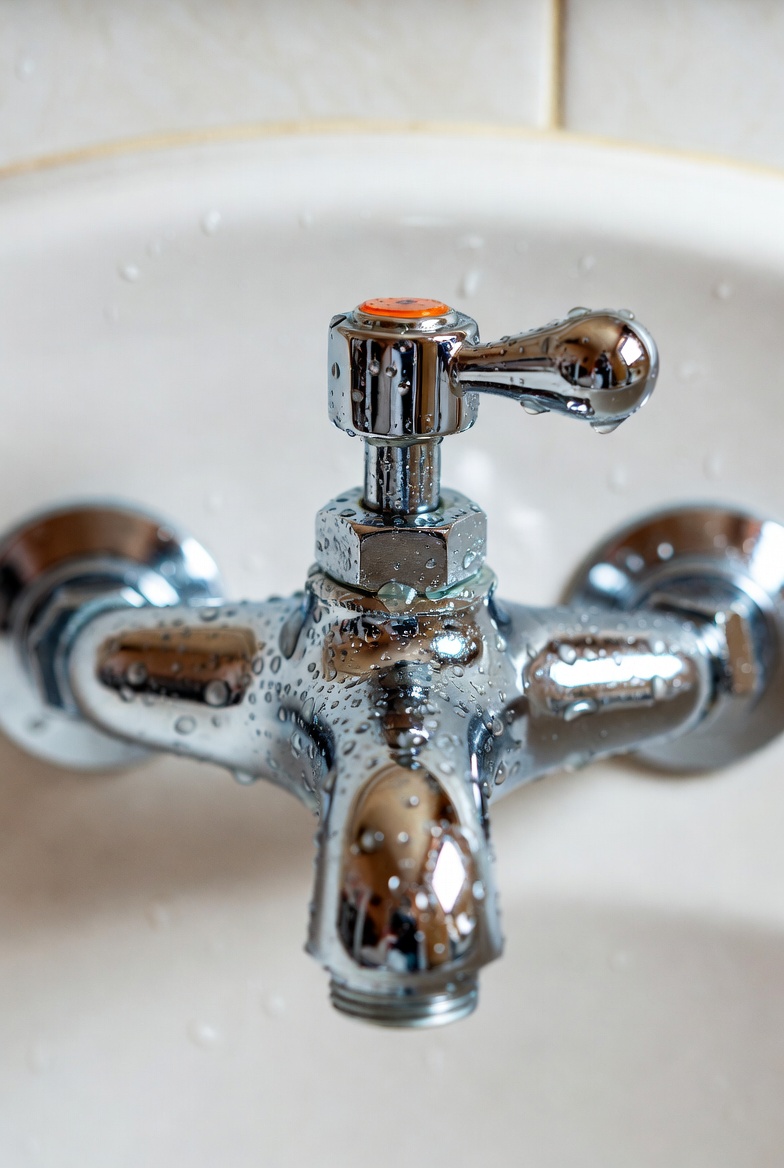
- Many tub spouts have an internal diverter or a seal that directs water to the showerhead. If that diverter or its seal wears, water will bypass to the spout during a shower.
- Different spout types (slip-on vs threaded) and small differences in the valve cartridge or trim can change how well the diverter seals.
- Partially closed service stops or an isolation valve set differently for that bathroom can change pressure or flow and make a leak noticeable only there.
- Because the issue appears only in one bathroom, it’s usually a localized assembly or spout issue rather than a whole-house supply problem.
Step-by-Step What to Do
1. Confirm the symptom
- Run the shower full force for a minute and watch the tub spout closely. Note whether it leaks only while the shower is on, only after a long run, or continuously.
- Turn the shower off and open the tub faucet (if separate) to see if the spout leaks during regular tub flow.
2. Isolate that bathroom
- Look for local shutoff stops behind access panels, under nearby sinks, or in an adjacent closet. If present, operate them to see if changing that bathroom’s supply affects the leak.
- If shutting local stops stops the leak, you’ve confirmed it’s isolated to that bathroom’s assembly.
3. Compare the spout assembly to a working one
- Find a working tub/shower in the house and note the spout type (slip-on vs screw-on), the visible diverter style, and how the trim sits against the wall.
- Compare seals, spout length, and how the diverter operates — small differences point to the spout/diverter as the likely cause.
4. Inspect the spout and diverter
- If you can remove the spout safely (usually a set screw or unscrew method), check for a worn O-ring, mineral buildup, or a broken diverter part.
- Clean mineral deposits and examine the internal diverter; replace the spout or diverter part if visibly damaged.
- Note: don’t force components or use excessive prying if you can’t access the valve backing; stop and call a pro instead.
5. Check service stops and valve operation
- Ensure any service stops are fully open — partially closed stops can change flow and make leaks worse or intermittent.
- If the valve trim is loose or the cartridge worn, the valve may allow water past the diverter. Tightening trim screws or replacing a cartridge (if you’re comfortable) can help.
6. Test and observe
- Reassemble and run the shower again. Confirm the leak behavior and listen for changes. If the leak persists after basic spout/diverter checks, the internal valve or cartridge may need repair.
What Not to Do
- Don’t assume an upstairs-only leak is a whole-house supply issue — focus on that bathroom’s spout/diverter and valve assembly first.
- Don’t force or damage trim, access panels, or tile trying to reach a valve; if access is limited, a plumber is appropriate.
- Don’t use temporary fixes like glues or tapes on the diverter or spout seal — these can make repairs harder and cause further damage.
- Don’t shut off the main water supply unless you need to and you know which fittings may be affected; unnecessary main shutoffs can disrupt other systems.
When to Call a Professional
- If you can’t access the spout or valve without removing wall panels or cutting drywall.
- If the leak continues after replacing a spout, O-ring, or cartridge, or if water is coming from behind the wall or causing ceiling damage below.
- If you’re unsure which parts match your valve, or when the repair requires replacing the valve body or working on plumbing inside walls.
Safety Notes
- Turn off water at local stops before disassembling a spout. If you don’t have local stops or aren’t sure, shut off the correct supply and know how to turn it back on.
- Be careful of hot water when testing — run cold water first if you’re not sure of temperature settings.
- Avoid electrical tools near wet areas. If drywall or framing is wet, switch off nearby circuits if water has contacted electrical fixtures and call a pro.
Common Homeowner Questions
- Q: Is this a sign the whole valve needs replacing?
A: Not usually — many leaks are from the spout/diverter or a worn O-ring first. - Q: Can I replace the spout myself?
A: Often yes for slip-on or threaded spouts, but stop if you need to cut drywall or remove the valve body. - Q: Will this damage the ceiling below quickly?
A: It can — stop the leak promptly and inspect the ceiling; call a plumber and a contractor if there’s visible water damage.
For more related articles, see the Tub Spout Leaks When Shower Is On hub.