Quick Answer:
If your new disposal starts dripping intermittently a few days after install, don’t panic. Most often the leak is at a connection that settled after use — check the mounting ring, discharge elbow screws, the dishwasher inlet hose and the sink flange. Dry the area and place a dry paper towel under each joint to find the exact source, then tighten or reseat the affected connection. If tightening doesn’t stop it or the leak is coming from the disposal body, it likely needs service or replacement.
Why This Happens
- New installs can settle as pipes shift slightly when you run water, causing fittings that were snug during install to work loose.
- Vibration from the motor and early thermal cycles (hot water) can move screws and clamps a little, letting hairline drips start later.
- Minor misalignment at the discharge or drain can open a narrow gap that only leaks under certain loads — this is related to issues such as Drain alignment issues after install.
- A poorly seated sink flange or a loose dishwasher hose clamp can show only occasional drips until pressure or position changes.
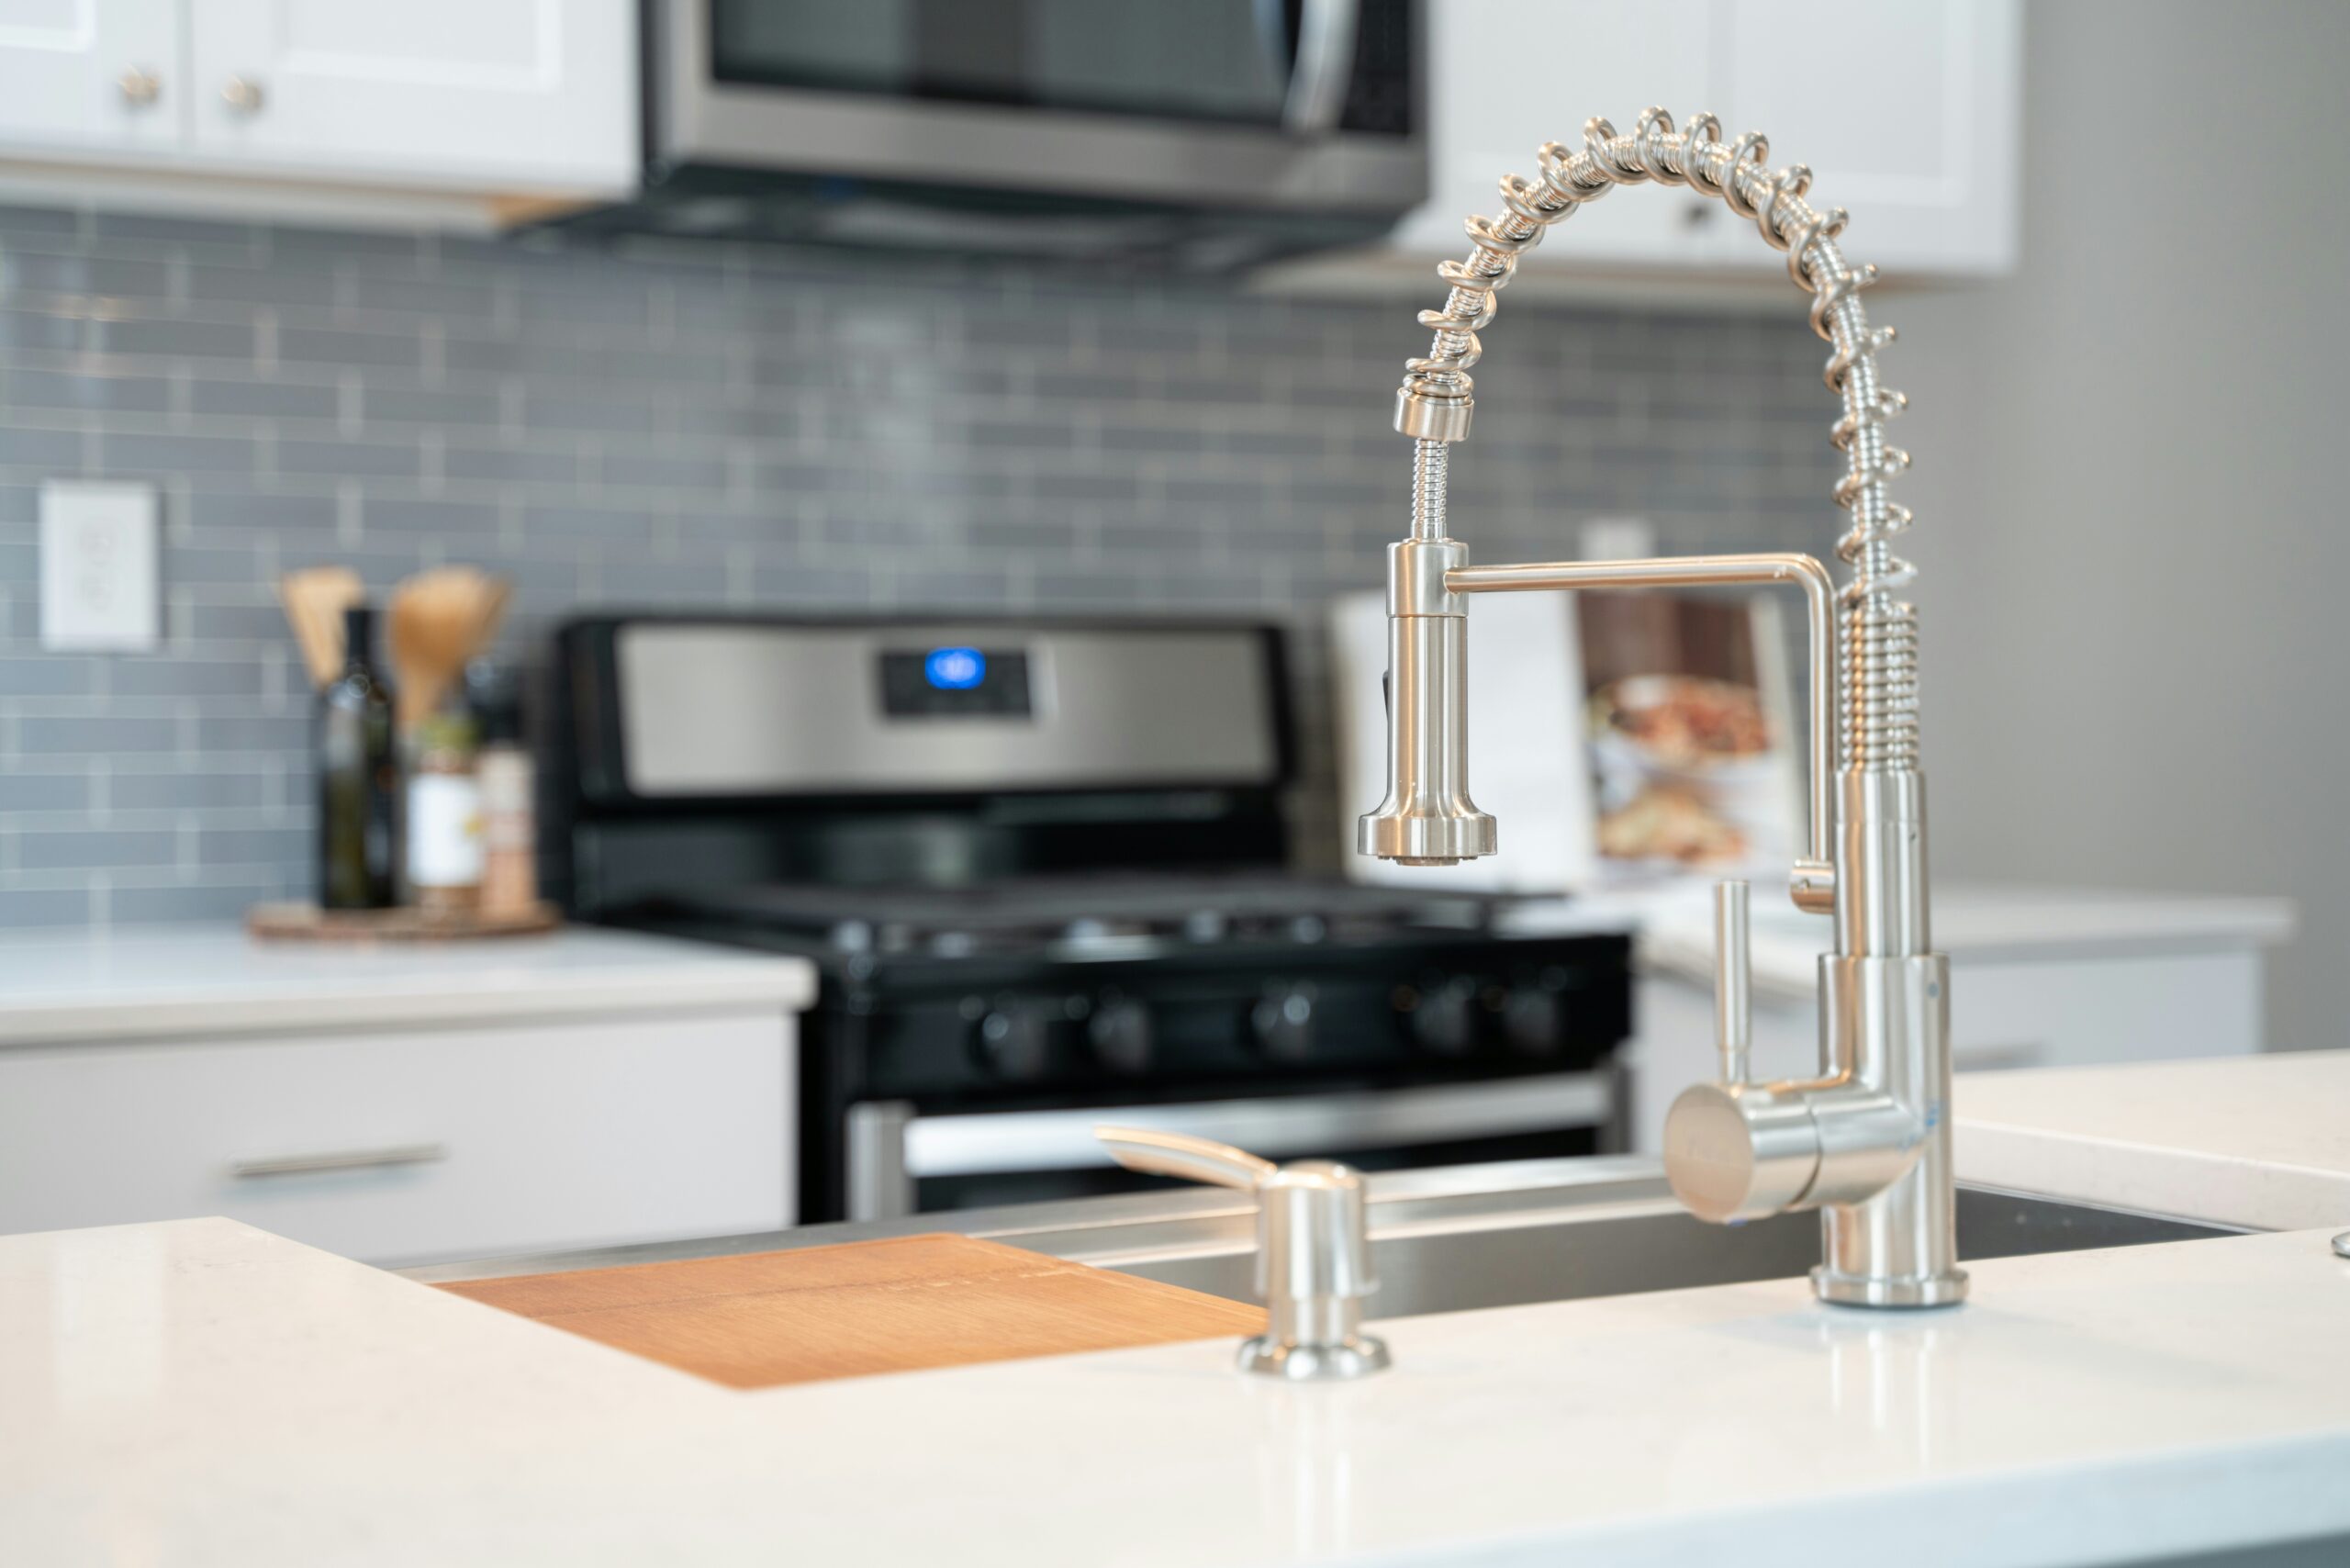
Step-by-Step What to Do
Step 1: Prepare and make it safe
- Turn off the disposal and unplug it. If the plug is not accessible, switch the circuit breaker off.
- Clear the cabinet under the sink so you can see and work without knocking things.
Step 2: Dry the area and localize with paper towels
- Wipe the entire area under the sink dry with a cloth.
- Place a dry paper towel or small square of tissue under each joint and connection you want to test: the mounting ring, the discharge elbow, the dishwasher inlet hose clamp and under the sink flange.
- Run water and operate the disposal briefly to recreate the leak. Inspect which paper towel shows moisture first — that pinpoints the source.
Step 3: Check the mounting ring
- Look at the disposal mounting ring where it attaches to the sink. If the paper towel under this area gets wet, the mounting ring may be loose or the flange seal may have shifted.
- Hand-tighten the mounting screws a little at a time, rotating the ring evenly. Do not pry or force the unit; if you can’t tighten it by hand or with a basic tool, stop and consider professional help.
Step 4: Inspect and tighten the discharge elbow and screws
- Check the discharge elbow (the pipe that goes from the disposal to the drain). Look for loose screws or a slipped gasket where it joins the disposal.
- Gently tighten the screws or clamp around the elbow. Re-test with the paper towels to confirm the leak is resolved.
Step 5: Check the dishwasher inlet and hose clamp
- If the dishwasher inlet area shows moisture, inspect the hose clamp. Tighten the clamp a quarter turn and test again.
- If the hose itself seems cracked or damaged, replacement of the hose is safer than repeated tightening.
Step 6: Inspect the sink flange
- If the paper towel under the sink flange becomes wet, the seal between the sink and flange may be the issue. Sometimes the flange needs re-seating or a new gasket/sealant applied.
- Note: reseating the flange often means loosening and re-tightening the mounting hardware; follow safety steps and power off the disposal first.
Step 7: Re-check and monitor
- After tightening or reseating, dry the area again and run the disposal with water for a few minutes. Check the paper towels and visually confirm there’s no new dampness.
- Watch over the next day or two for intermittent drips — sometimes settling takes repeated use to reveal a persistent leak.
What Not to Do
- Don’t ignore small “only sometimes” drips — slow leaks damage cabinets and can cause mold or rot.
- Don’t over-tighten plastic fittings or clamps; overtightening can crack parts and make leaks worse.
- Don’t apply sealants to the disposal body or motor housing — if the leak is from the disposal body, sealant won’t fix it and you may need replacement or repair.
- If tightening doesn’t stop it or the leak is from the disposal body, replacement/service may be needed. Avoid temporary fixes that mask the real problem.
- Avoid sticking your hand into the disposal or working on it while it’s still powered.
When to Call a Professional
- You’ve localized the leak and tightened connections but it continues to leak intermittently.
- The leak is coming from the disposal body or motor housing rather than a connection.
- There’s evidence of water damage to cabinets, persistent mold, or you’re uncomfortable turning off or working around electrical connections.
- If the leak appears related to overall drain alignment or frequent backups that cause overflow — consider help to address broader drain problems, including **Sink overflows after install** concerns.
Safety Notes
- Always unplug the disposal or switch its circuit breaker off before putting your hands or tools under the sink.
- Never put your hand into the disposal chamber. Use tools (pliers or a hex key in the bottom wrench slot) only when the unit is off and the power is disconnected.
- Wear gloves and eye protection when working under the sink; parts can be sharp and spaces are cramped.
- If you smell burning or see electrical arcing, stop and call a professional electrician/plumber — do not continue testing.
Common Homeowner Questions
- Is a slow drip urgent? Yes — even slow intermittent drips can cause cabinet damage and should be addressed promptly.
- Can I tighten everything myself? You can try simple tightening of screws, clamps and the mounting ring after powering off the unit, but stop if parts don’t tighten easily or if the leak persists.
- Will a new disposal fix the problem? Only if the leak is coming from the disposal body; if the issue is a loose connection, replacing the disposal isn’t necessary.