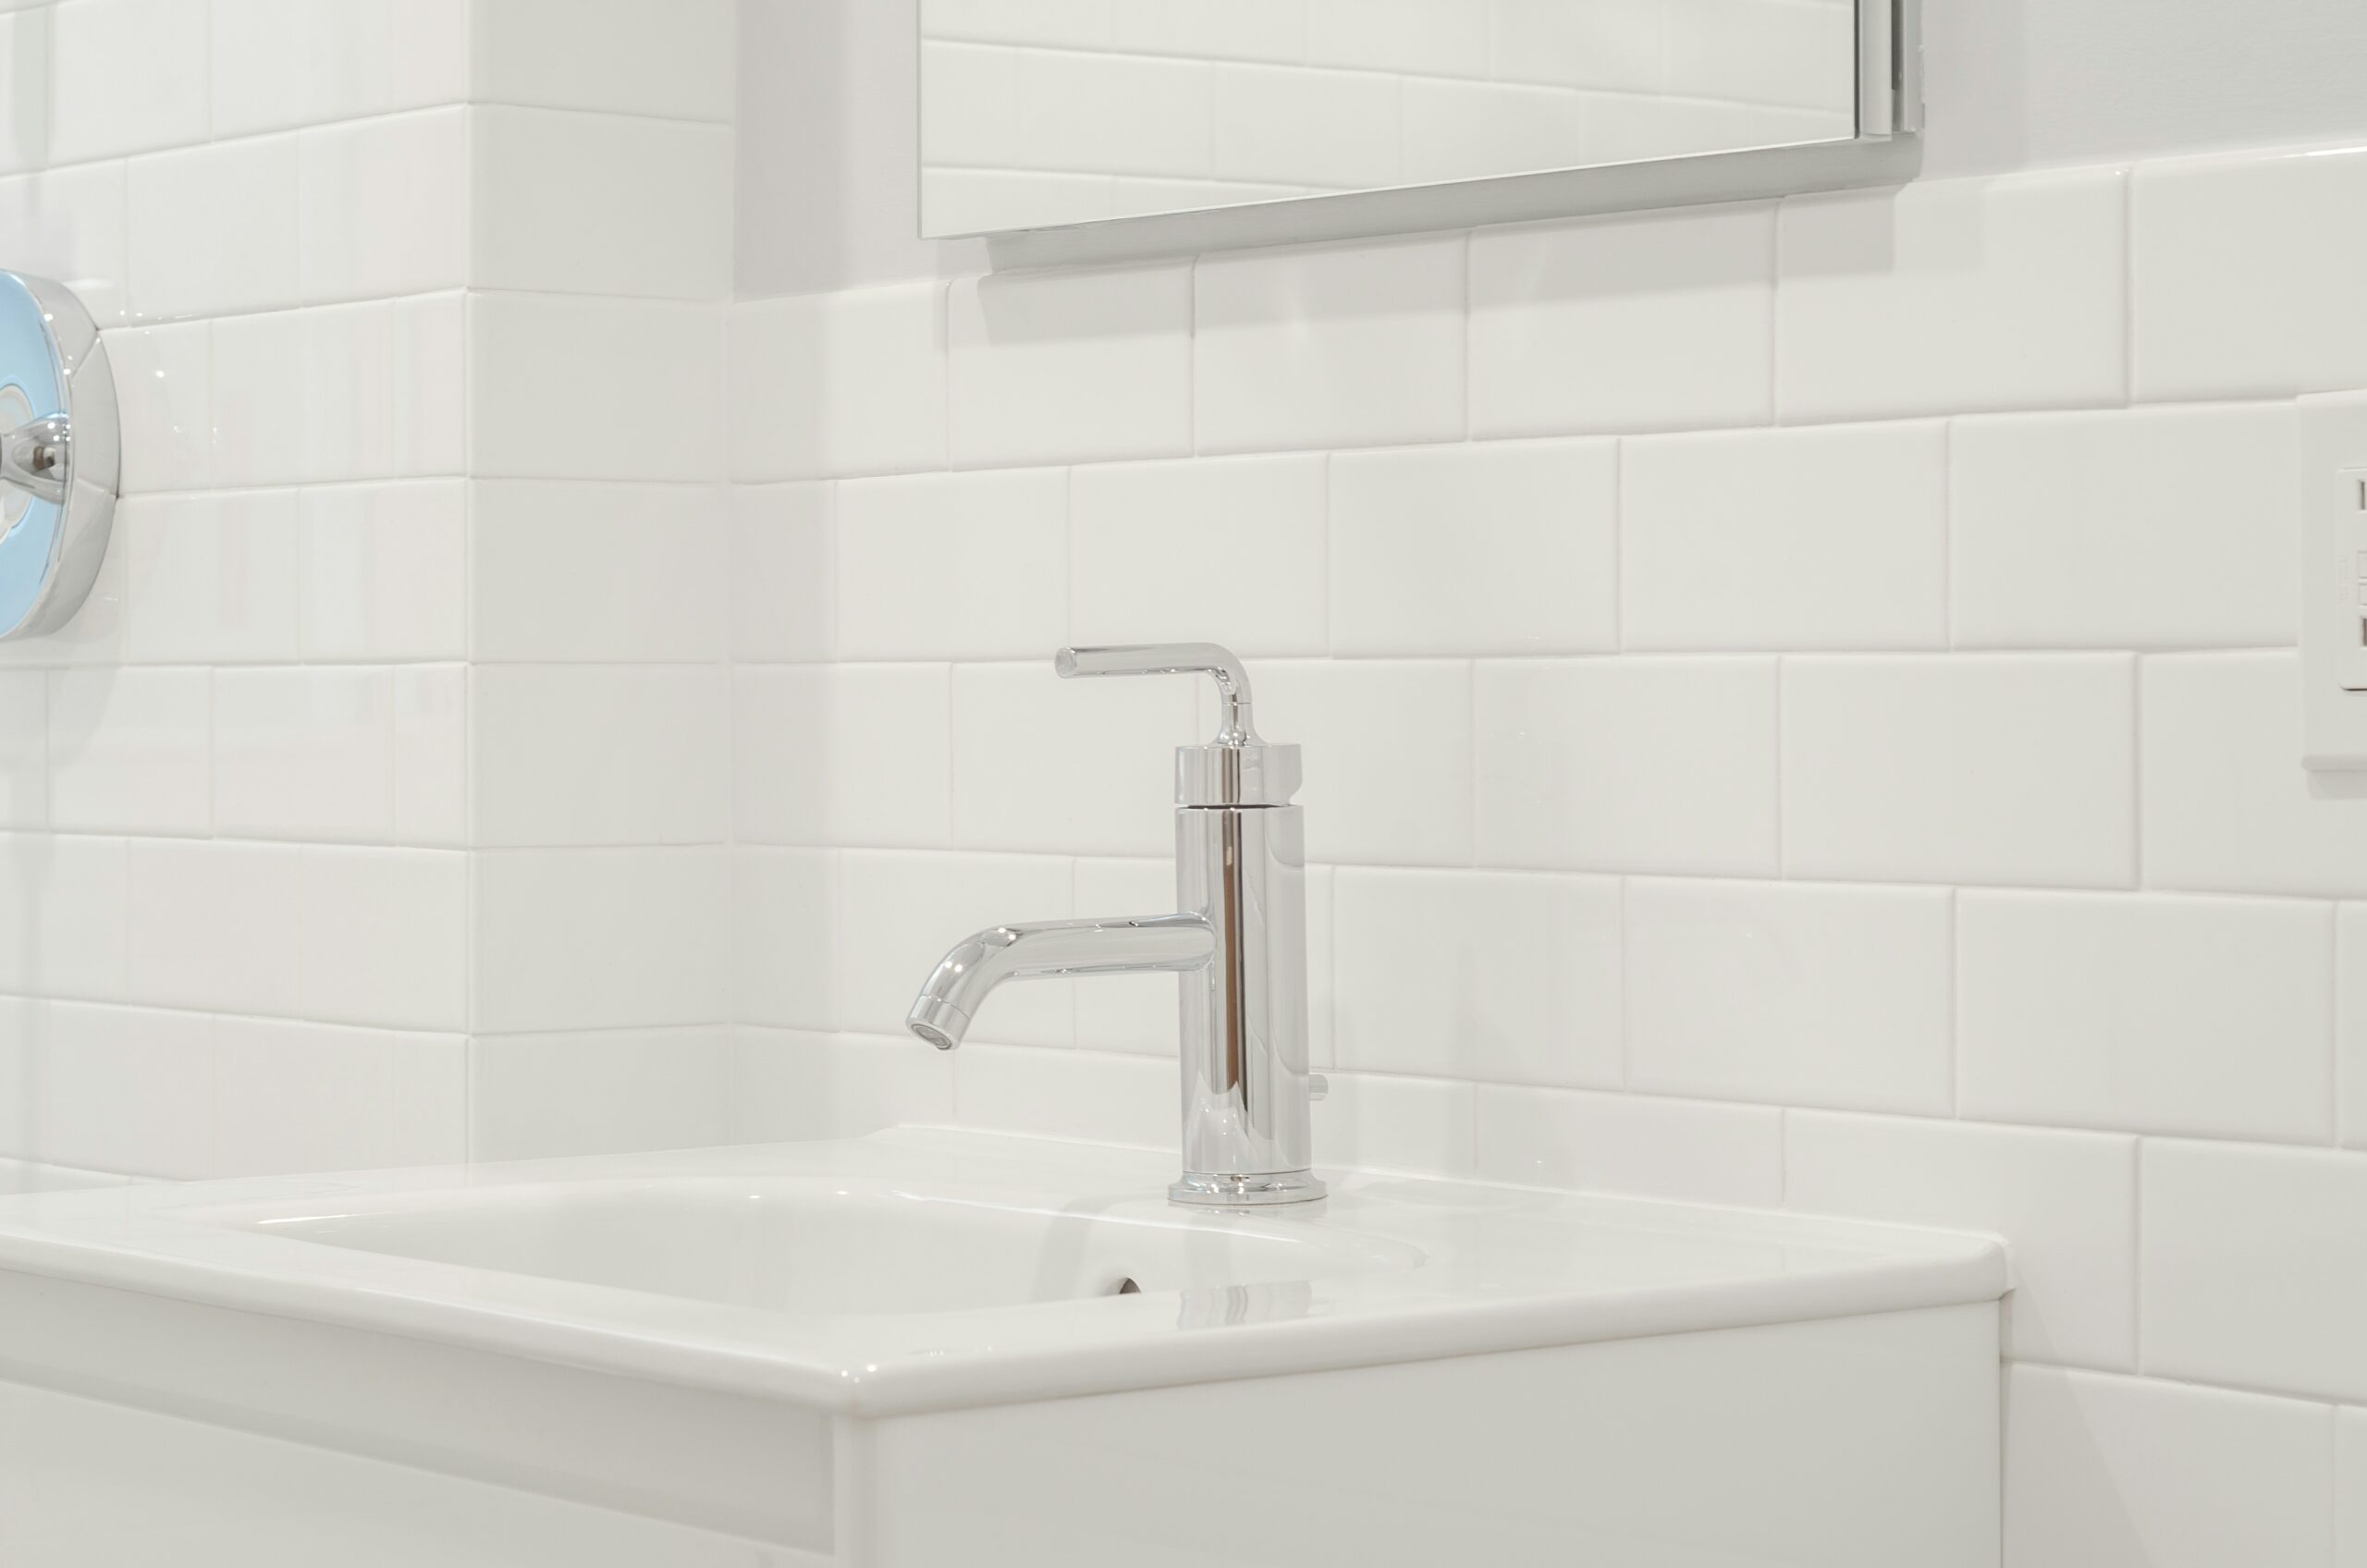
Quick Answer:
If the sink drains even with the stopper closed, the most common causes are a misaligned or worn linkage, a dirty or damaged stopper seal, or an incorrectly adjusted lift rod. Start by inspecting the stopper linkage, clean the seal, and adjust the lift rod before replacing parts.
Why This Happens
- Linkage out of alignment: The horizontal pivot or the clevis clip that connects the lift rod to the stopper can slip, so the stopper never fully seats.
- Dirty or worn seal: Mineral buildup, hair, or grime on the stopper’s rubber seal prevents a tight fit.
- Incorrect height or travel: If the lift rod or clevis is set wrong, the stopper won’t move far enough down to close.
- Damaged parts: Worn pivot rods, stripped threads, or a deteriorated stopper will leak even when they appear closed.
For related drainage symptoms you might also check guidance on Bathroom Sink Fills Then Drains Slowly and if the problem involves a loose drain assembly look at Bathroom Sink Trap Keeps Loosening.
Step-by-Step What to Do
Prep and safety
- Clear the cabinet under the sink and place a small bucket or towel beneath the drain to catch water or parts.
- Gather basic tools: adjustable wrench or pliers, screwdriver, rags, and a small brush or old toothbrush.
1. Inspect the stopper linkage
- Pull the lift rod up and down while watching under the sink. The horizontal pivot rod should move in and out of the tailpiece and move the stopper.
- Look for a loose clevis clip (the small spring clip) or a loose retaining nut on the pivot rod. Tighten the retaining nut by hand or a quarter turn with pliers—don’t over-tighten.
- If the pivot rod or clip is bent, worn, or broken, plan to replace it. Often these are inexpensive parts at hardware stores.
2. Remove and clean the stopper seal
- Remove the stopper: lift it, then disconnect the pivot rod or unscrew the retaining nut to pull the stopper out from above or below, depending on your setup.
- Inspect the rubber seal or gasket on the stopper for grooves, hardening, or buildup. Clean it with warm soapy water and a brush. Use white vinegar for mineral deposits if needed.
- Also clean the drain seat where the stopper rests—mineral deposits there can stop the seal from closing.
- Reinstall the stopper and test by filling the sink a little to see if it holds.
3. Adjust the lift rod
- If the stopper doesn’t close fully, loosen the clevis screw a bit and slide the clevis up or down to change how far the stopper travels.
- Tighten the screw or clip when the stopper closes tightly and opens fully when the rod is pulled.
- Make small adjustments, testing after each move until the stopper seals cleanly without binding.
4. Final checks
- With the stopper closed, fill the sink to a shallow level and watch for leaks or slow draining.
- Inspect under the sink for drips at the pivot nut and tailpiece. Tighten gently if needed.
- If the stopper still won’t seat, consider replacing the stopper assembly or the pivot rod assembly.
What Not to Do
- Do not glue the stopper in place. That prevents proper function, blocks access for future repairs, and can damage the drain assembly.
- Do not use aggressive chemical drain openers on rubber seals—they can degrade the stopper material.
- Avoid forcing bent parts back into place; replace damaged components instead.
When to Call a Professional
- If you remove the stopper and find badly corroded or damaged drain parts, or if multiple components are failing, call a plumber.
- If there are leaks you can’t stop at the tailpiece or trap, or if tightening causes other fittings to loosen, get professional help.
- If the fixture is part of a vanity with limited access and you can’t reach the pivot assembly safely, a pro can avoid accidental damage.
Safety Notes
- Turn off any nearby electrical devices and avoid working with wet hands around outlets.
- Wear gloves to protect your hands from grime and sharp edges under the sink.
- Use gentle force when turning small nuts and clips—many are plastic or soft metal and can strip or crack easily.
Common Homeowner Questions
- Why is water still leaking when the stopper looks closed? The seal or seat is probably dirty or worn, or the linkage isn’t positioning the stopper fully; clean and adjust first.
- Can I replace the stopper myself? Yes—most stoppers and pivot assemblies are straightforward to replace with basic tools.
- How often should I clean the stopper seal? Every few months if your water is hard or you notice slow sealing; otherwise once or twice a year is fine.