Quick Answer:
If you get new clogs right after replacing a sink trap, the most common causes are a misaligned trap, trapped debris left in the line, or worn/seated washers and nuts. Start by stopping use, placing a bucket under the trap, then disassemble the trap to inspect alignment and debris. Cleaning and correctly reassembling the trap fixes most problems quickly.
Why This Happens
When a trap is removed and reinstalled, a few things can go wrong that cause fresh clogs:
- Parts shifted out of alignment so water can’t flow smoothly and solids collect.
- Old debris or small parts dropped into the trap arm or wall fitting during the work.
- Crushed or reused washers and gaskets that don’t seal or seat correctly.
- Air or venting changes that cause slow draining or gurgling — see Sink gurgles after repair for troubleshooting the venting side.
Step-by-Step What to Do
Step 1 — Stop and prepare
- Turn off use of that sink. Place a bucket under the trap and have rags ready.
- Wear gloves; traps often contain smelly, slimy debris.
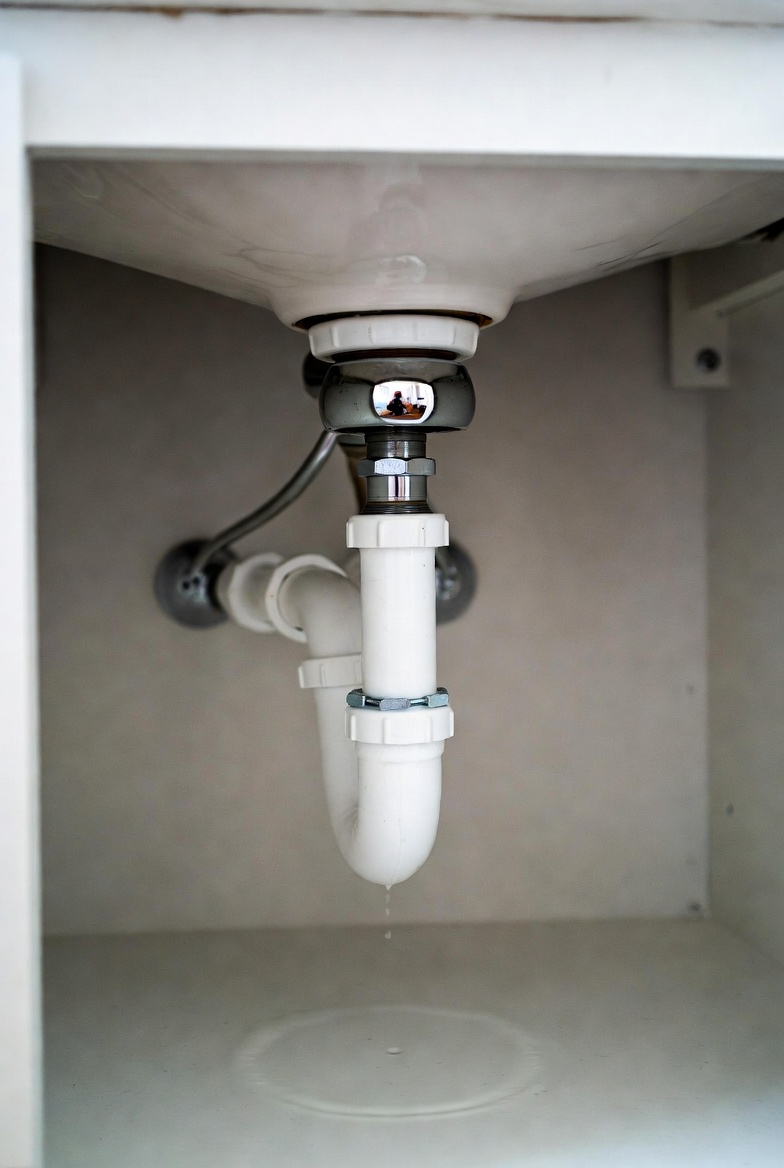
Step 2 — Disassemble the trap
Disassemble the trap to inspect alignment and debris. Loosen the slip nuts by hand or with channel pliers, then remove the trap body and the trap arm. Tip the trap into your bucket and dump any gunk out.
Step 3 — Inspect parts and alignment
- Check the trap body, trap arm, slip nuts, and washers for cracks, deformation, or old seals that won’t seat.
- Look inside the wall fitting and tailpiece for debris. Use a flashlight and a small mirror if needed.
- Compare the trap orientation to how it should sit: the P‑curve should be aligned horizontally into the wall arm with nuts sitting straight on the threads.
Step 4 — Clean and clear the line
- Clean the trap thoroughly with a brush and water. Remove hair, grease, and small solids.
- If the wall arm or tailpiece still seems blocked, run a hand auger or drain snake a short distance to clear any lodged debris.
Step 5 — Replace seals and reassemble correctly
- Install new washers and gaskets — seat them squarely on the pipe before tightening nuts.
- Hand-tighten slip nuts, then give a slight additional turn with pliers; avoid over-tightening which can warp parts.
- Make sure the trap sits level and the trap arm enters the wall fitting without bending or forcing.
Step 6 — Test and observe
- Run several gallons of water and watch for slow draining or leaks. Check for gurgles or bubbling.
- If issues persist, the clog may be farther down the drain or related to venting; repeat the snake process or move to the next checks below.
What Not to Do
- Do not reuse old washers during trap replacement. Old washers can be flattened, cracked, or contaminated and will not form a proper seal.
- Do not over-tighten slip nuts — overtightening can crack plastic parts or deform seals.
- Do not pour strong chemical drain cleaners into a trap you’re handling — they can splash and cause burns or damage finishes and pipes.
- Do not force a misaligned trap into place; forcing can bend pipes and worsen the blockage.
When to Call a Professional
Call a plumber if:
- The trap and trap arm are clear but the sink still drains slowly or backs up — this could be a deeper line clog or venting issue.
- You find persistent leaks after proper reassembly, or fittings are stripped or cracked.
- Multiple fixtures are affected, or you see sewage backups. Also get help if you notice the sink is consistently blocked after a larger renovation — Sink backs up after remodel is a sign of a possible shared drain or vent problem.
Safety Notes
- Wear gloves and eye protection when working under the sink. Wastewater can contain bacteria and sharp debris.
- Work with good lighting and place towels under the area to protect cabinets and catch spills.
- Never mix chemical drain cleaners with other chemicals, and avoid using them if you plan to disassemble the trap — they can cause burns and damage plumbing.
Common Homeowner Questions
- Why did it clog immediately after I put the trap back? Often a small piece of debris fell into the trap arm or the parts were not aligned correctly when reassembled.
- Can I just tighten the nuts more to fix a leak or clog? No. Overtightening can deform seals and pipes; re-seat parts and use new washers instead.
- How do I know if the clog is beyond the trap? If the trap is clean and the sink still drains poorly, the blockage is likely in the trap arm, wall drain, or main line and may need a short snake or a plumber.
For more related articles, see the Post-Repair Sink Drain Problems hub.