Quick Answer:
If you see water under the sink right after drain work, it’s usually a loose or misaligned joint, a missing washer, or a small seal that didn’t seat. Stop using the sink, dry the area, and follow the steps below to find the source. If the leak is steady, large, or you see water damage, shut the supply valves and call a pro.
Why This Happens
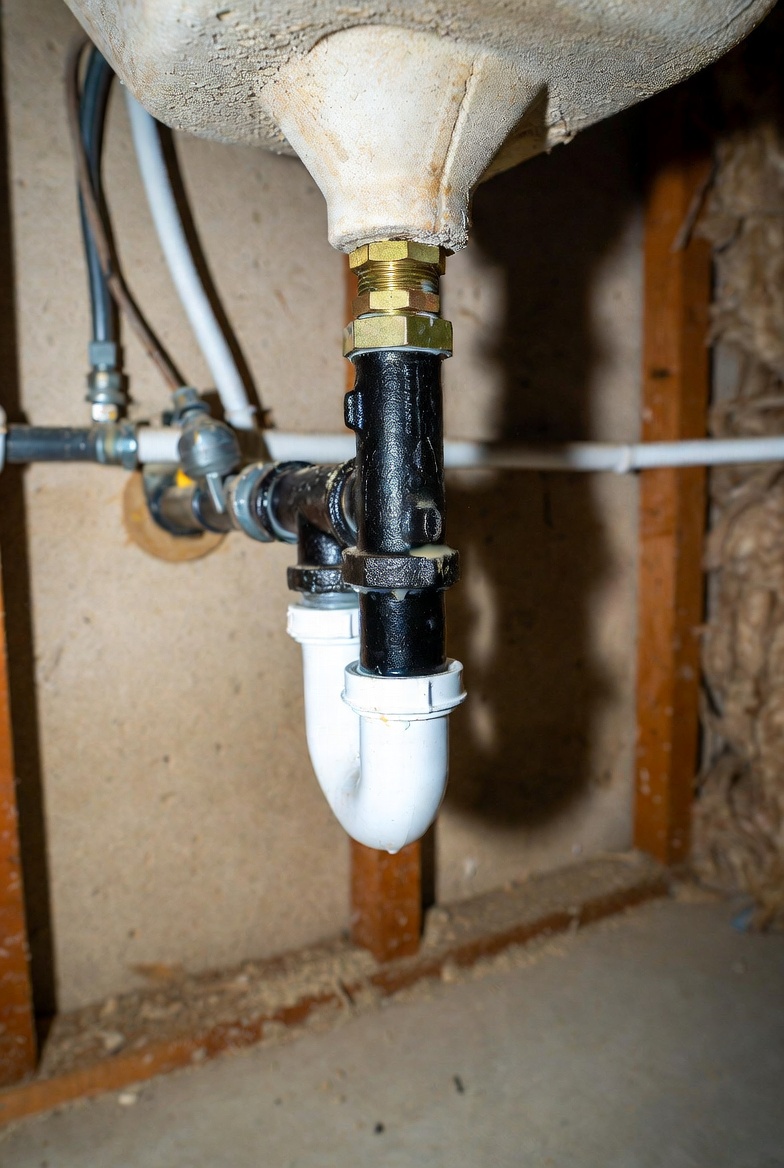
Drain assemblies have several joints and seals: the sink strainer to tailpiece connection, slip-nut joints on the P-trap, and the trap arm to wall connection. After repairs those connections may be hand-tightened only, a washer may be twisted or missing, or a sealant hasn’t cured. Movement or slight misalignment can allow water to escape during use.
Sometimes a residual drop will appear only when water runs or when the sink is filled and drained; other times a higher-pressure rinse will reveal a weep at a seal. If you also hear odd sounds, check issues like Drain noisy after repair. If water is coming out near the overflow area, check guidance for an Overflow problem after repair.
Step-by-Step What to Do
Step 1 — Stop using the sink and gather tools
Turn off the faucet and avoid using the sink until you locate the leak. Have a flashlight, towels, a bucket, adjustable pliers, and replacement slip washers or plumber’s tape ready. Place a towel or bucket under the drain to catch drips.
Step 2 — Dry the cabinet and watch joints during use to pinpoint leaks
Wipe the cabinet floor, the pipes, and joints completely dry. Run the faucet at a normal flow while watching each connection: the strainer, tailpiece, slip nuts on the P-trap, and the wall connection. The leak will often reveal itself as water appears and tracks from a specific point.
Step 3 — Tighten and inspect slip nuts and washers
If a slip nut is slightly loose, try tightening it by hand until snug, then give a small turn with pliers—don’t overdo it (see What Not to Do). If tightening doesn’t stop the drip, loosen the nut, inspect and replace the washer or gasket, then reassemble and test.
Step 4 — Check the sink strainer and tailpiece
Leaks at the top of the drain often come from the strainer or seal. If the strainer was recently worked on, ensure the locknut is secure and any plumber’s putty or gasket is seated correctly. Reassemble and test slowly, watching for seepage.
Step 5 — Test for hidden leaks and final checks
- Run hot and cold water and fill the sink to test the seals under load.
- Look for slow-drip spots and also smell for dampness in cabinet corners later—small leaks can lead to mold.
- If the leak only occurs with the stopper in place, check the lift rod and stopper assembly for misalignment.
What Not to Do
- Do not overtighten fittings trying to stop a leak. Over-tightening can crack plastic fittings or warp washers, making the leak worse.
- Do not use excessive sealant or caulk as a first fix; it can hide the real problem and make later repairs harder.
- Avoid cutting corners by ignoring damp cabinets—prolonged moisture causes rot and mold.
When to Call a Professional
Call a plumber if:
- The leak continues after you’ve checked and reseated washers and nuts.
- There’s steady dripping, large volumes of water, or active water damage to cabinets or drywall.
- You’re uncomfortable disassembling the drain or working under the sink. A pro can diagnose hidden issues like a hairline crack in a pipe or a poorly installed sink strainer.
Safety Notes
- Turn off water supply valves before taking apart drain fittings to avoid surprises.
- Keep electrical items and power strips away from the cabinet when it’s wet.
- Use gloves when handling old washers or corroded fittings to avoid cuts and contact with grime.
- Place a bucket under the work area and protect cabinet surfaces with towels.
Common Homeowner Questions
- Why does a new repair leak right away? Small misalignments or missing washers are common after reassembly; they’re usually fixable at the joint where the leak shows.
- Can I wait to fix a small drip? Small drips can lead to damage over time; dry the area and monitor, but plan to repair promptly.
- Is a dripping P-trap an emergency? Not usually an immediate emergency, but persistent drips should be repaired quickly to avoid cabinet damage and odors.
For more related articles, see the Post-Repair Sink Drain Problems hub.